One of the factors that contributes to the success of any project is to have well defined roles for each member of the project team with various authorizationsThis documentation helps you understand how to set project roles and their corresponding permissions in QPunch Smart Project Management Tool.
To set the Project Roles,
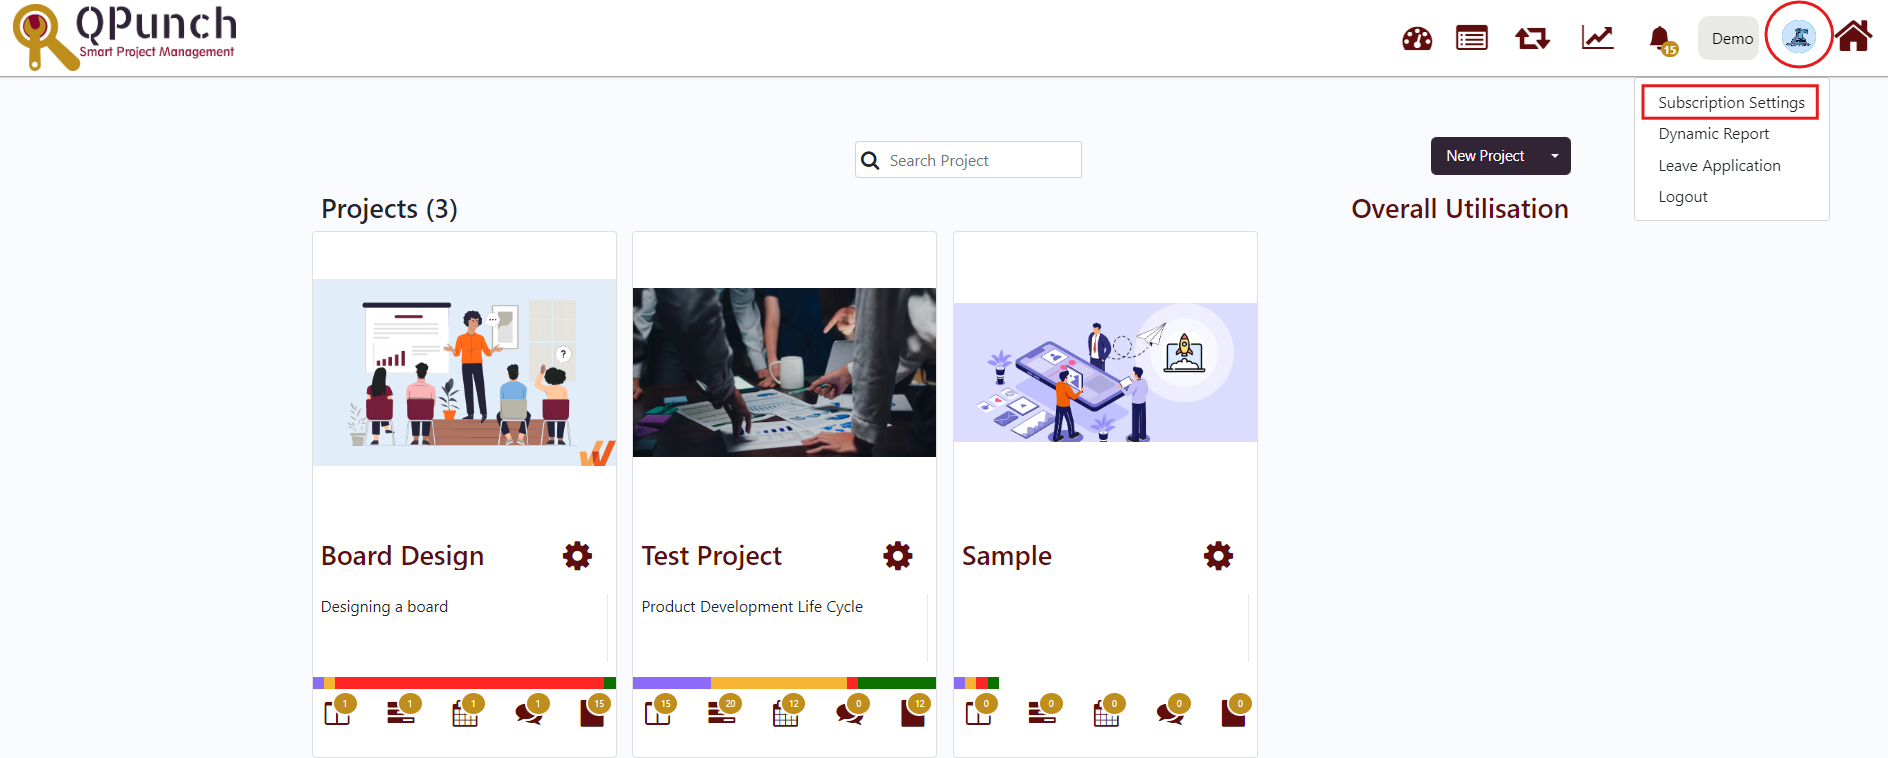
·Click on the username icon on the top right corner of the QPunch home page
·Choose Subscription Settings from the menu
·Navigate to User Permissions on the left side pane. Here you will find the project roles and the various permissions that can be granted to the role
·To add a new role, click on the Add Role button
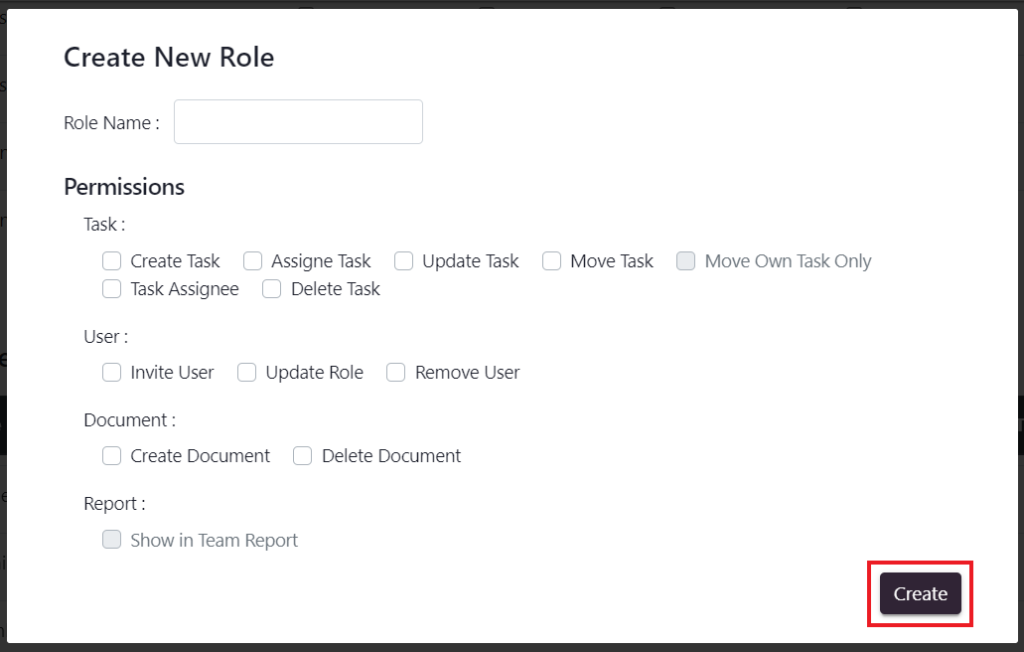
·In the pop up that appears, enter the Role Name, tick the permissions that are to be granted to the people in this role and click on the Create button
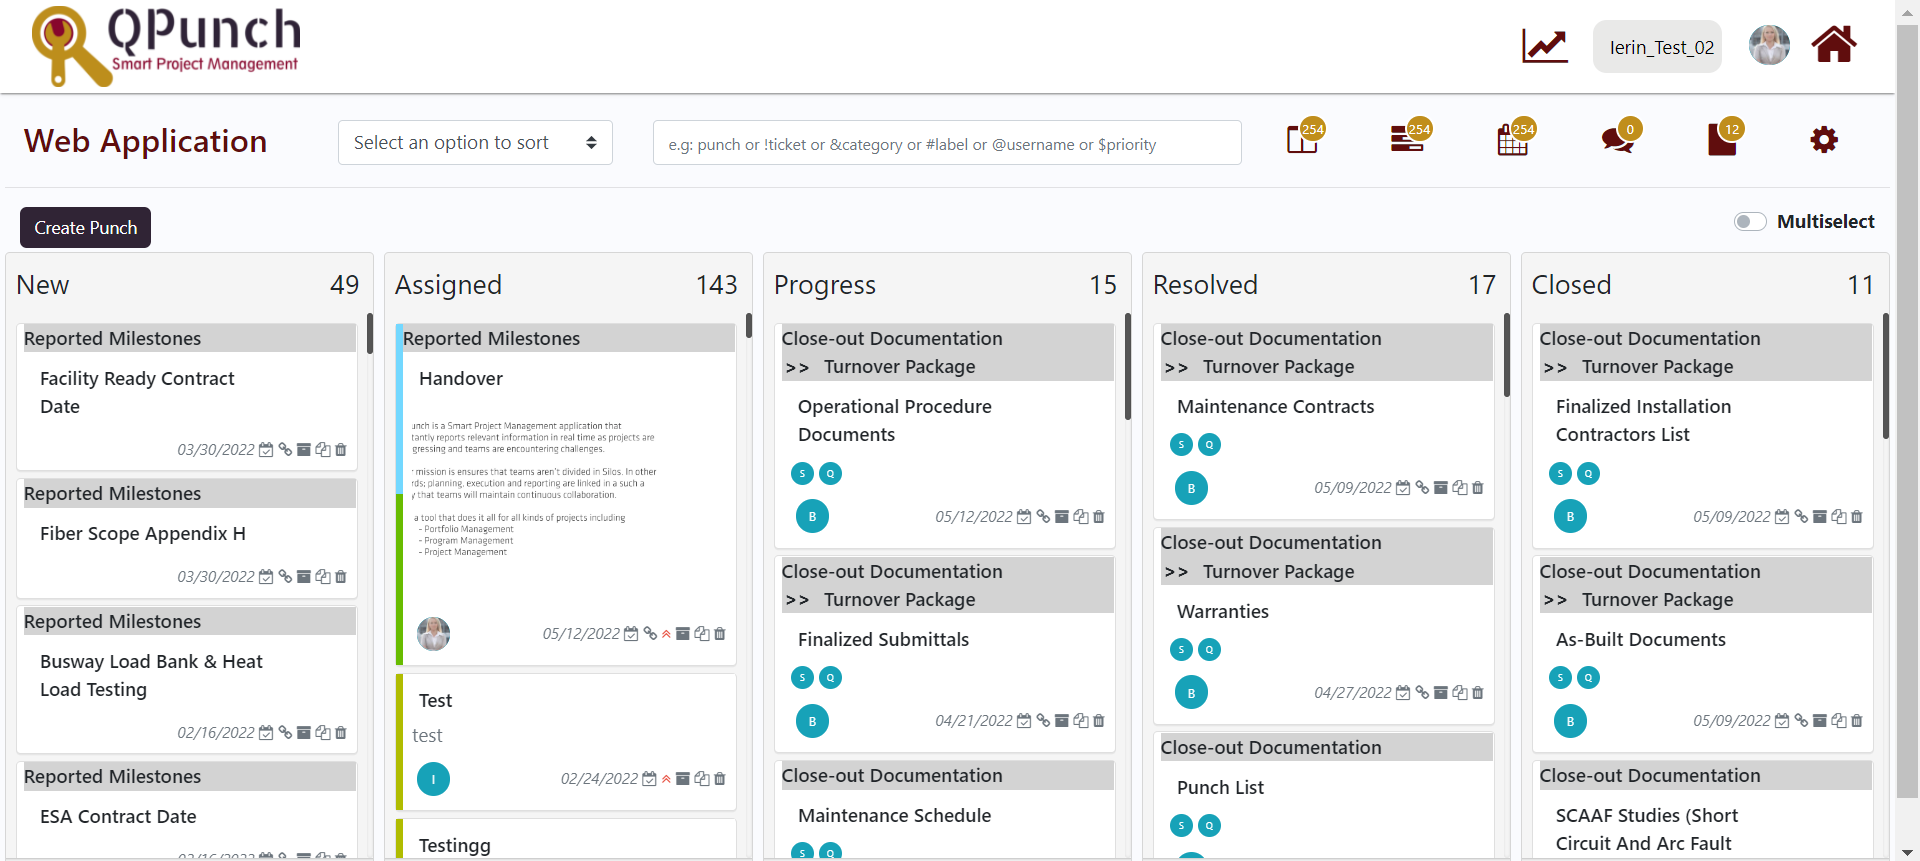
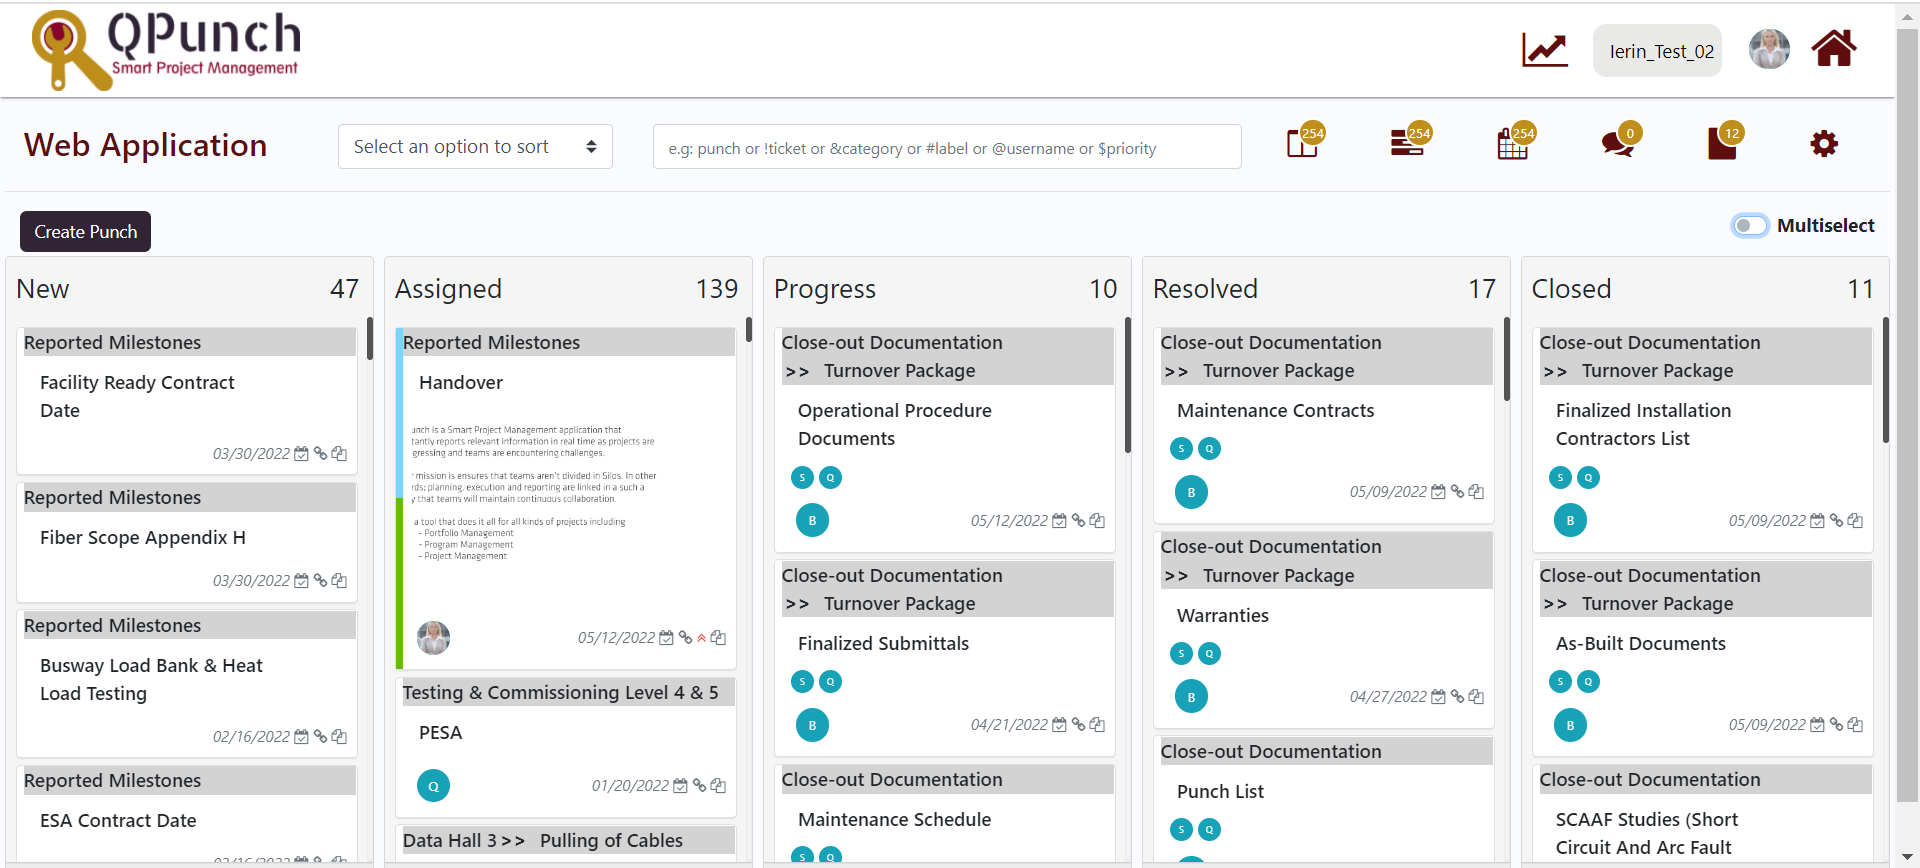
·Create Task: provides the user permission to create a new task in any project. This can be done through the Kanban, Gantt or Calendar view of the tasks
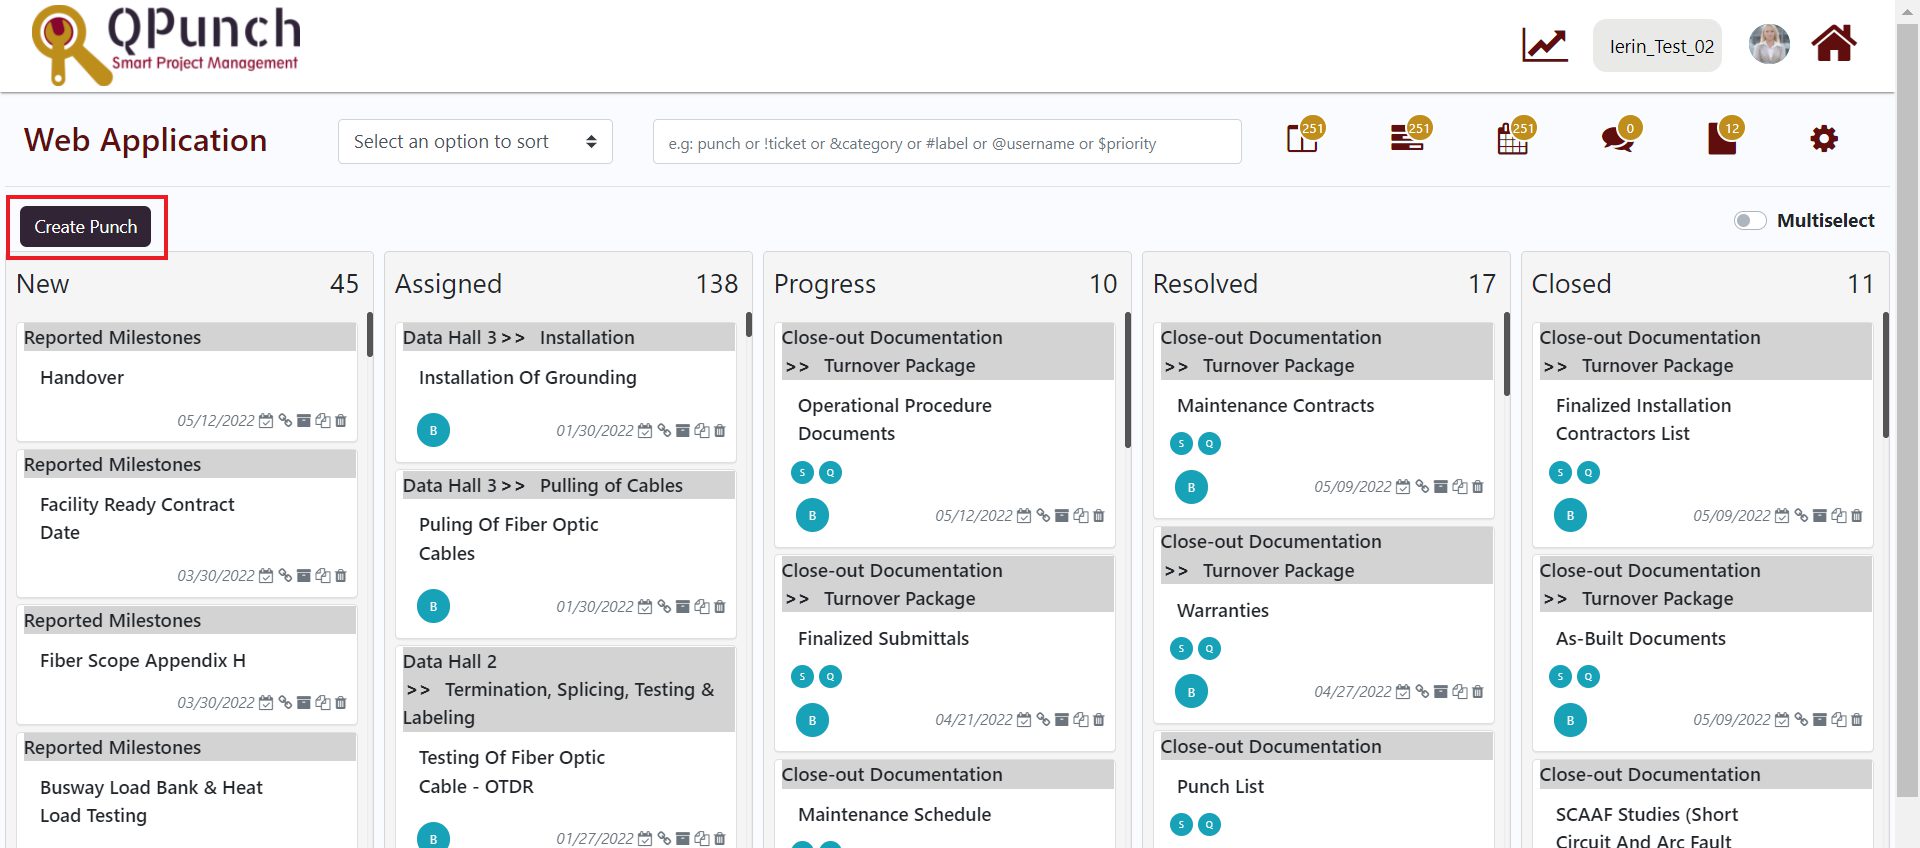
·In Kanban view, you can find a Create Punch button
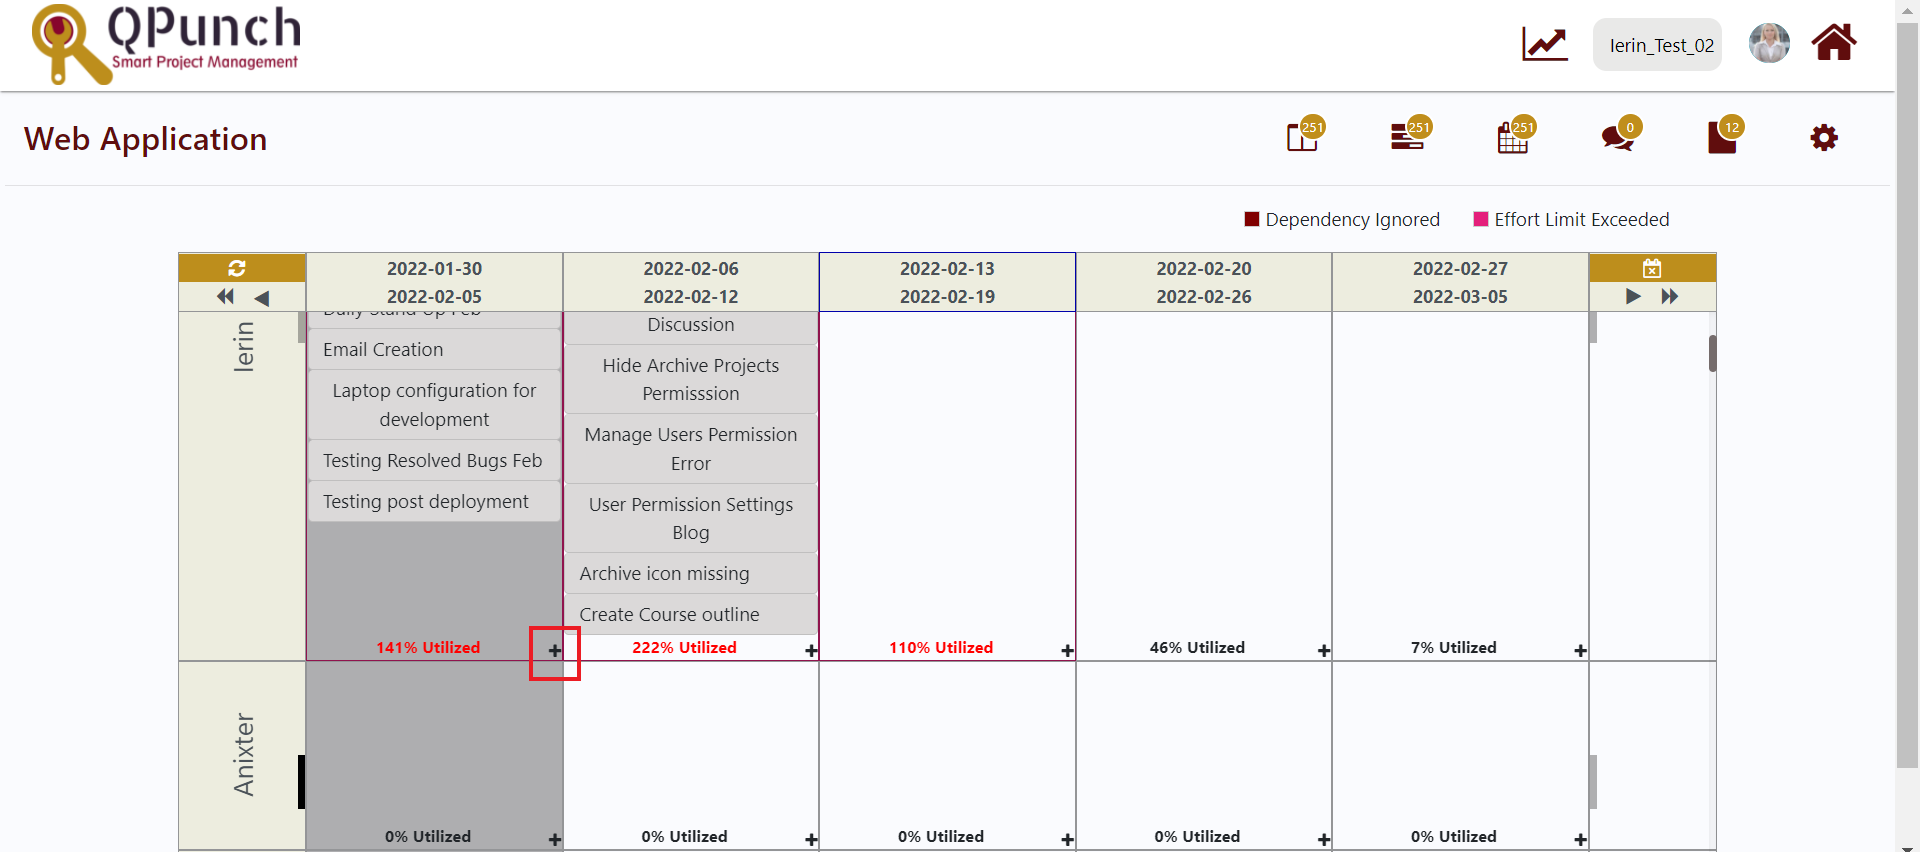
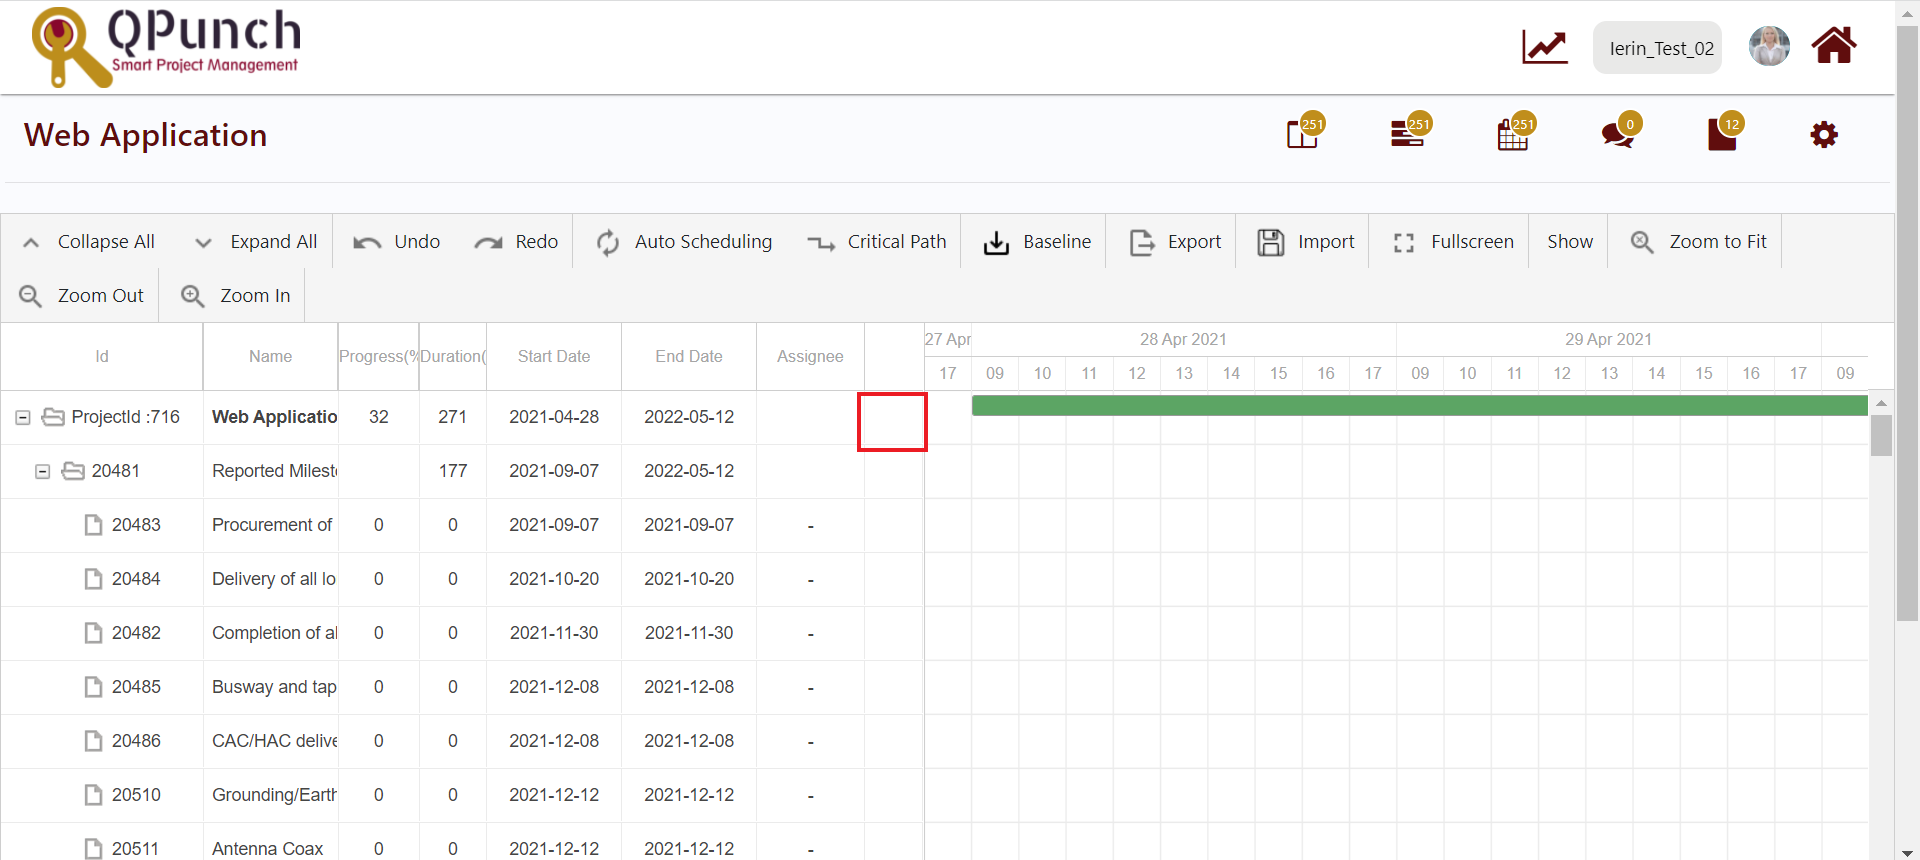
·In Gantt view, plus icon(+) let you create a new task.
·In calendar view, again the plus icon (+) lets you create new tasks against that user.
·If the user does not possess this permission,
oIn Kanban view, Create Punch button will be greyed out
oIn Gantt view, plus icon(+) will be made invisible
oIn calendar view also, plus icon(+) will be made invisible
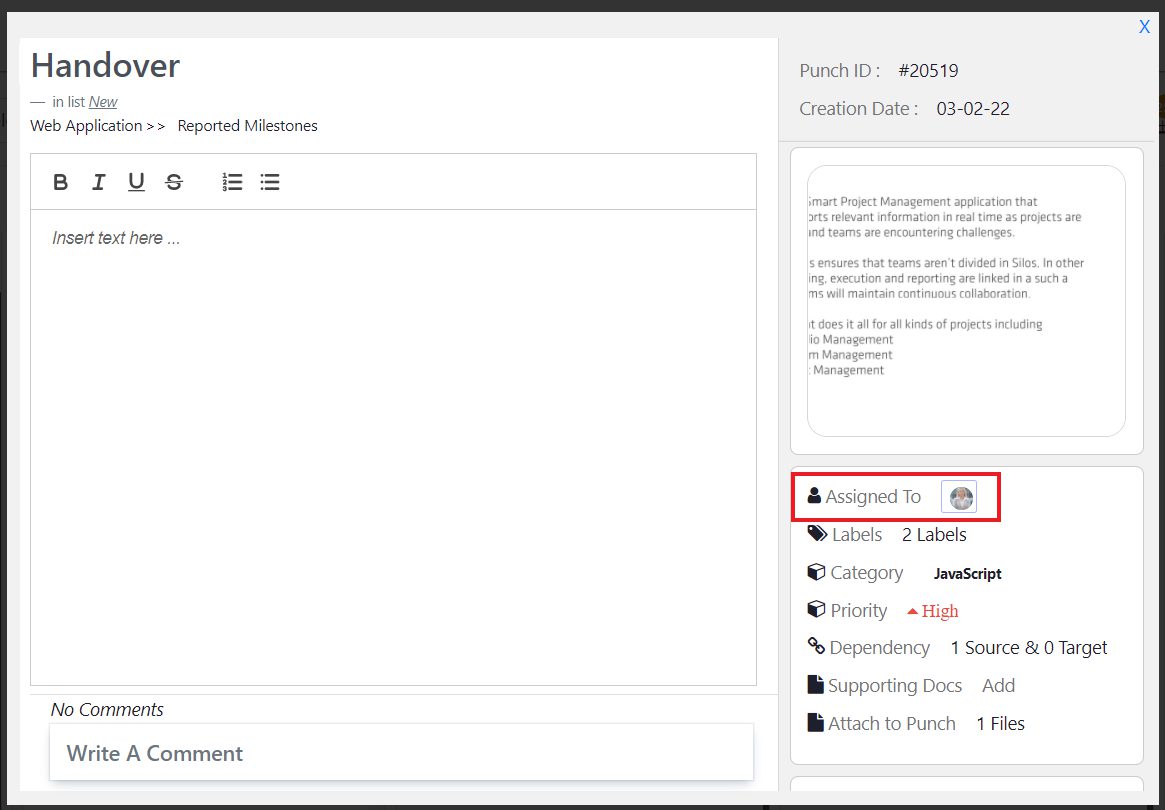
·Assign Task: This permission allows users to assign a task to any project member. This option is available in the edit task pop up
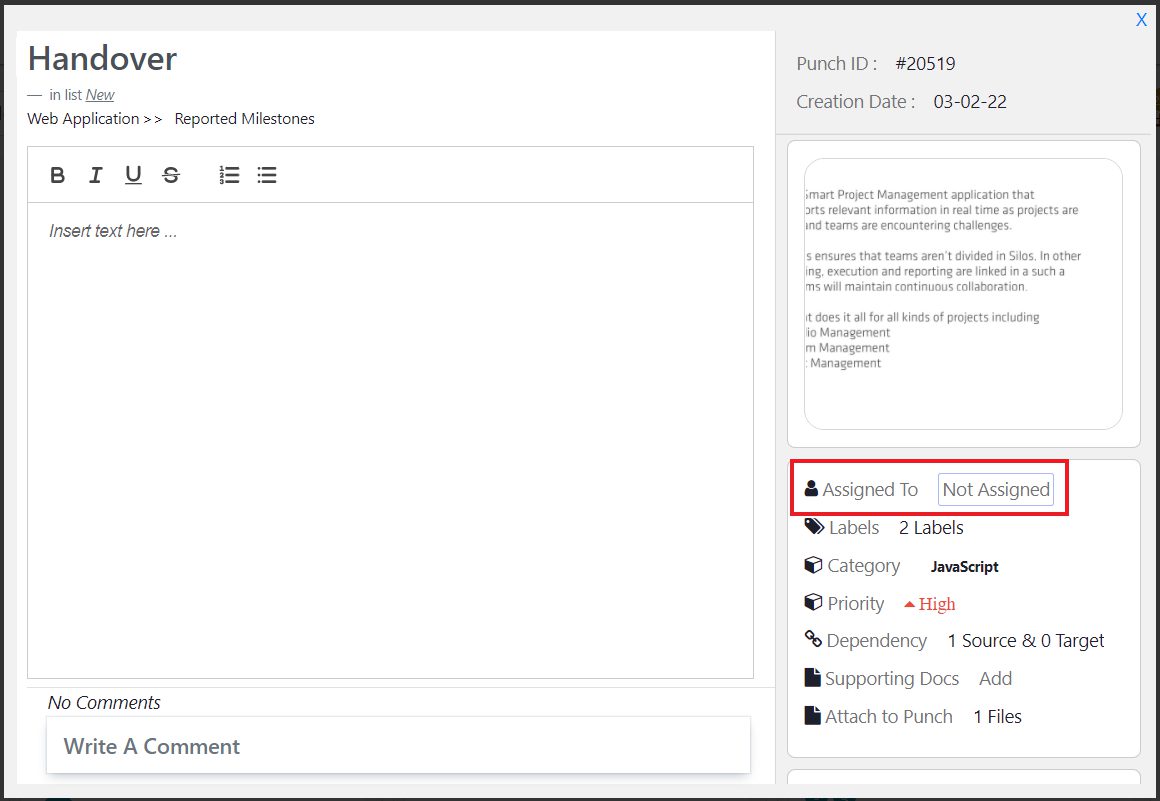
·Once the permission is turned off, Assigned to will not be responsive
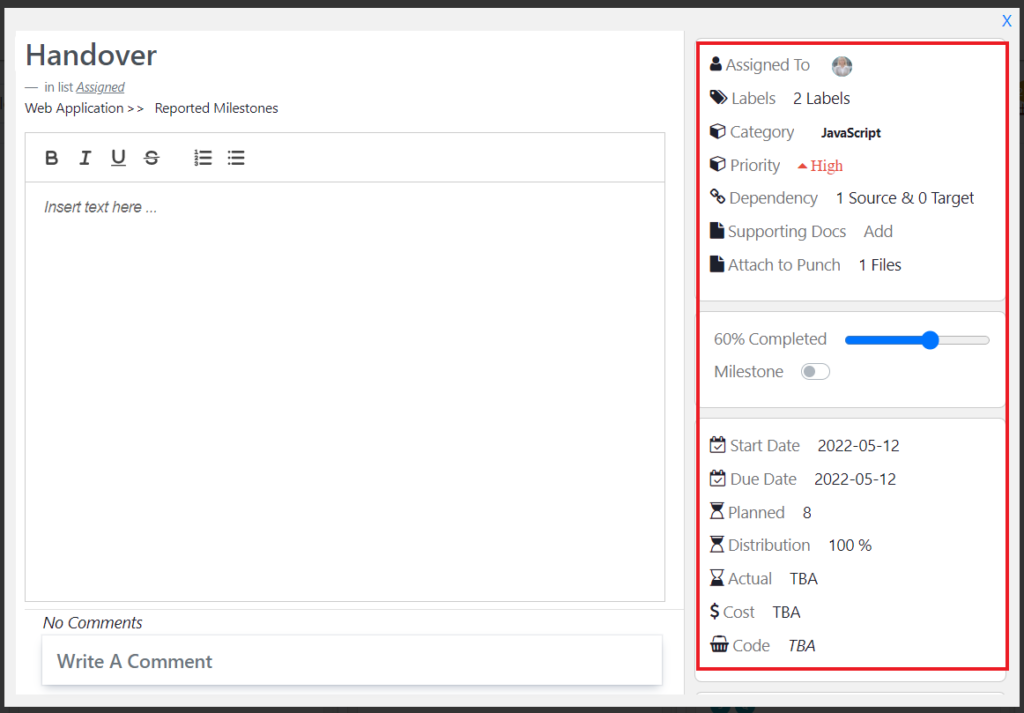
·Update Task: This permission lets the user to edit various options such as label, category, priority and so on in a task
·Once this permission is turned off, these options won’t be responsive
·Move Task: The permission lets user to move the tasks among the swim lanes such as New, Assigned, In Progress. There are two ways to do this:
oClick and drag in the Kanban board
·Click on the Move button inside the Edit task page
·If this permission is not provided, tasks won’t move upon dragging and the move button will show a blocked icon upon hovering
·Move Own Task Only: This permission lets you move only those tasks that are assigned to the user. Tasks assigned to other users cannot be changed
·Task can be moved in two ways as described above
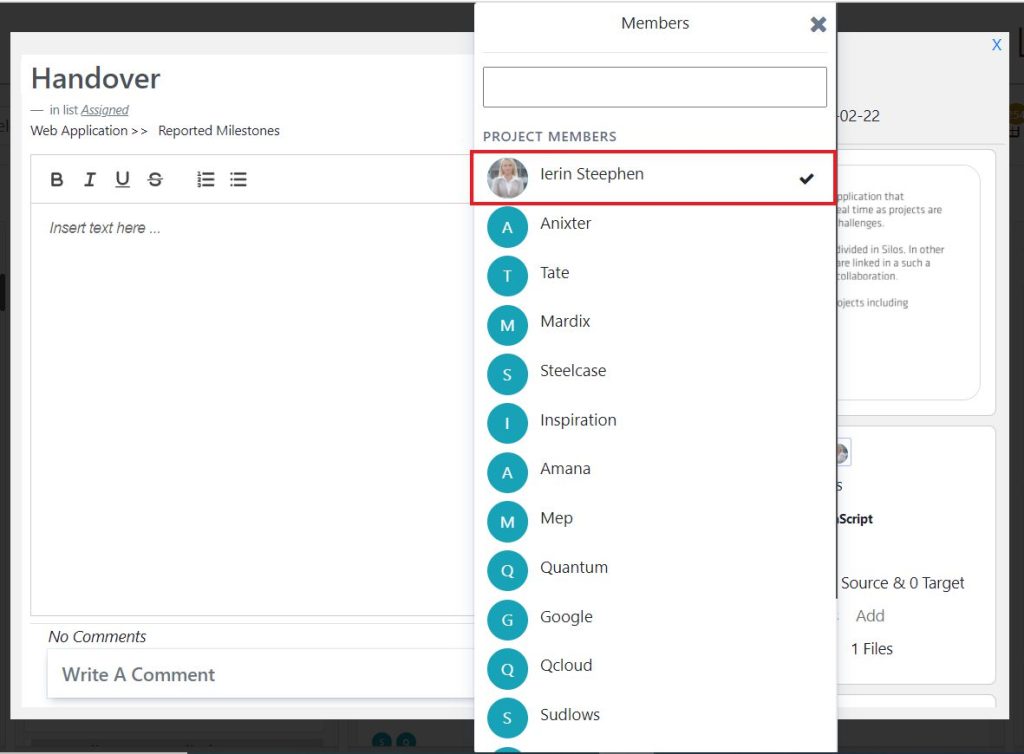
·Task Assignee: This permission ensures that any task can be assigned to that particular user. User’s name will be listed in the Assigned To list in the Edit task page
·If the permission is not granted, username will not be visible in the members list to assign task
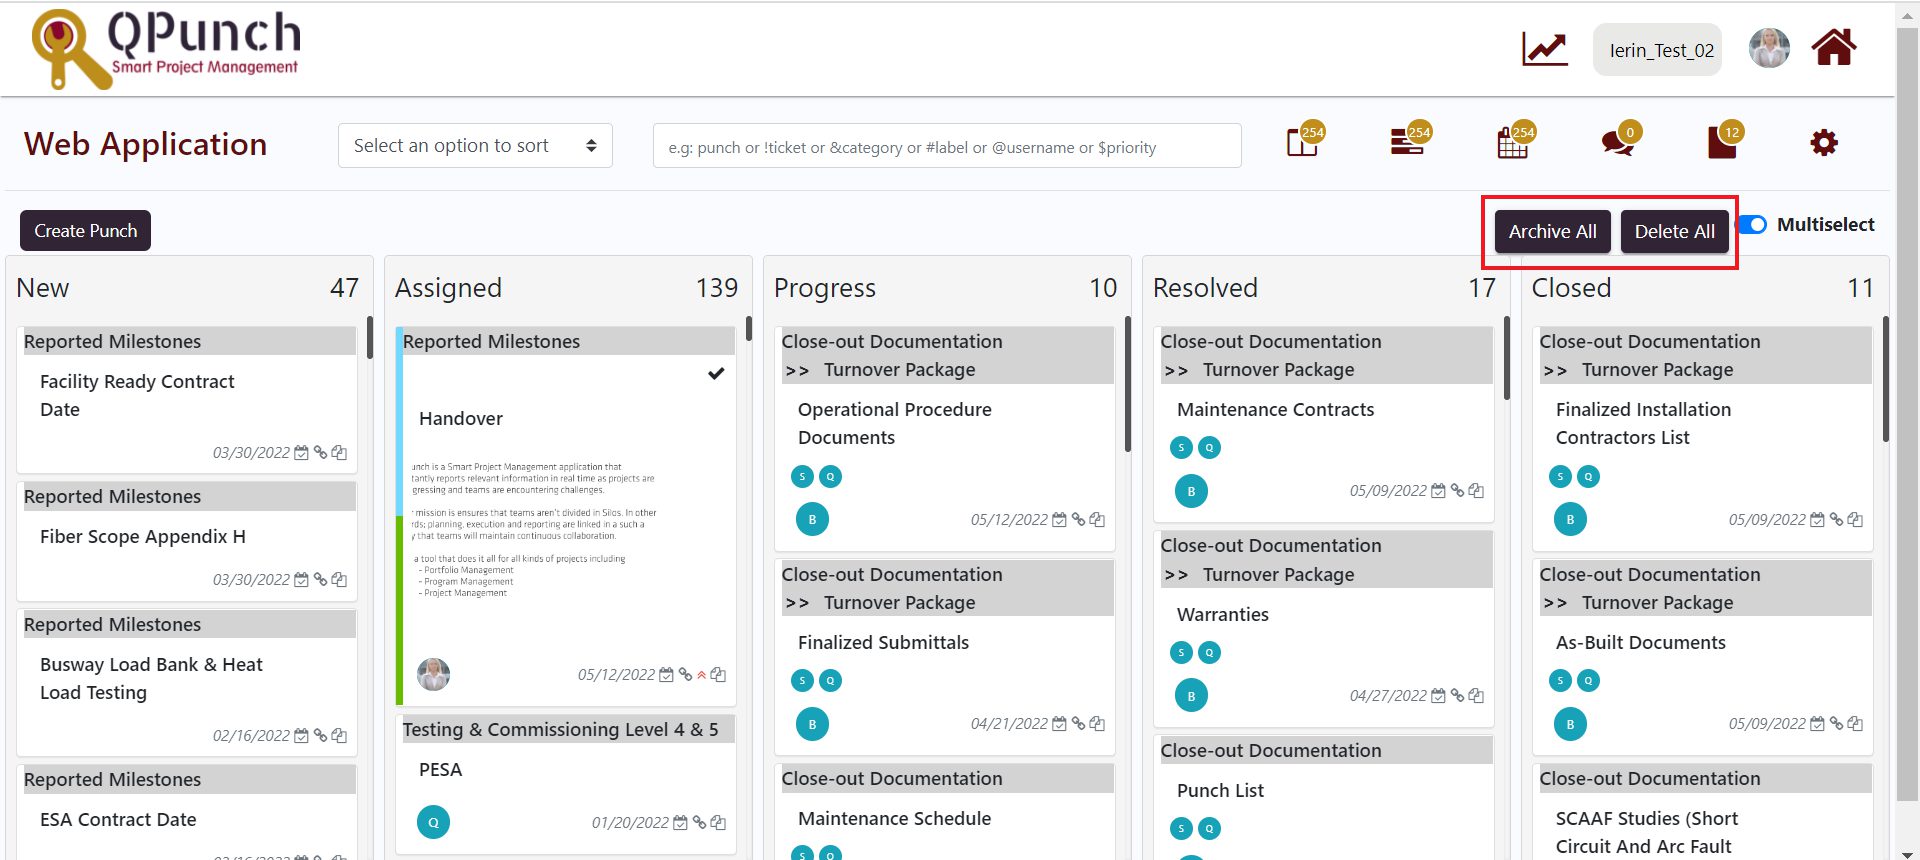
·Delete Task: This permission enables users to both delete and archive a task. You can delete or archive in two different ways:
oClick on archive/delete icons against the task
oToggle on Multiselect option
oSelect the tasks to be archived/deleted and then press the Archive All/ Delete All button
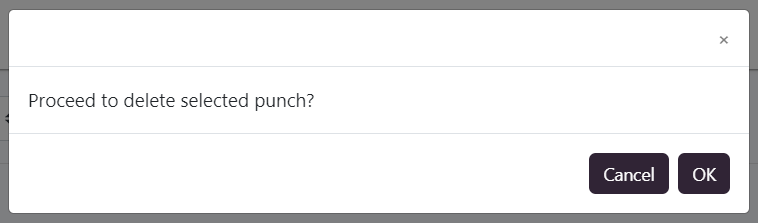
oIn the pop up that appears, press OK/Cancel
·If the permission does not exist, these buttons won’t be visible
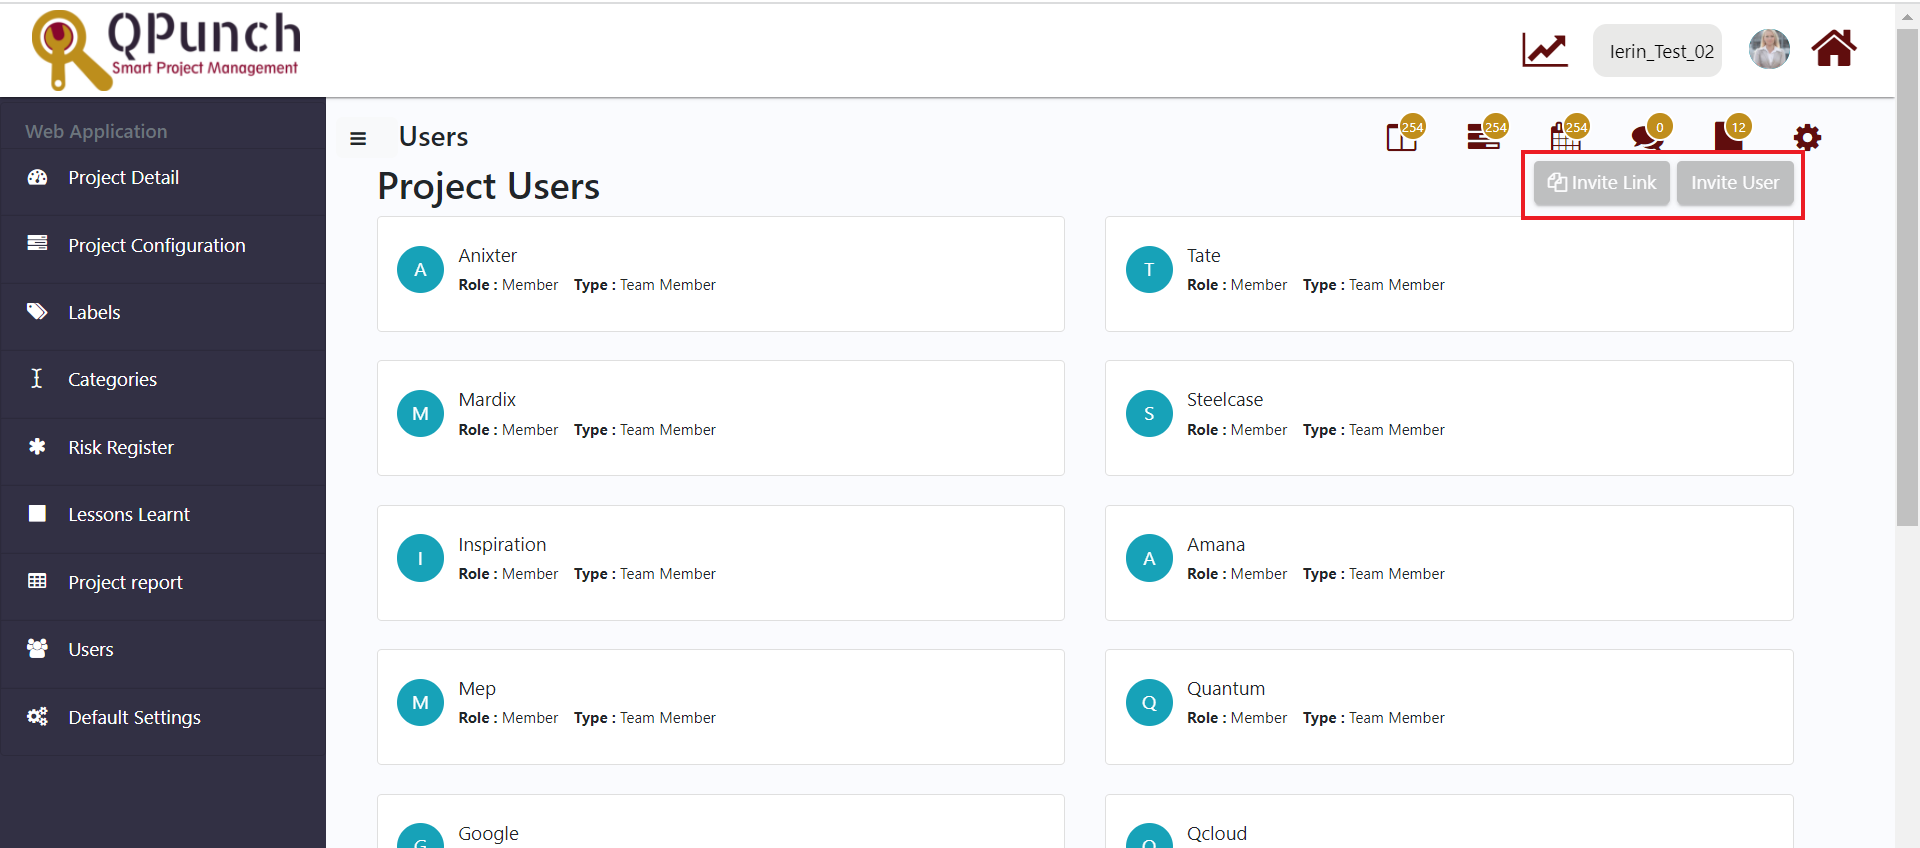
·Invite Users: This permission lets the user invite other users to projects
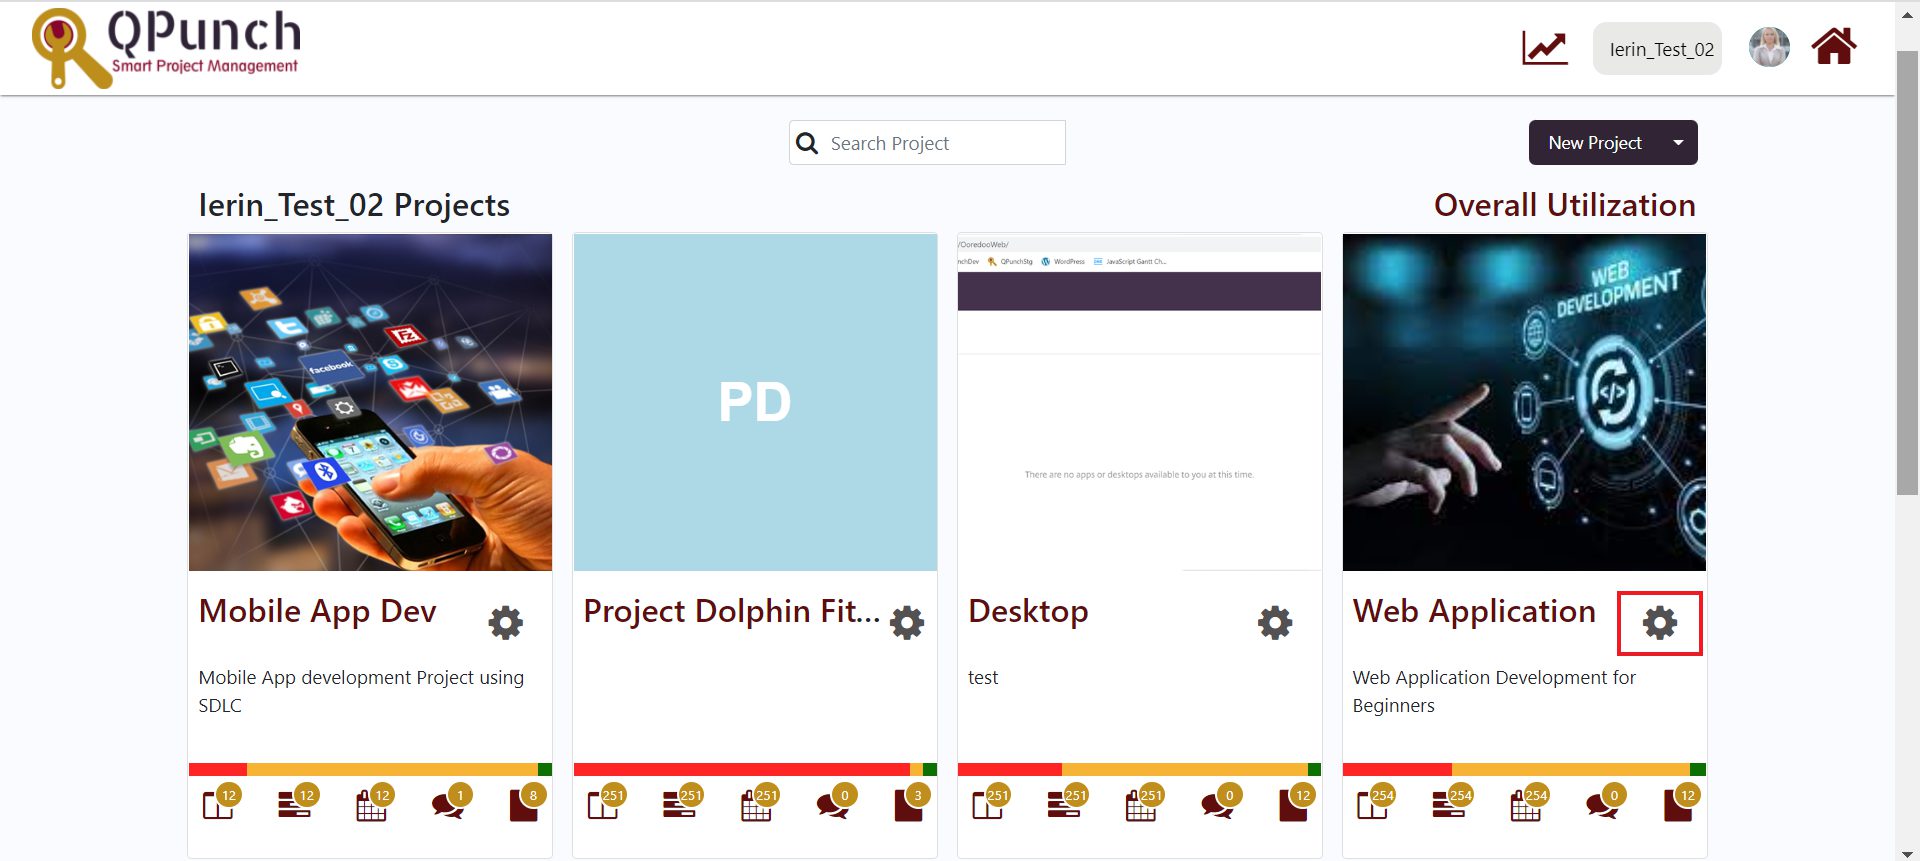
oClick on project settings icon in QPunch home page
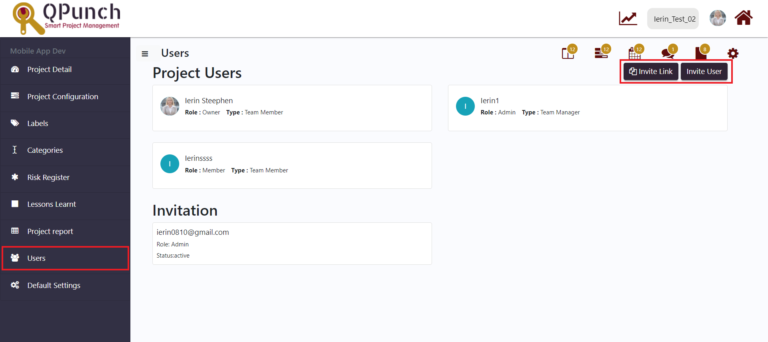
oNavigate to Users tab on left side pane
oUsing Copy Invite Link button – copies the invite link of project and anybody who clicks on this link can join the project
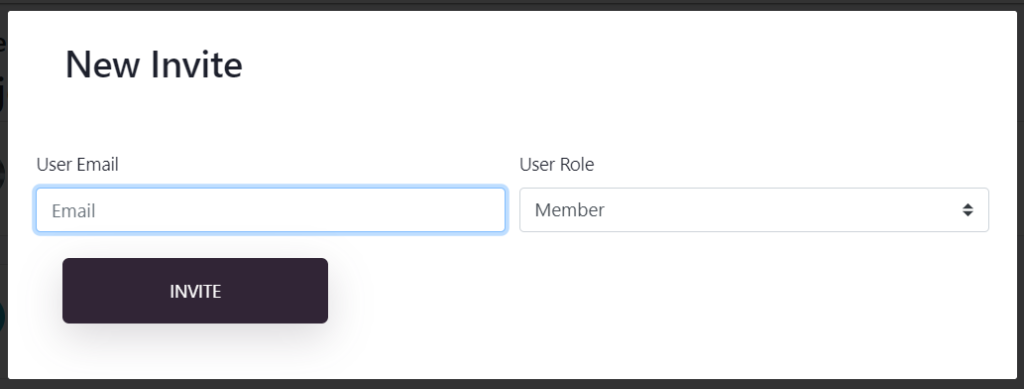
oUsing Invite User button – Enter the email id and choose the role of that user from the drop down and press Invite button
·If the permission does not exist, these buttons will be greyed out
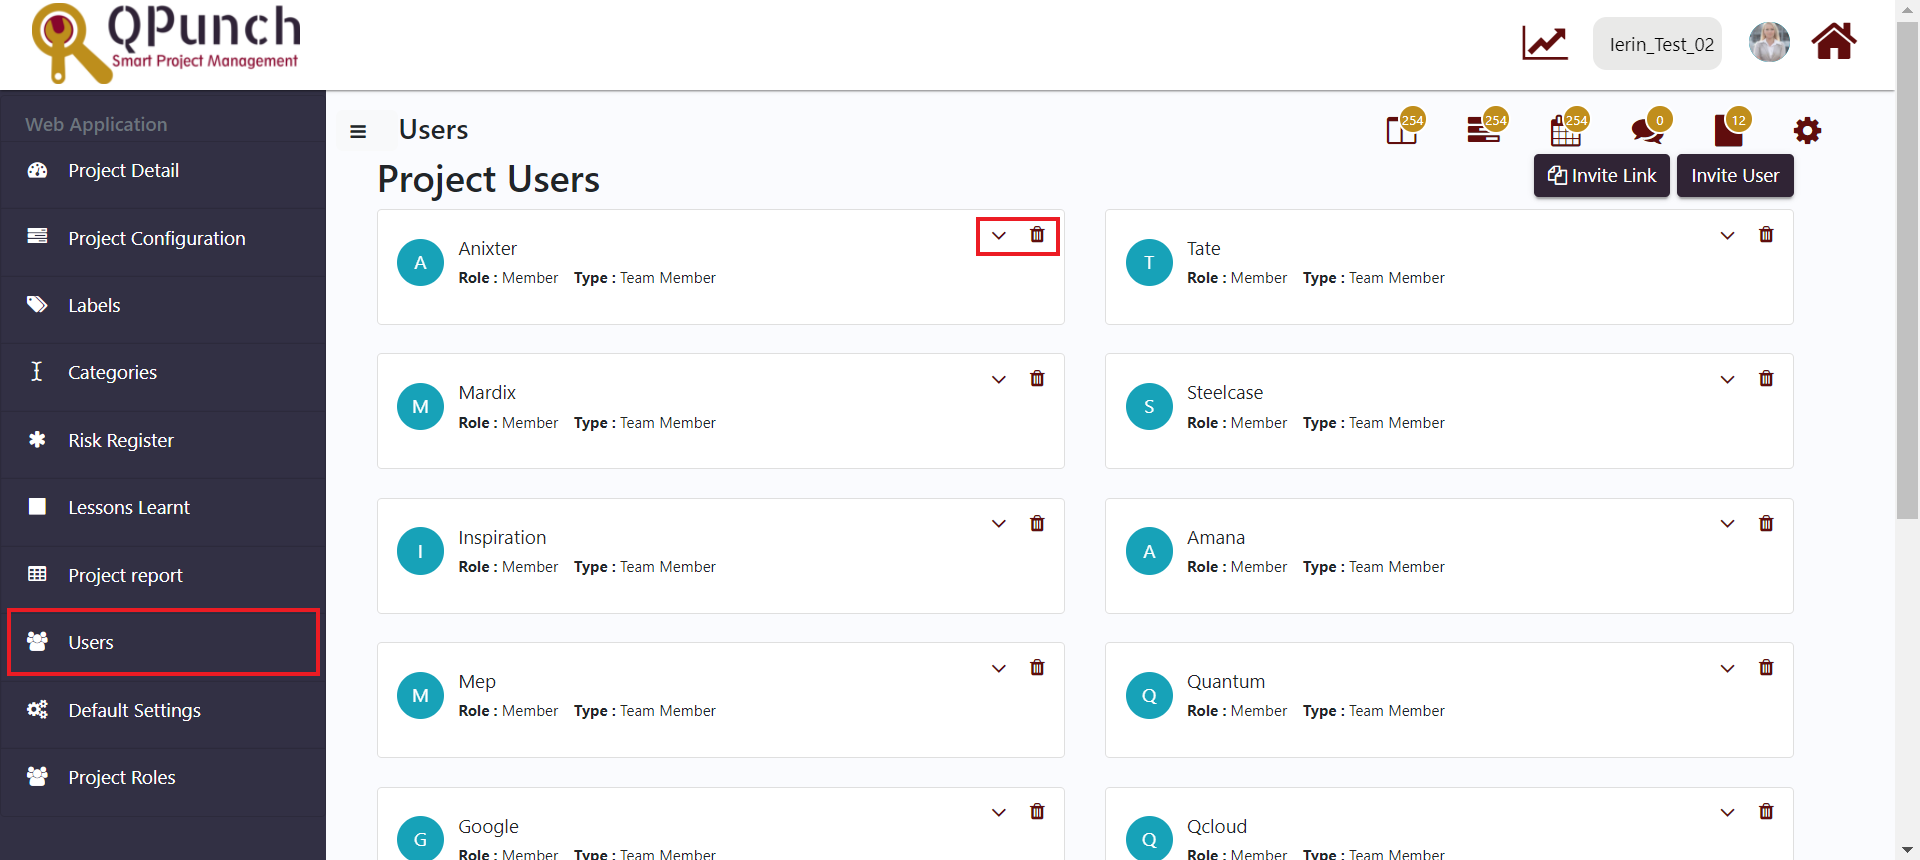
·Update Role: This permission allows the user to update the project roles of other members in the project. To do that,
oGo to Project Settings from the QPunch home page
oNavigate to Users on the left side pane
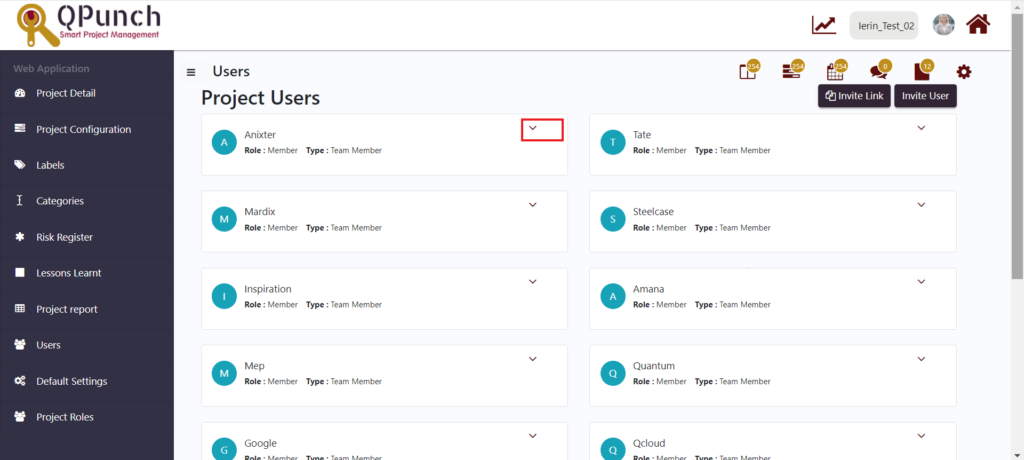
oClick on the down arrow displayed against the user name. In the pop up that appears, choose the desired role and type of member and press Update button
·If the user does not possess this permission, down arrow button will not be displayed against the user
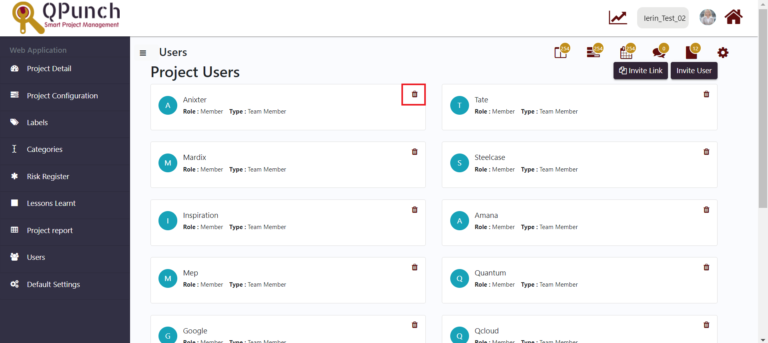
·Remove User: This permission allows the user to remove other members from the project. To do that,
oGo to Project Settings from the QPunch home page
oNavigate to Users on the left side pane
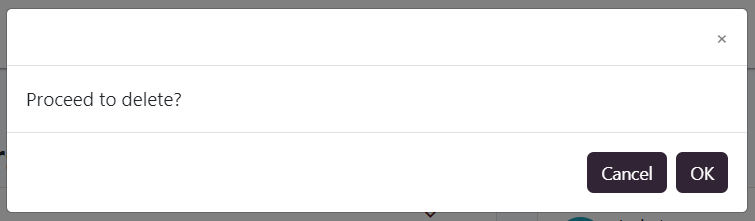
oClick on the delete icon against the username. In the pop up that appears click on OK/Cancel
·If the permission does not exist for a particular user, the delete icon won’t be displayed
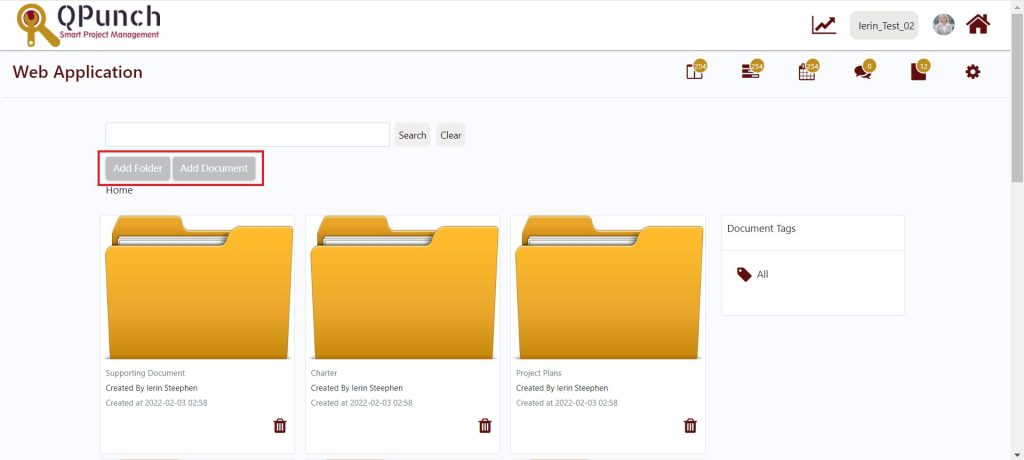
·Create Document: This permission lets the user add a document/folder in the document library. To do that,
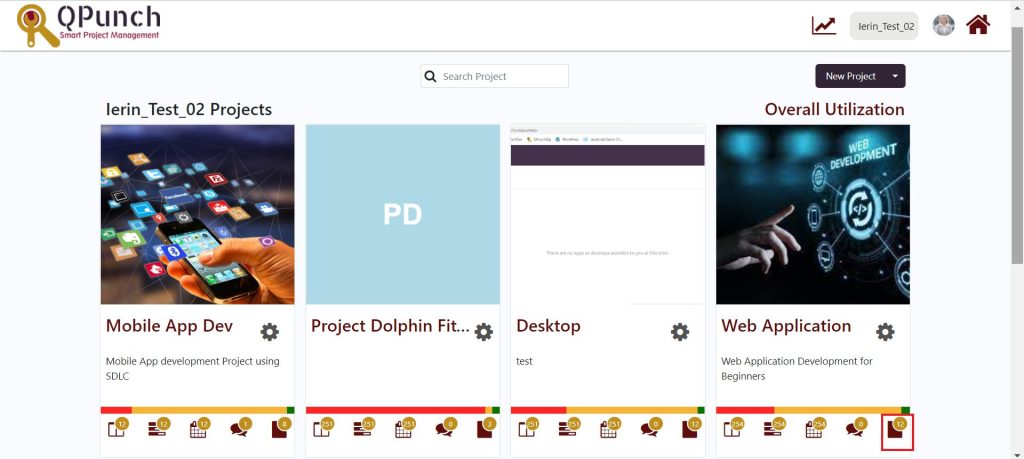
oClick on the document library icon in the QPunch home page
oClick on the Add Folder/Add Document button
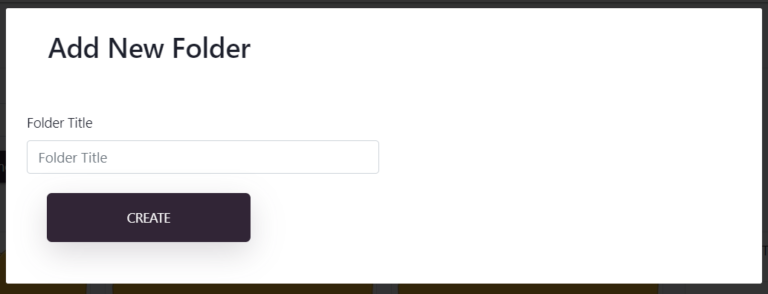
oIn the pop up that appears, enter the folder title and press Create button
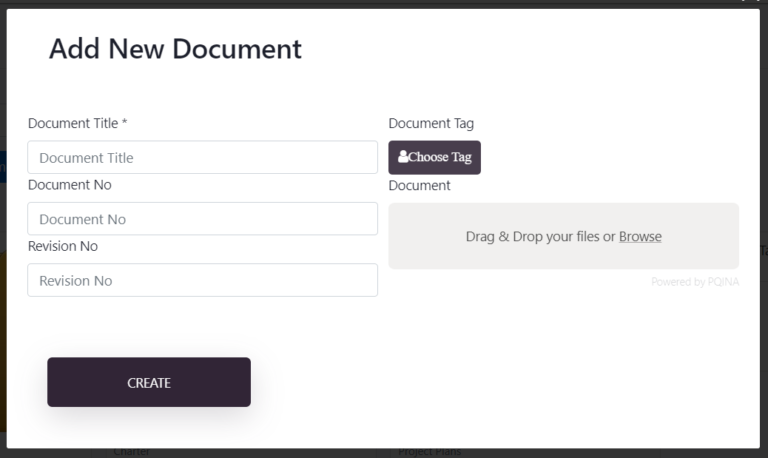
oEnter the Document Title, Document No, Revision No, choose a Document Tag, upload the document and then press Create button
·If the user does not have this permission, these buttons will be greyed out
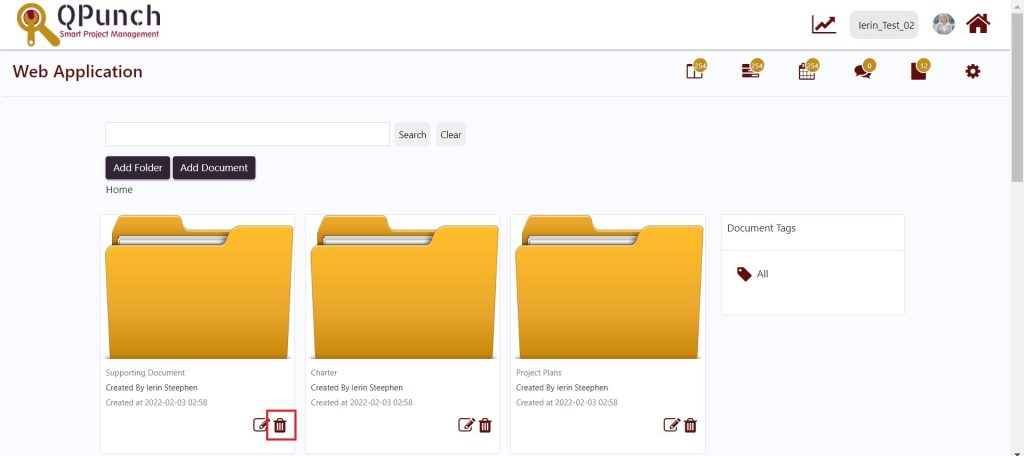
·Delete Document: This permission lets the user delete a document from the document library. To do that, navigate to document library as described in the steps above
·Here you will find the delete icon against the folders/documents
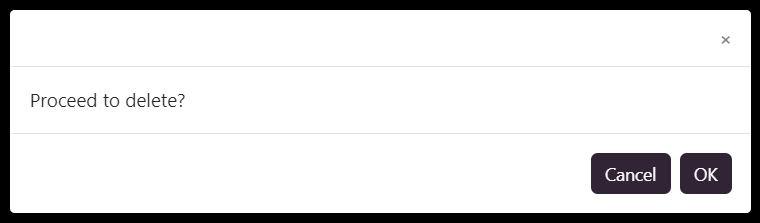
·Click on the delete icon and in the pop up that appears, click OK/Cancel
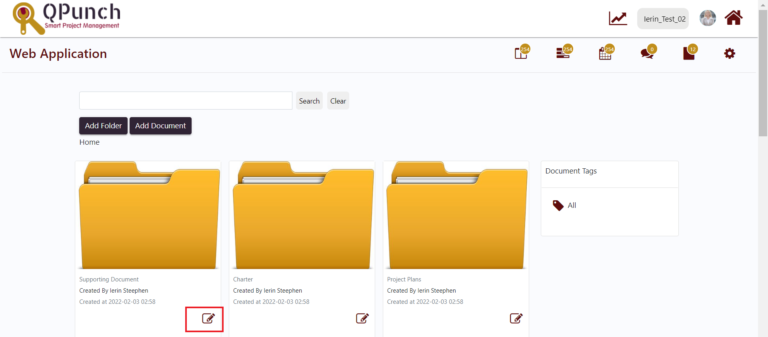
·If the user does not have this permission, delete icon won’t be visible
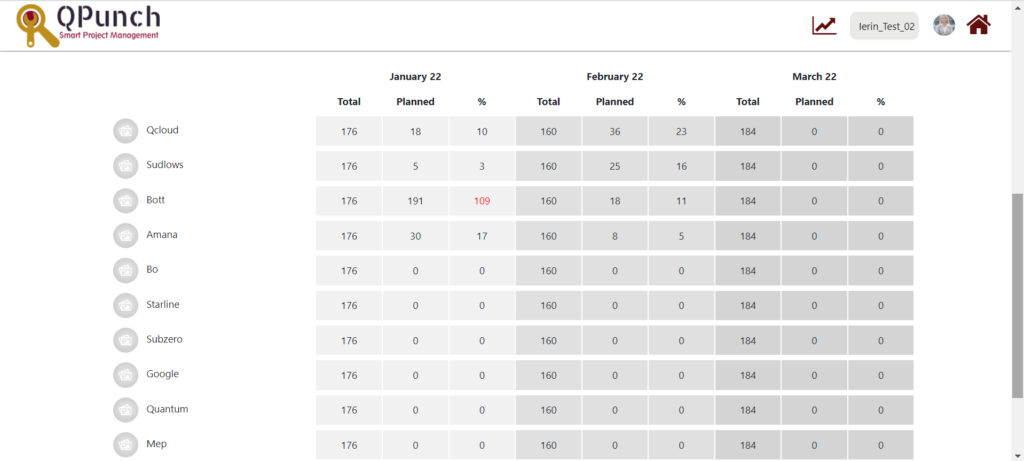
·Show in Report: This permission, if granted, will include the user in the team utilization report in the project dashboard
·If the permission is not granted, that particular user will not be listed in the report