Workflow Settings
In an organization, there may be internal processes including certain workflows around documents such that they cannot move from one stage to another unless they are approved by certain departments. This documentation helps you better understand the workflow settings involved in the document management module of QPunch Smart Project Management Tool.
Click on the Project Settings icon on the QPunch home Page

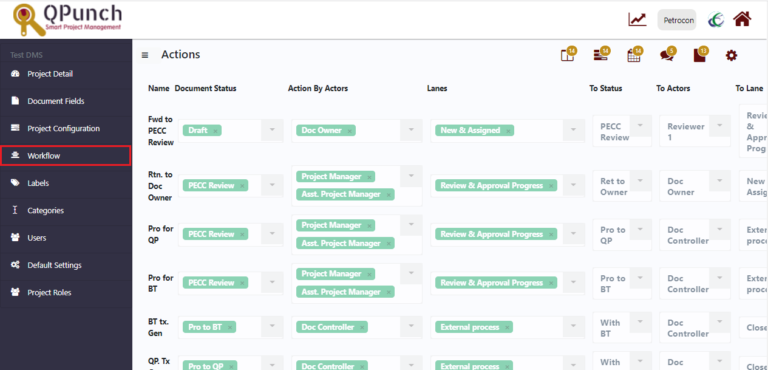
- Navigate to Workflow on the left side pane in the Project Settings

- Click on the plus icon(+) on the right end

Enter the action name, choose from the dropdown menu, the document status, actors who should be involved, lanes it should appear, next status to which it should be changed to, next actor who should perform the action, next lane to which it moves, and the due duration which is the number of days within which the action is due

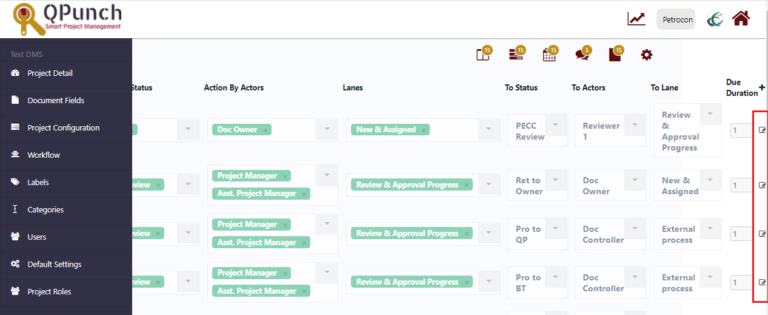
To edit the workflow,
Click on the edit icon on the right end

Once done, click on the Update button
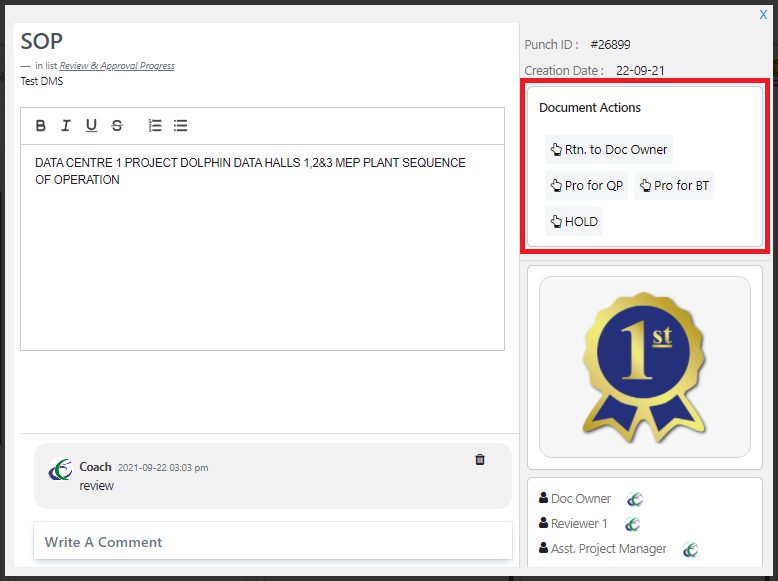
These action names will be visible in the Edit Task pane on the right side depending on the current status of the task

Upon clicking an action, a comment box pops up, where you can add your comments based on the action you choose.

- Click OK button and then the task moves automatically to the next stage as how you have defined in the process workflow
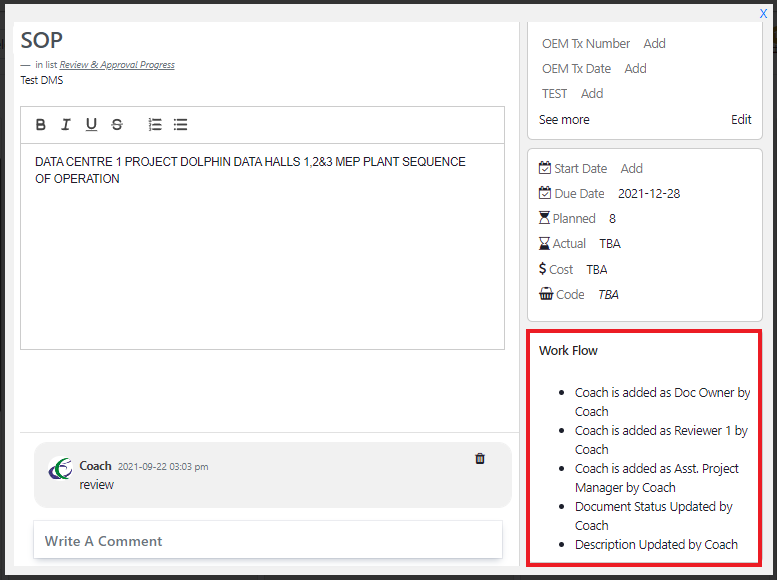
- You can see the history of workflow as well so that you’re lost nowhere

Address On Maps
Ready To Get Started with Smart Project Management?
