Risk Register is a tool in which allows you to track each identified risk, the likelihood and consequences or impact of a risk occurring and provide mitigation measures to manage potential setbacks within a project.
QPunch Smart Project Management Tool lets you add the risk in their project settings. To do that,
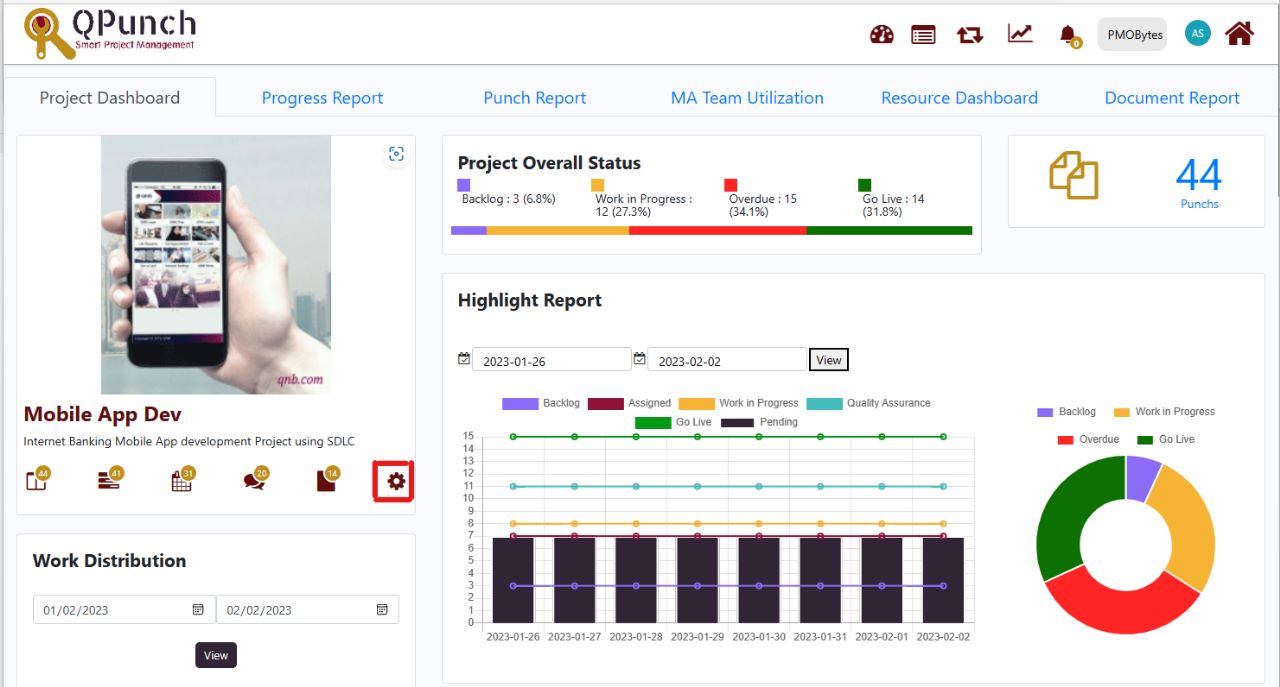
Step 1: Click on your project settings icon.
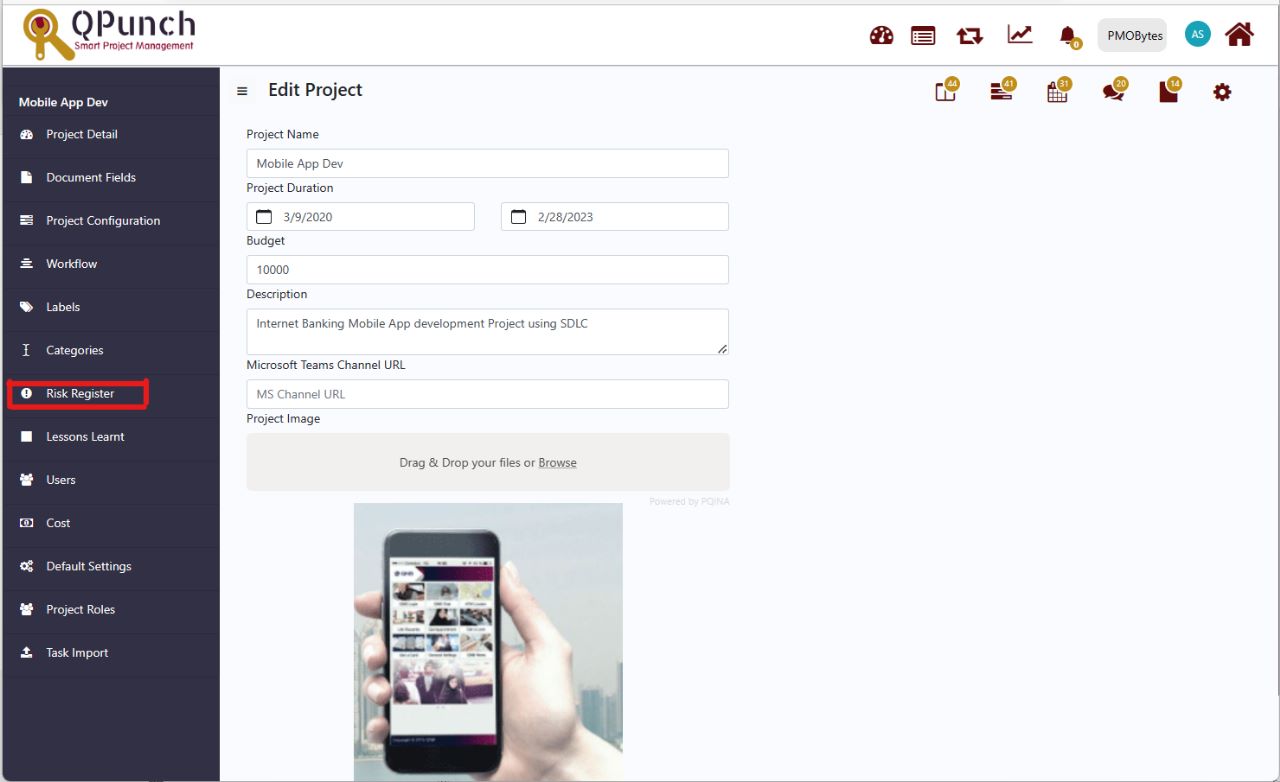
Step 2: In the project settings, Click on the Risk Register tab.
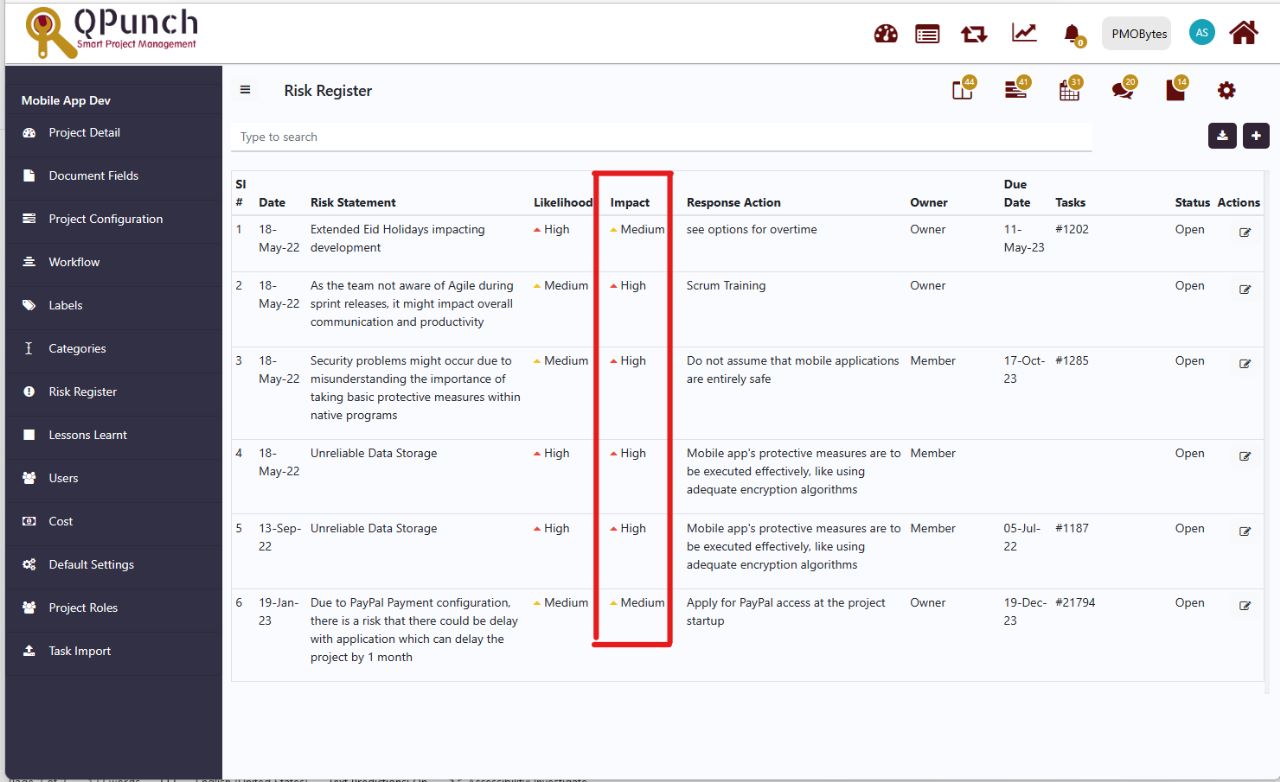
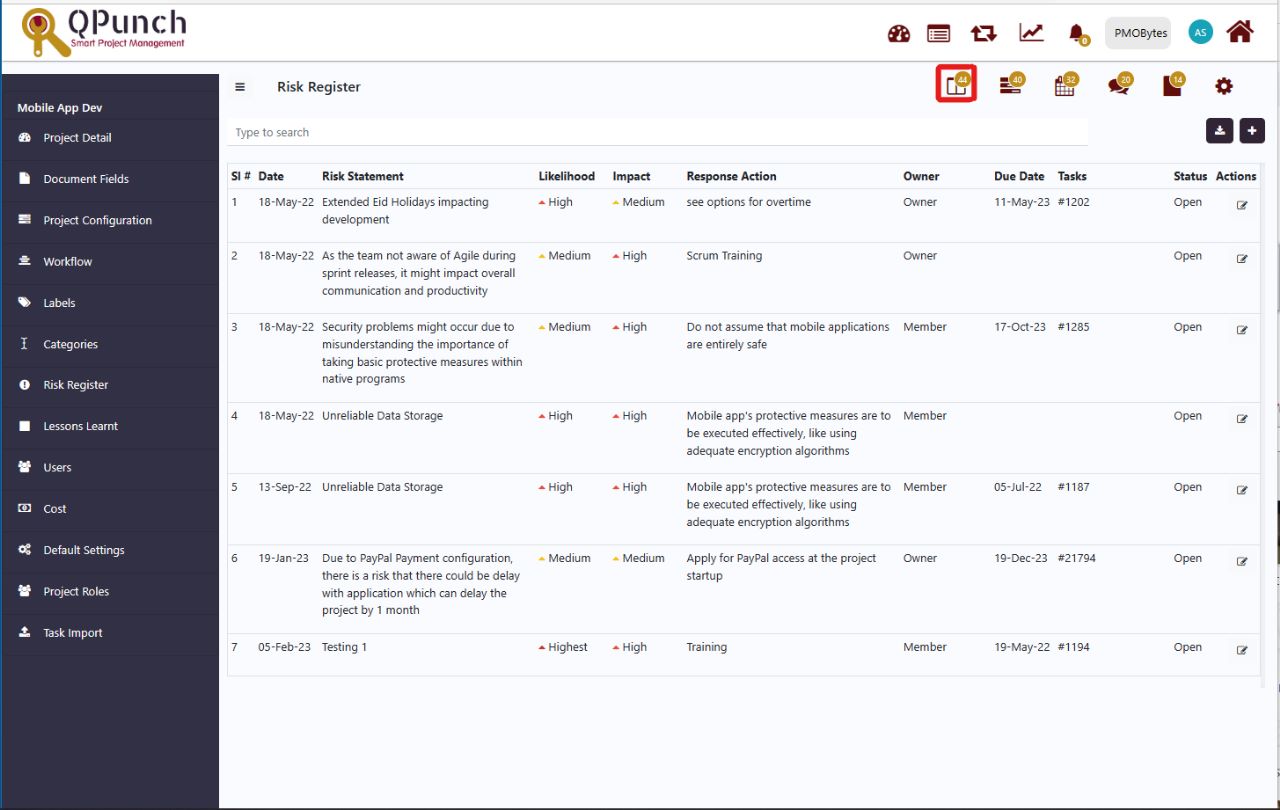
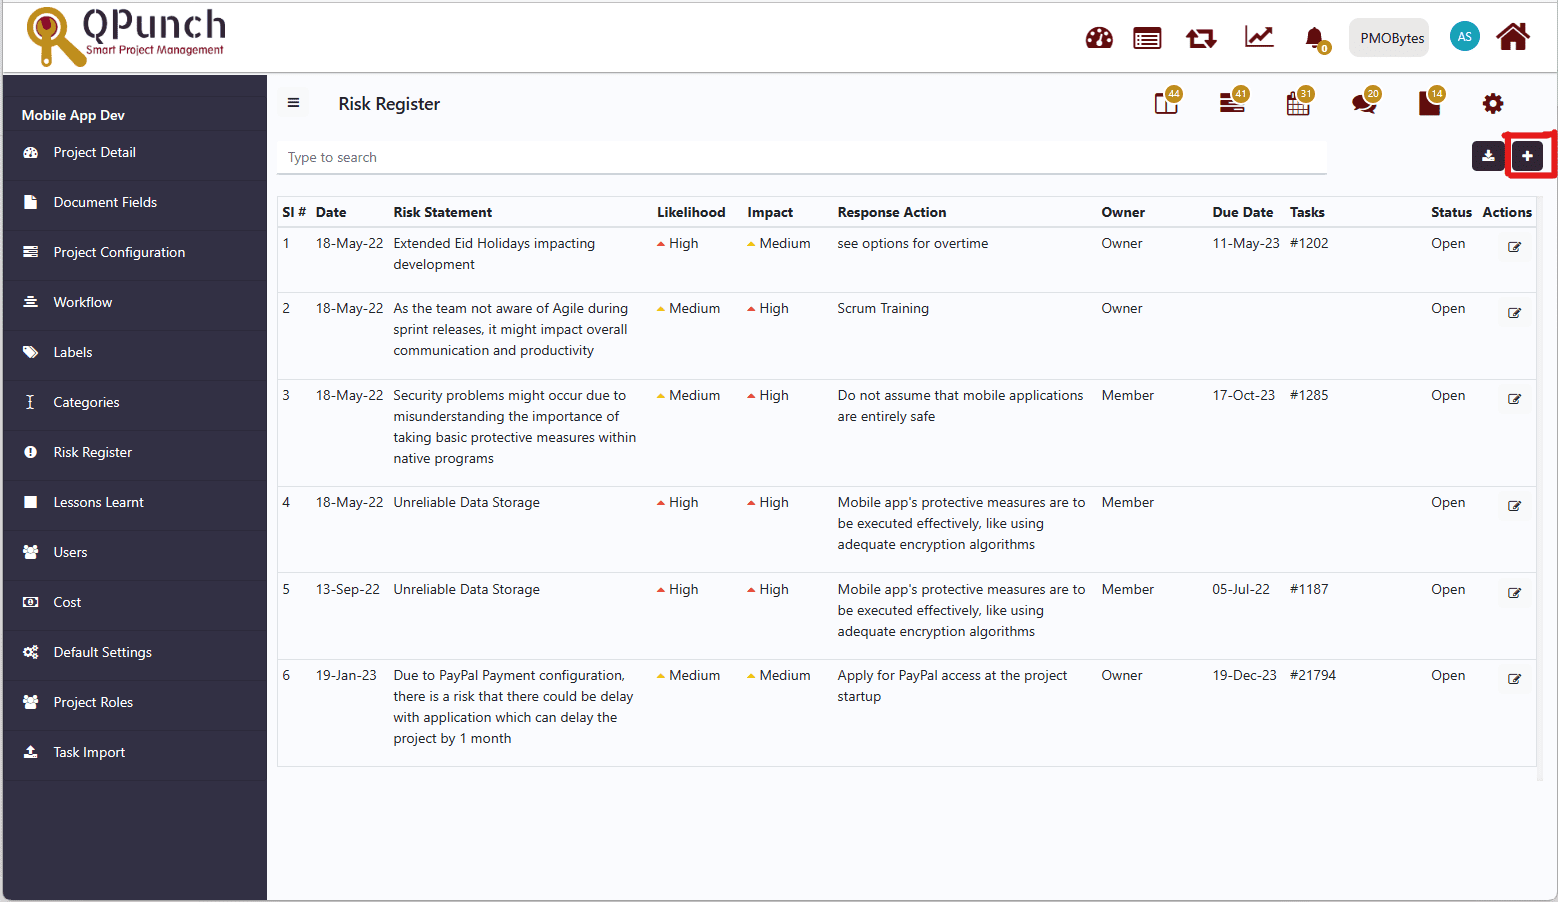
Step 3: Inside the Risk Register tab, You will find the Risk Statement, Likelihood, Impact, Response Action, Owner, Date, Task, Status and Action. Let us discuss further each functionality.
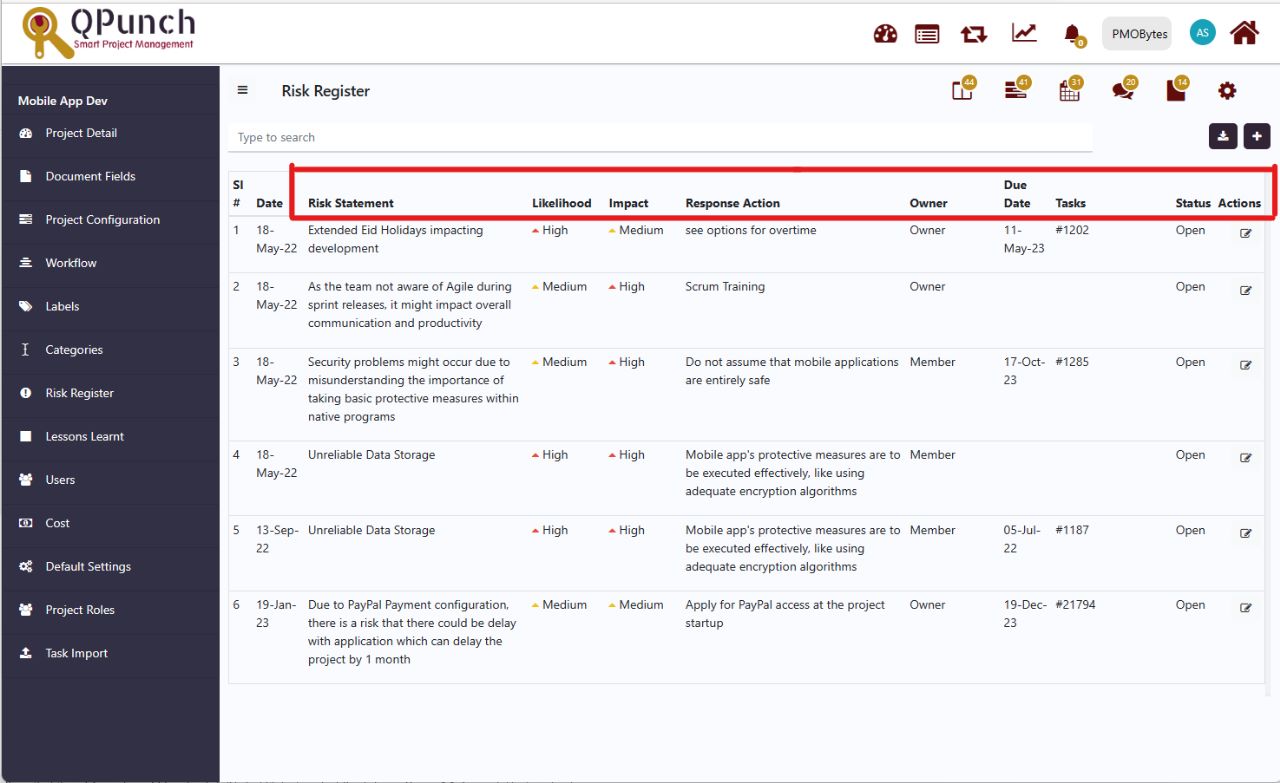
- Risk Statement: A descriptive information about the present condition associated with risk that can impact negatively on the project.

- Likelihood: The possibility of risk occurring that can hinder the project progression.
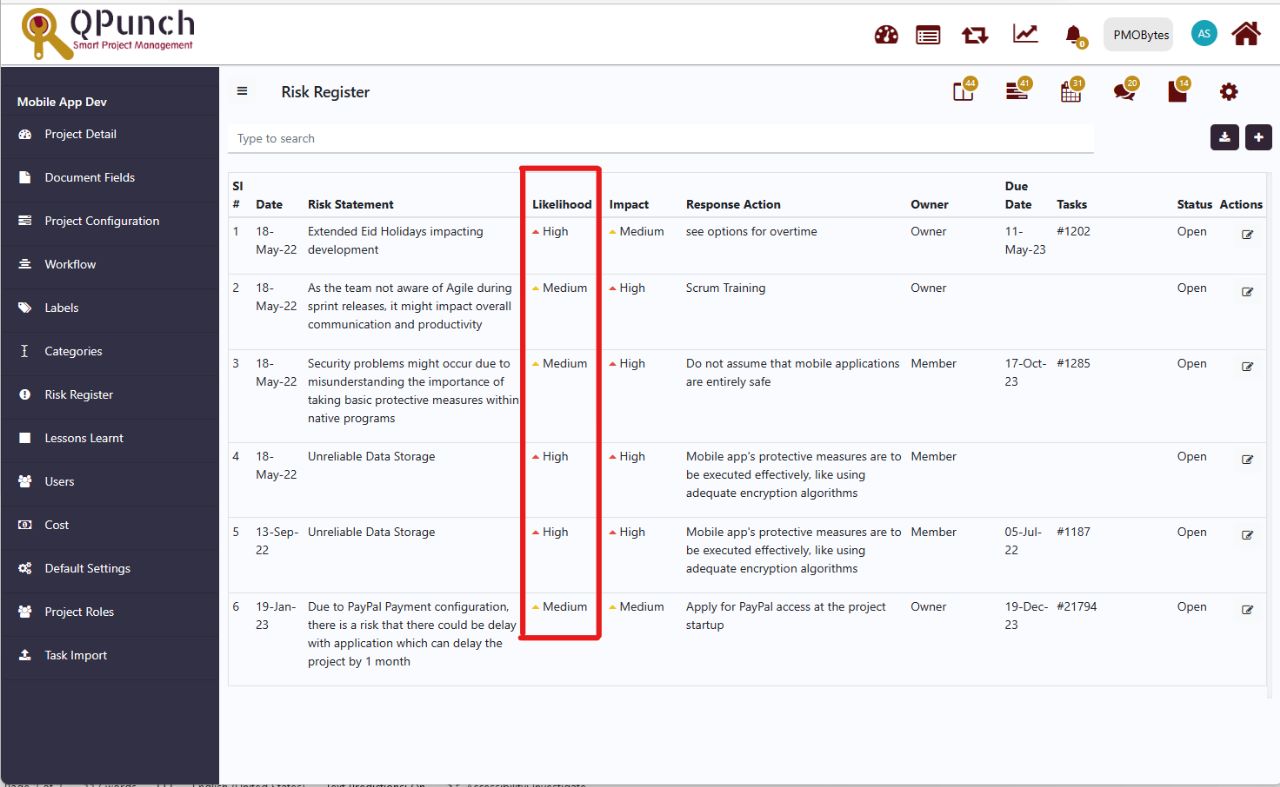
- Impact: The probability of how much damage the identified risk can impact on the project.
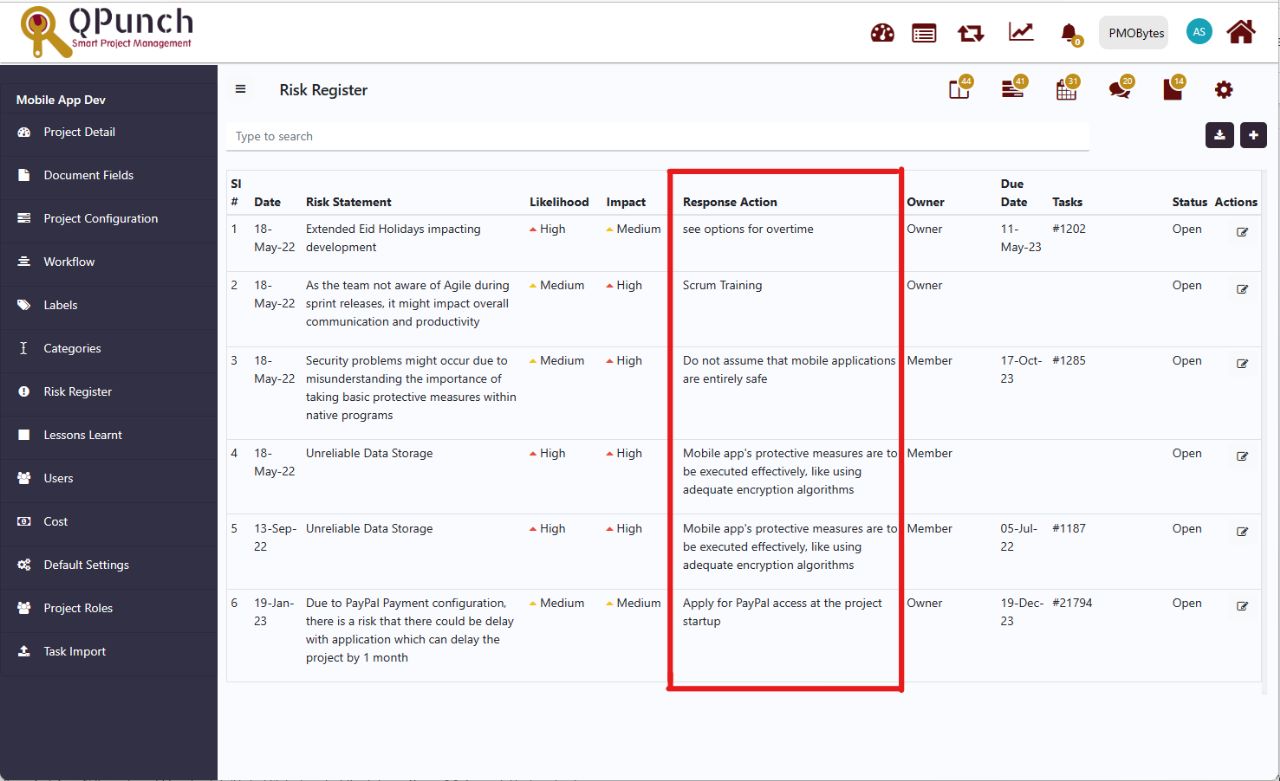
- Response Action: An action taken to minimize probability of the risk occurring and determining ways to reduce or eliminate any threats to the project.
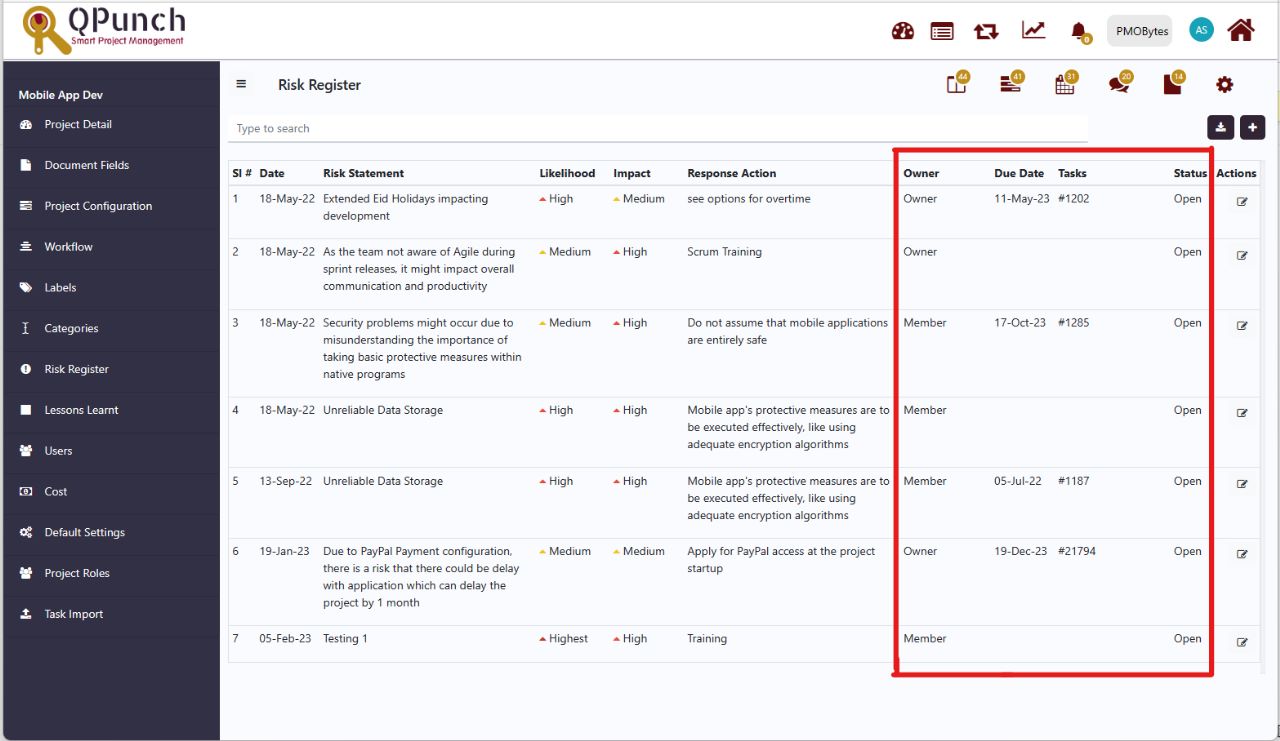
- Status: In the image below, status indicated “OPEN” which means risks are being managed and currently unresolved.
- Date: It indicates the date in which Risk was created.
- Due Date: It shows the duration of the risk that should be taken into account given that a task from kanban board is attached to it.
- Owner: Owner shows the individual who is accountable in ensuring the risk is addressed appropriately.
- Tasks: It shows the number of tasks associated to that particular Risk Register.
How to edit the existing Risk Register
- Click action button parallel to the particular risk statement to edit the description.

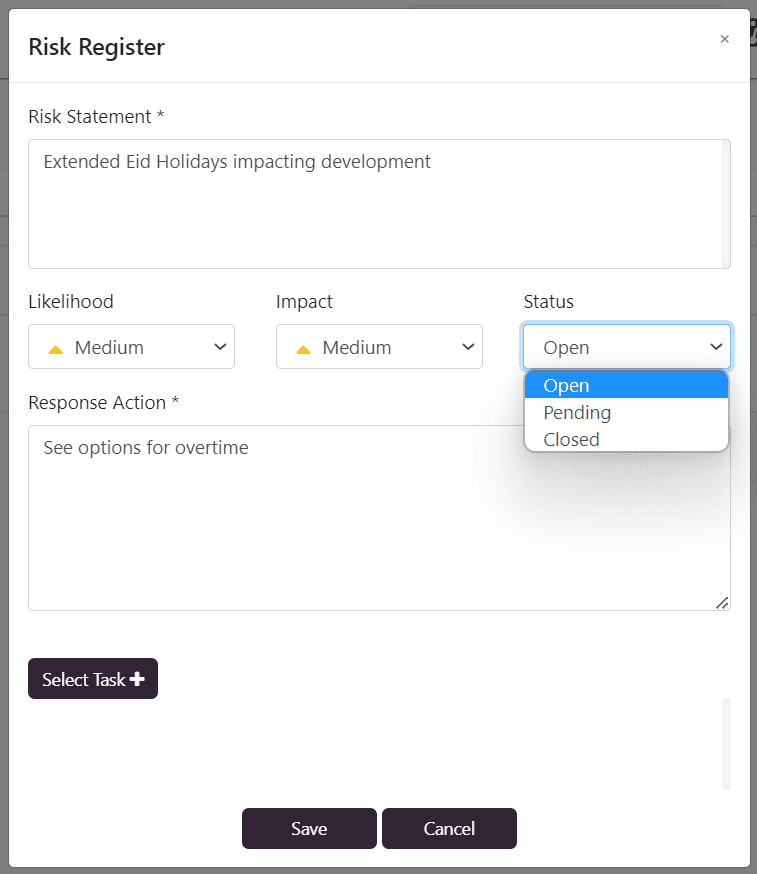
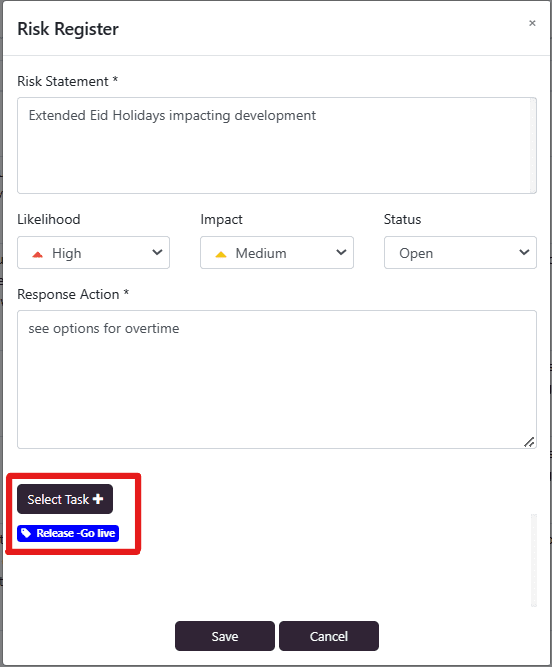
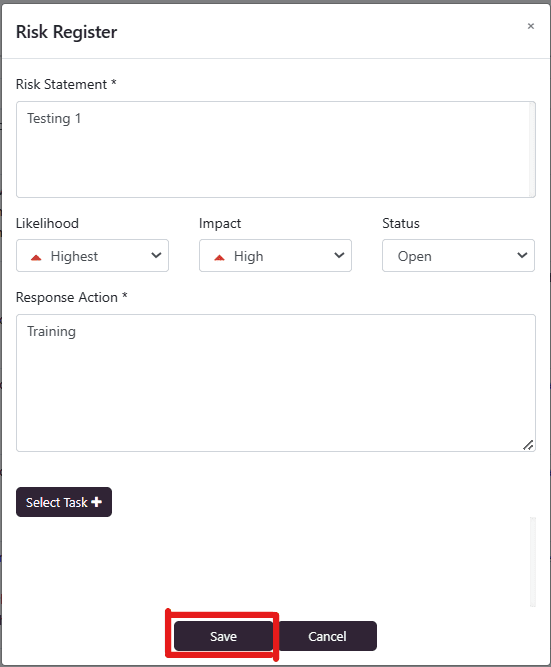
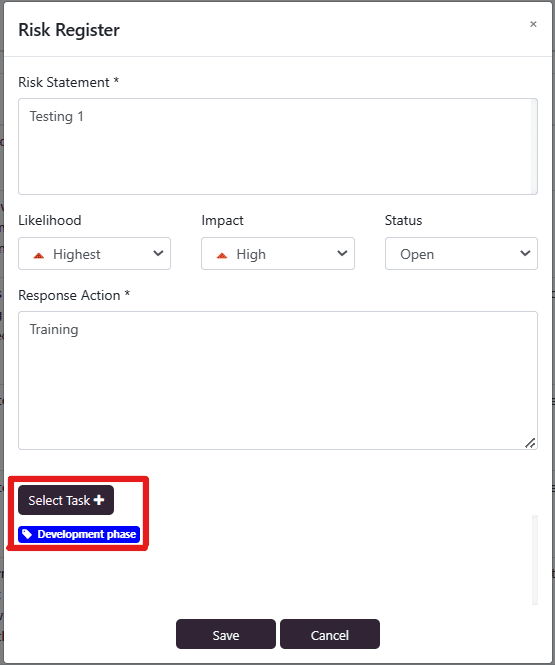
2. Risk Register dialogue box will appear, Wherein you can edit and input new details about risk statement and response action.
- You can change the likelihood and impact of the risk from Highest, high, medium, low and lowest.

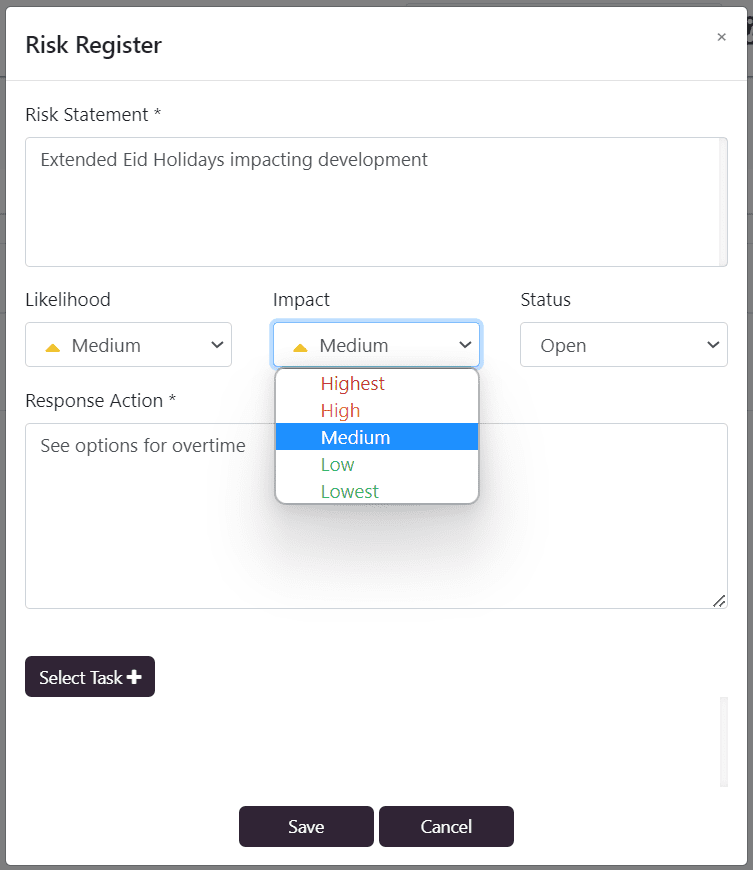
- You can also change the status from Open, Pending and Close.
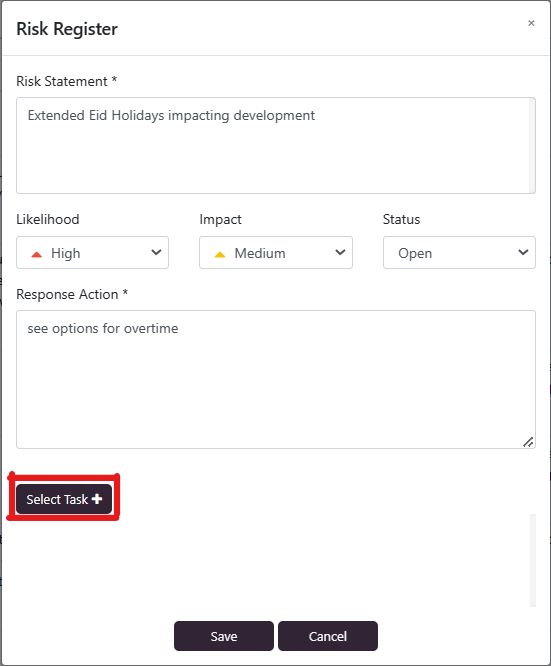
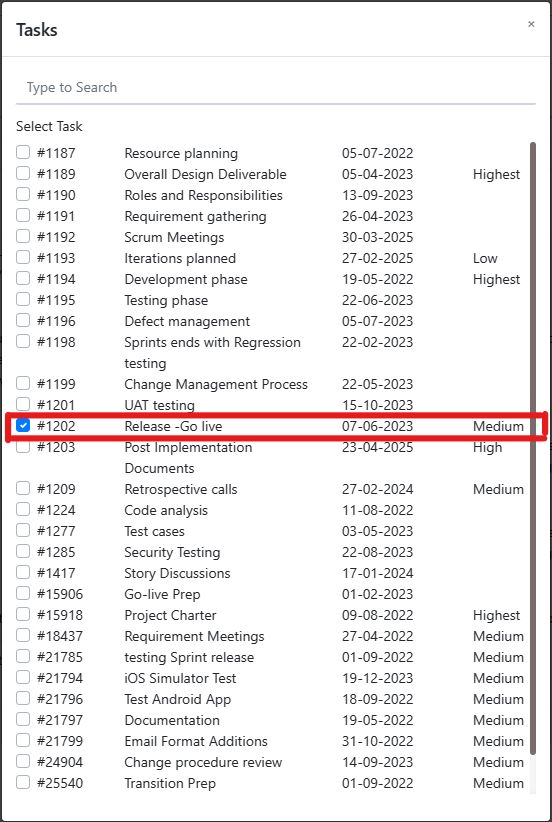
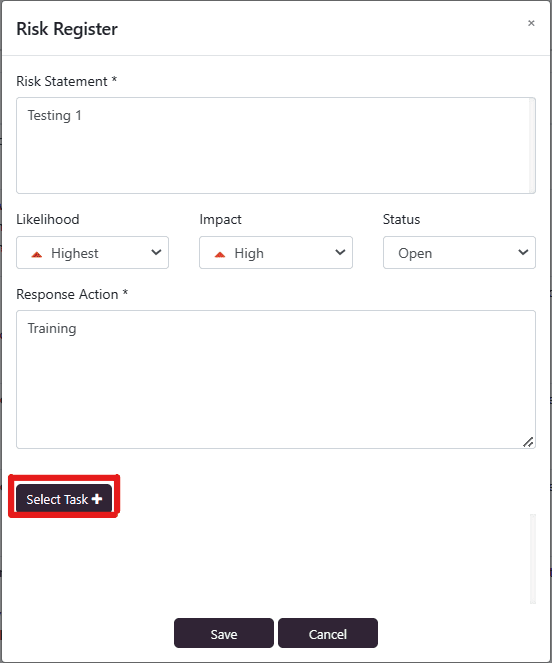
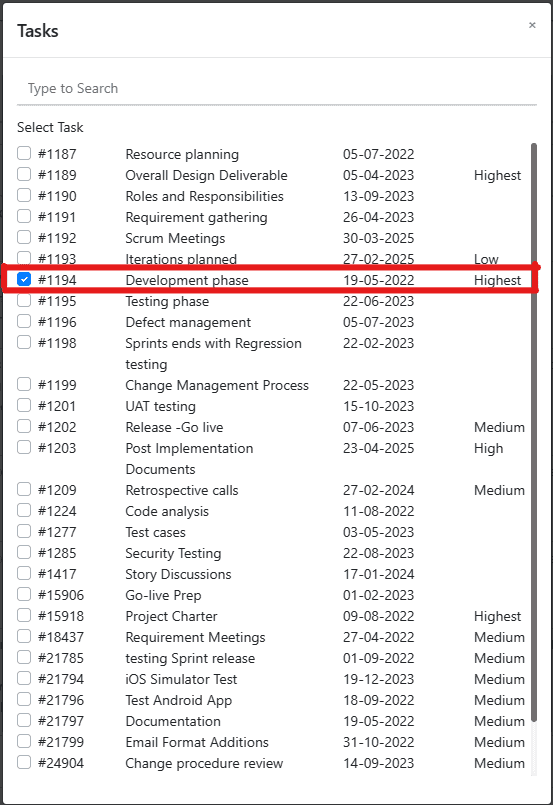
3. Click on the Select Task+ bar to attach a particular task. All task from Kanban board will appear which you can select task that is associated with the risk that has an impact on the project.
How to check attached tasks in Kanban board:
Step 1: Click on the Kanban board icon and see list of tasks
Step 2: You can see lists of tasks in the Kanban Board. Click on the particular task attached to the reported risk in the Risk Register.
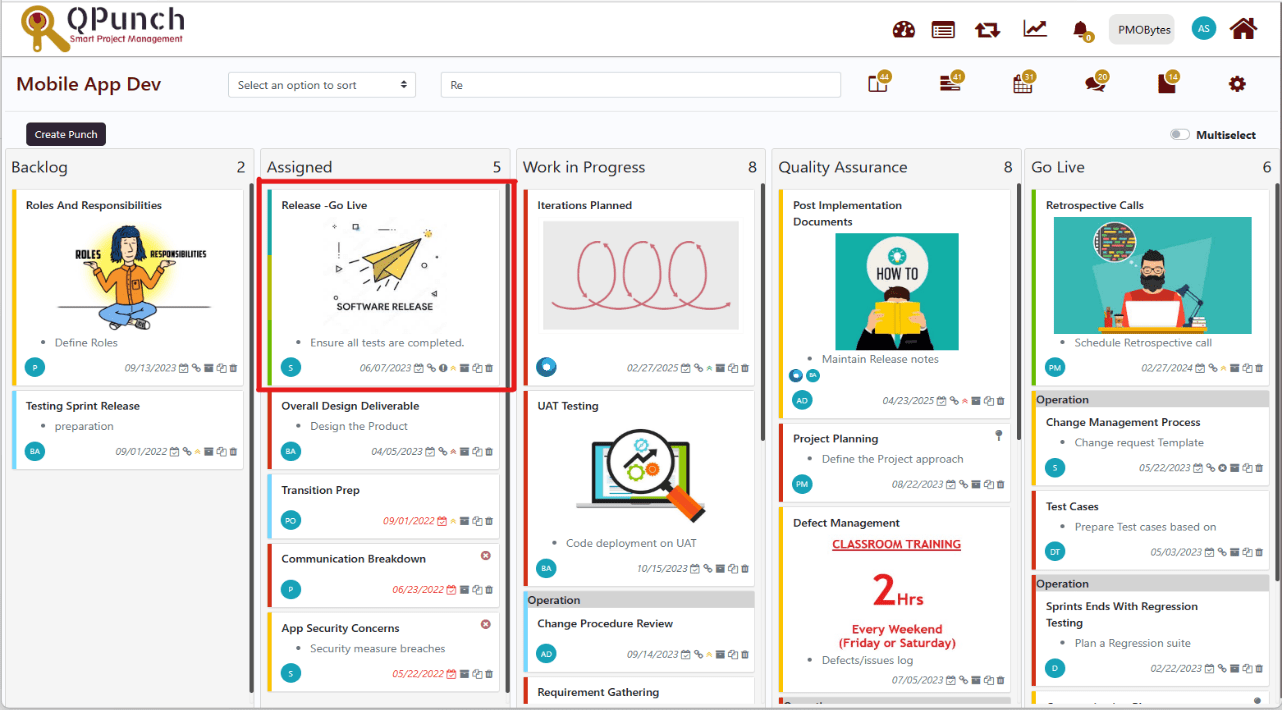
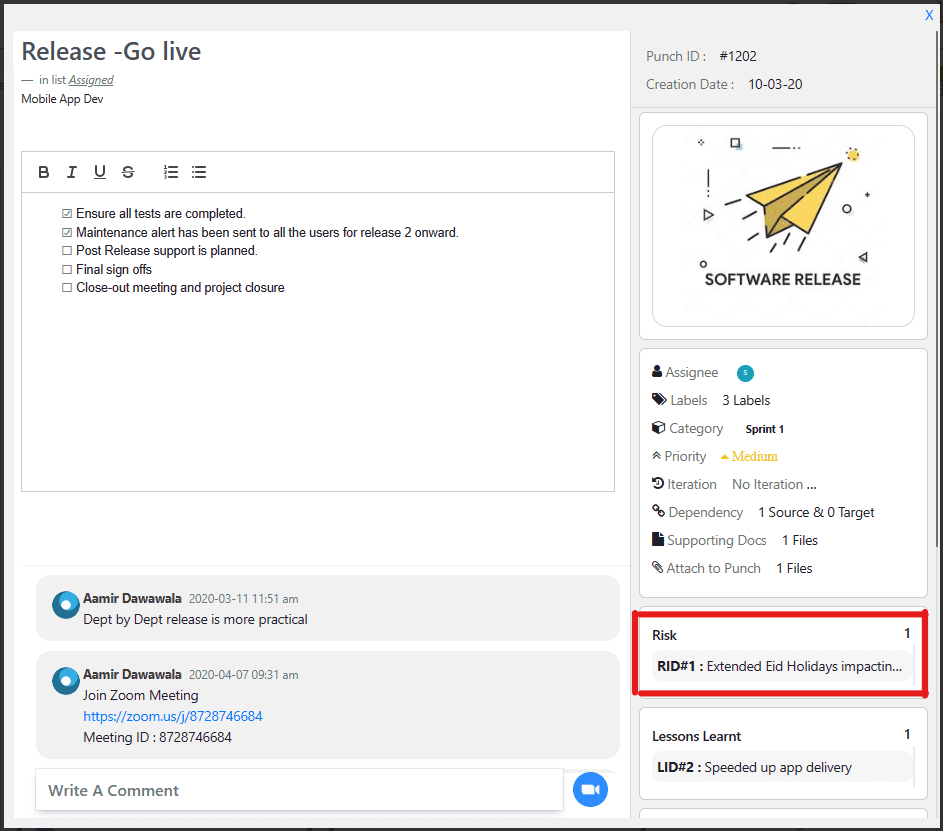
Here you will see all details about the attached task, and the reported risk that can cause negative impact on the project.
Saving will update all vital information in the risk register.
How to Add and Register Risk
Step 1. Click on the + icon at the top right side of your screen.
Step 2. Register dialog box will appear wherein you can fill in all information about the new risk that needs to be reported in the risk register. Save to update all data.
In this image, the new risk has been added and reported in the Risk Register. Reported risk has no task attached that explains due date is not reflected in the risk register.
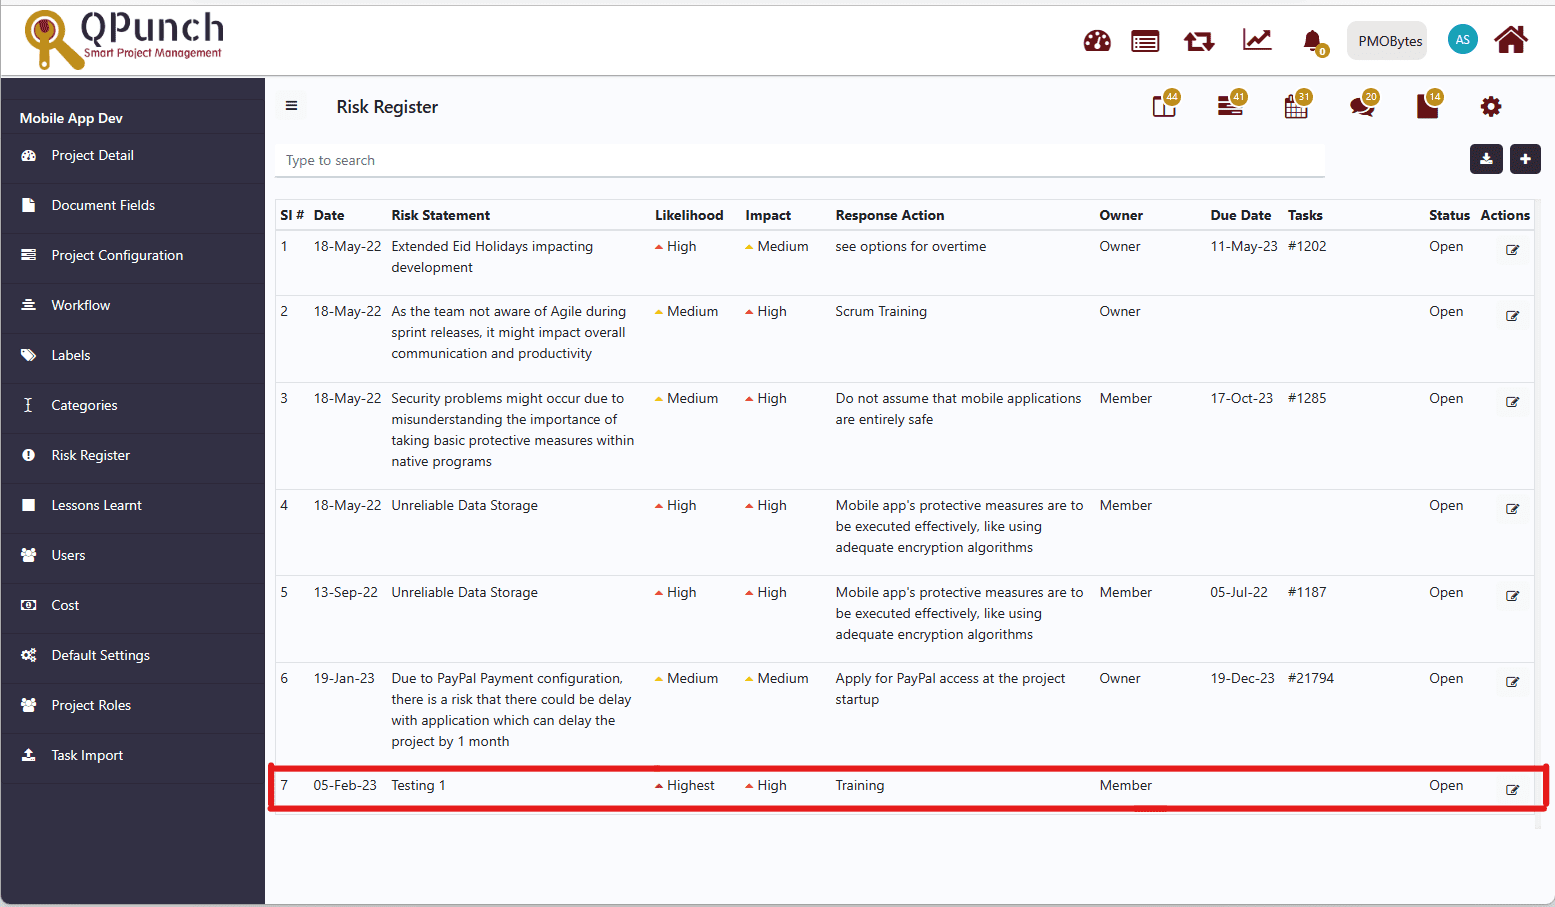
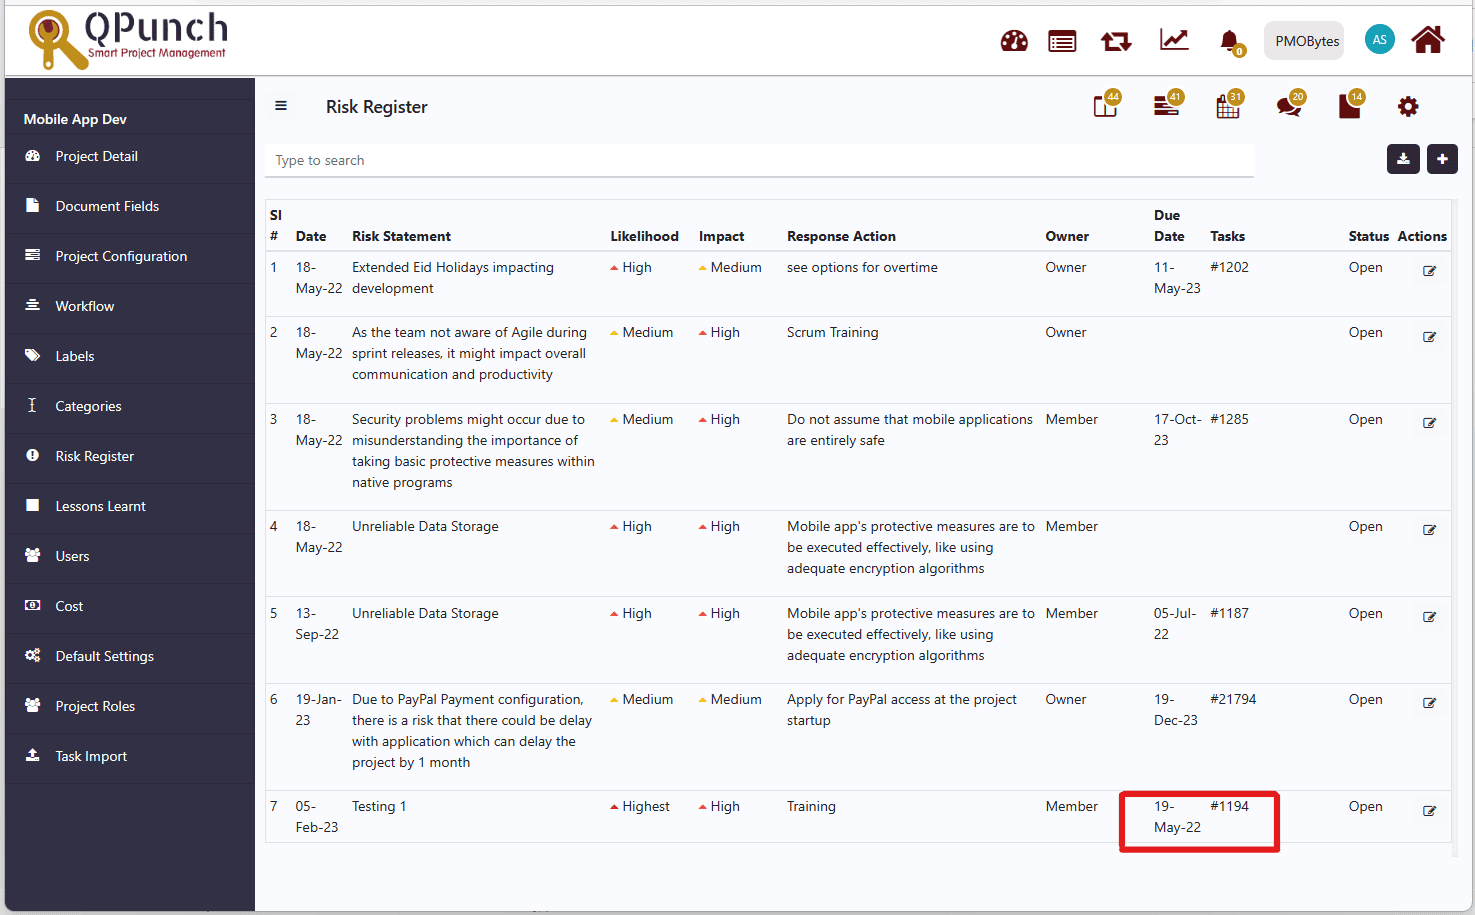
- Reported risk with task attachment will automatically get the due date from that associated task and will be reflected in the risk register.
Saving will update information in the risk register.
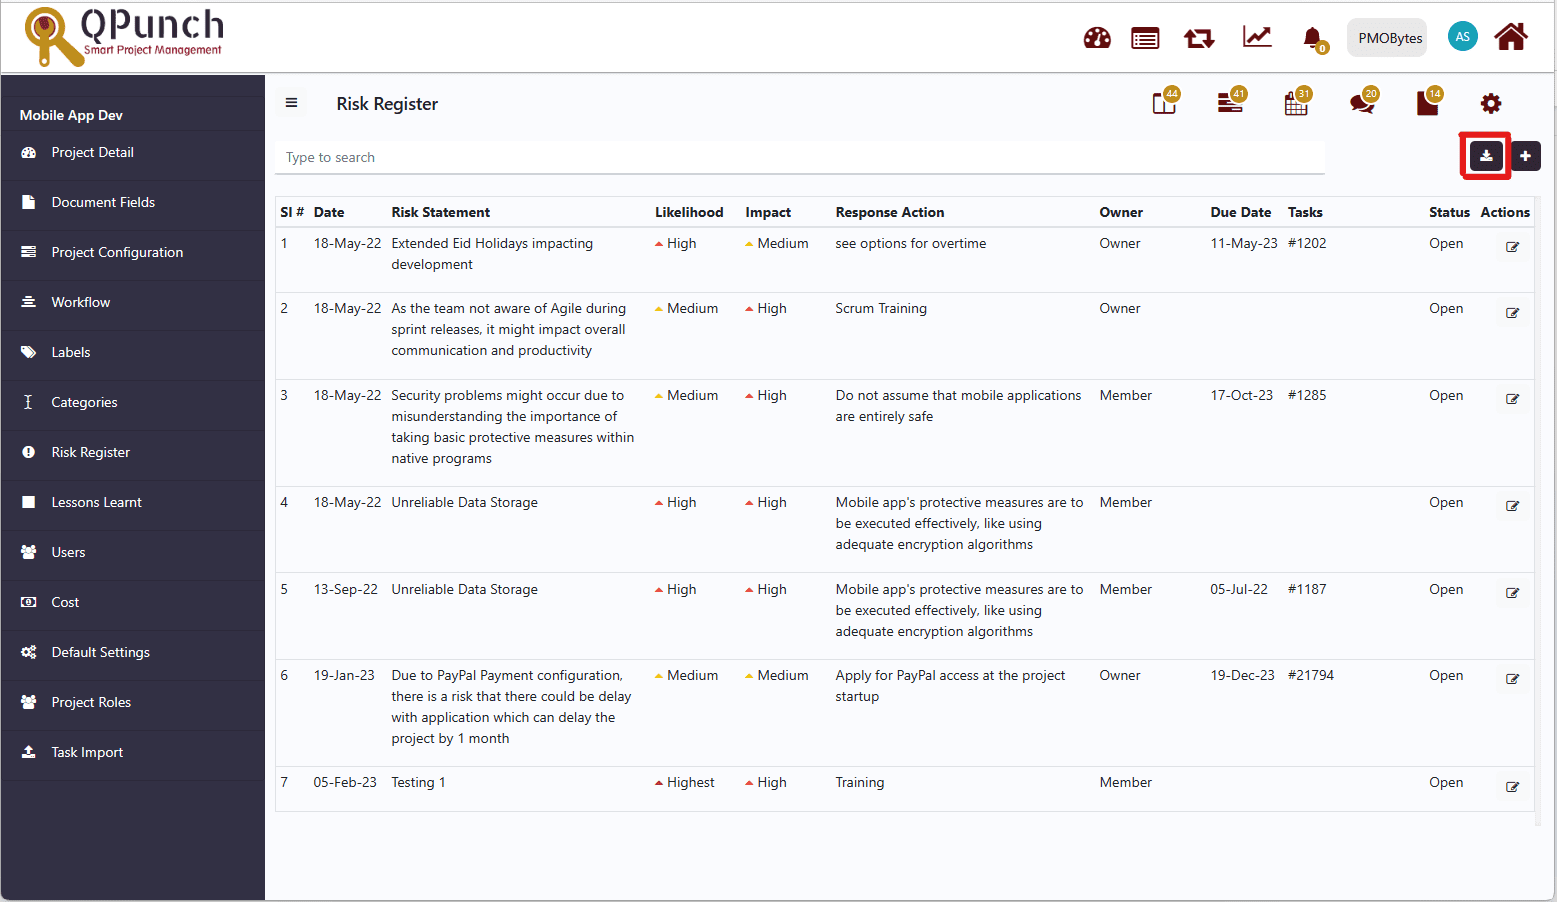
You can download file from Risk Register by clicking download icon.
Risk Register helps fulfill regulatory requirements and mitigate potential risk in a project that might derail intended outcomes.