The Global Rollout feature in QPunch enables users to track the progress of any rollout across multiple countries. Whether you’re managing the rollout of devices, software, services, or any other product, this feature provides a structured table and an integrated World Map to help monitor the rollout’s progress worldwide. This guide will walk you through the steps to configure the Global Rollout, set up additional fields for the Global Rollout Table, and visualize your project’s progress using the World Map integration.
Configuring Global Rollout and World Map
Step 1: Creating Tasks for Global Rollout
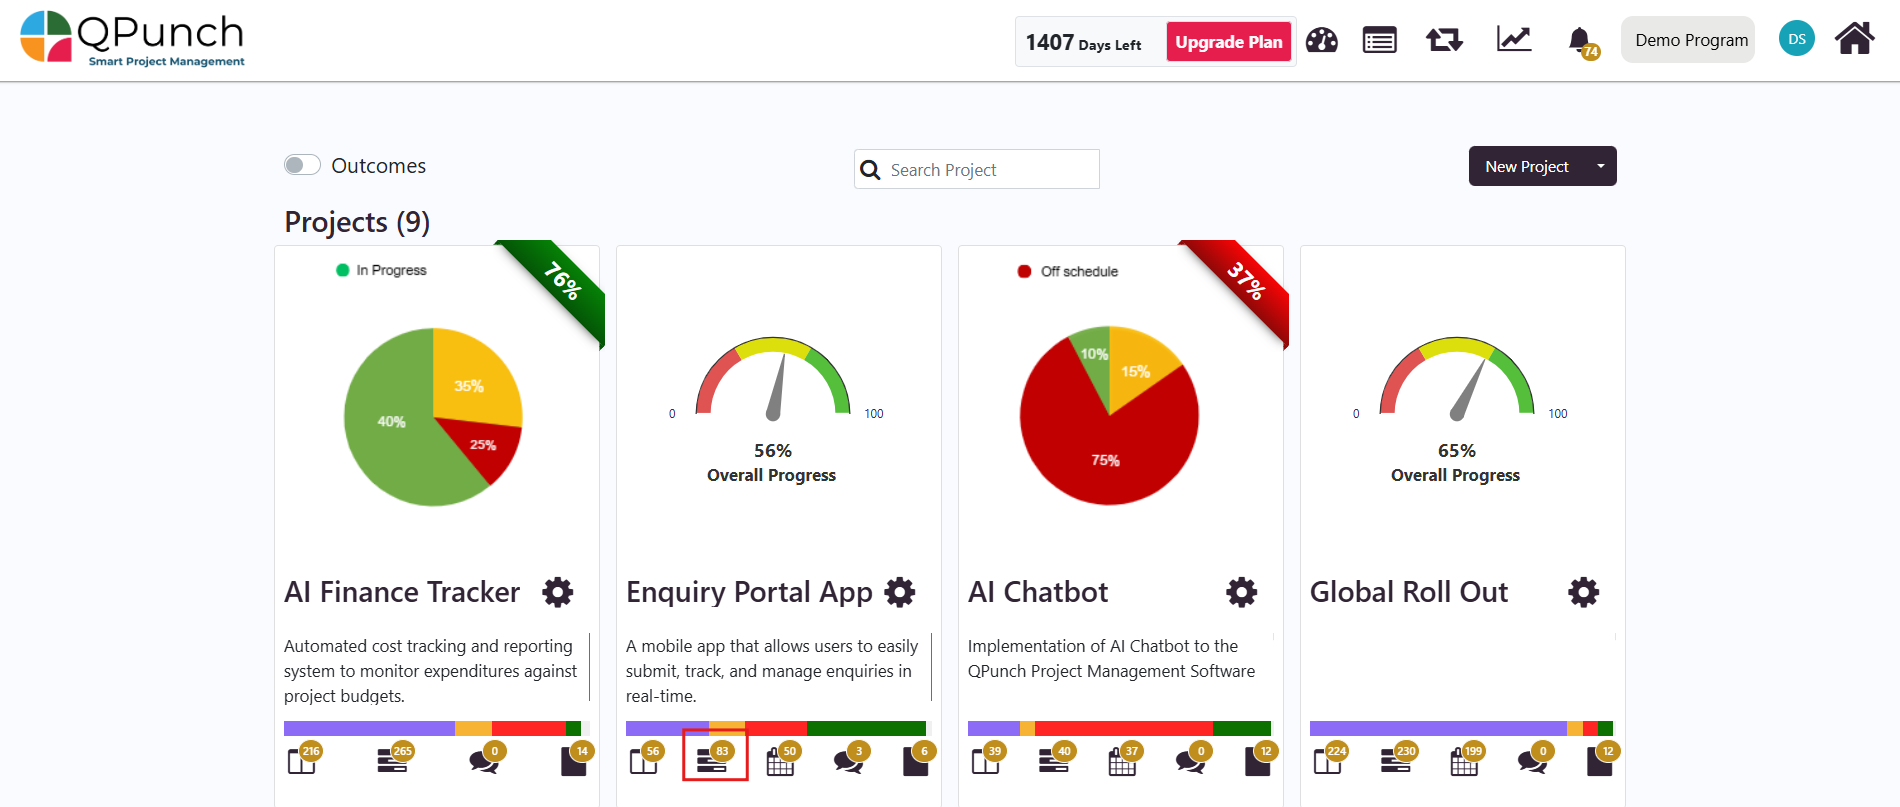
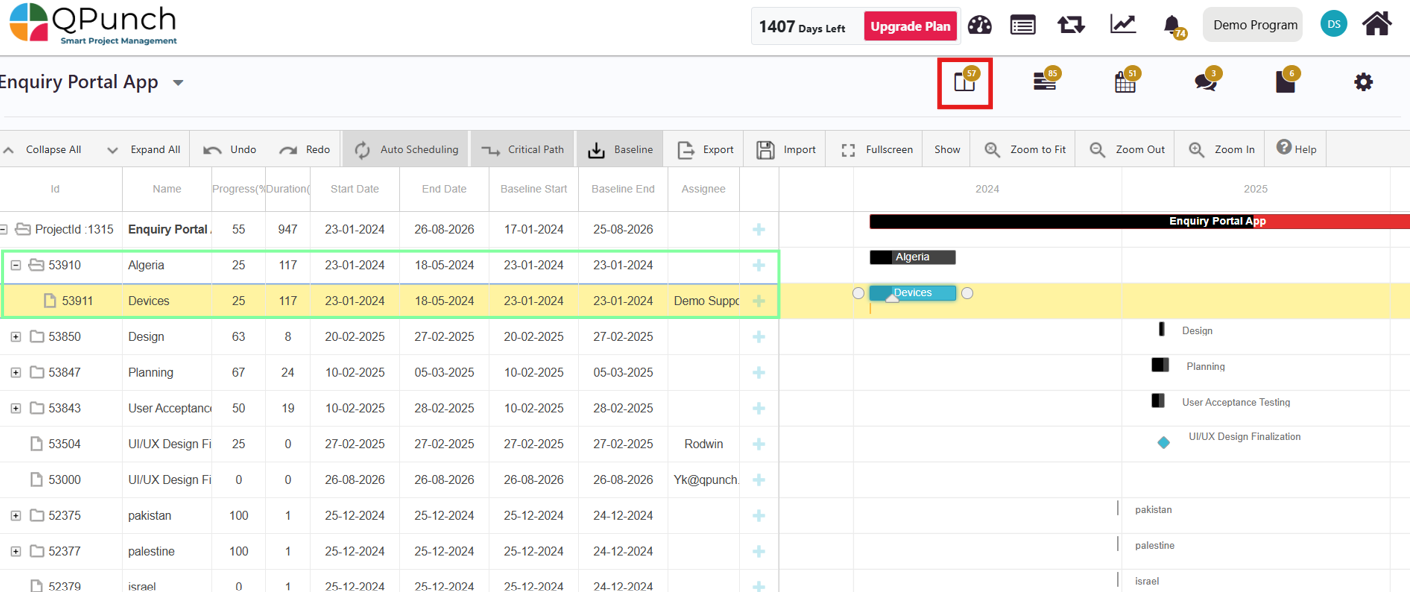
Navigate to the Gantt View of a project.
2. Click the Add (+) signto create a new Group Task.
3. Under the group task, click the Add (+) Signto create a subtask.
4. Save your changes and navigate to the Kanban Board by selecting the icon highlighted below to review the tasks.
Step 2: Assigning Tasks to Global Rollout
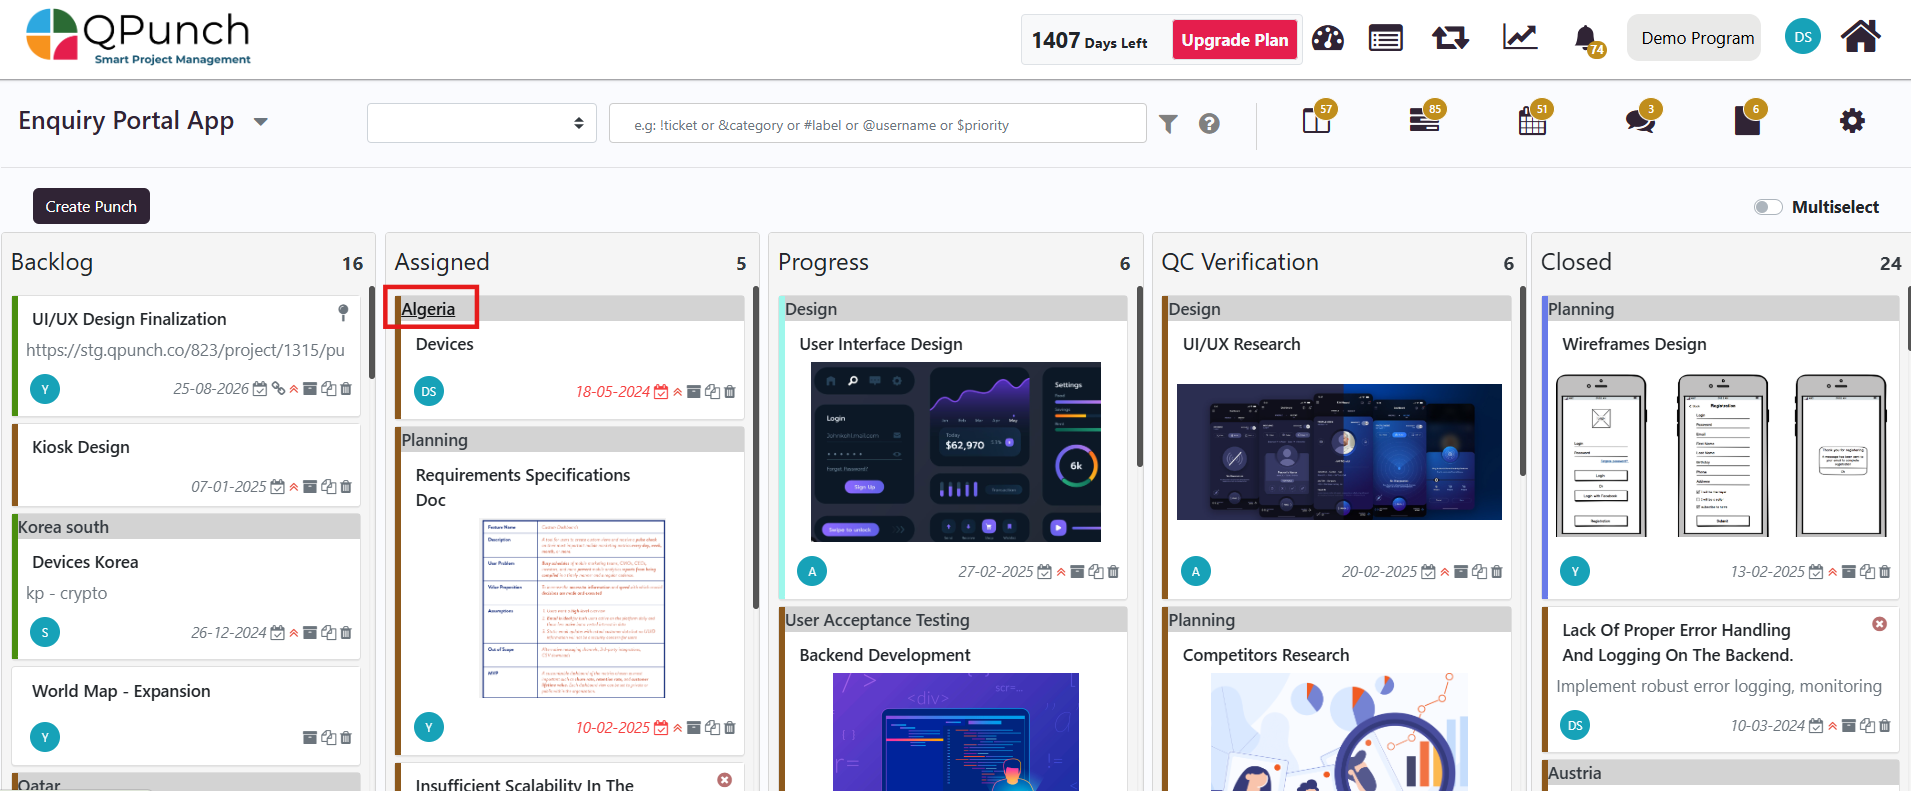
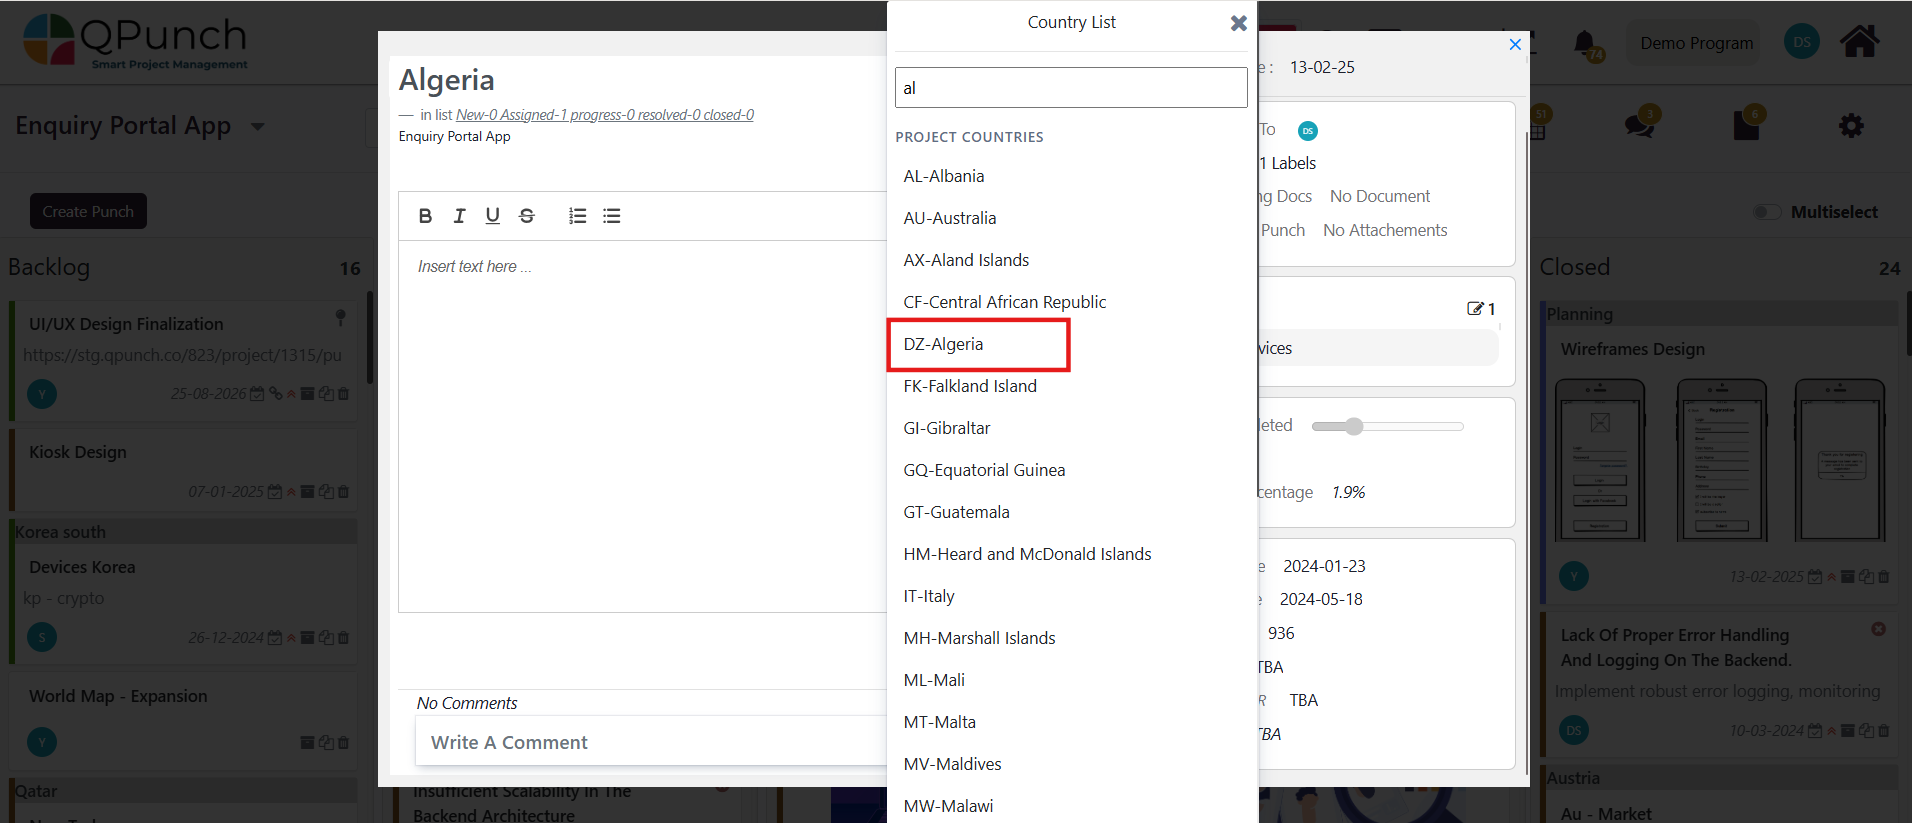
Click on the Group Task Title you want to include in the Global Rollout Table.
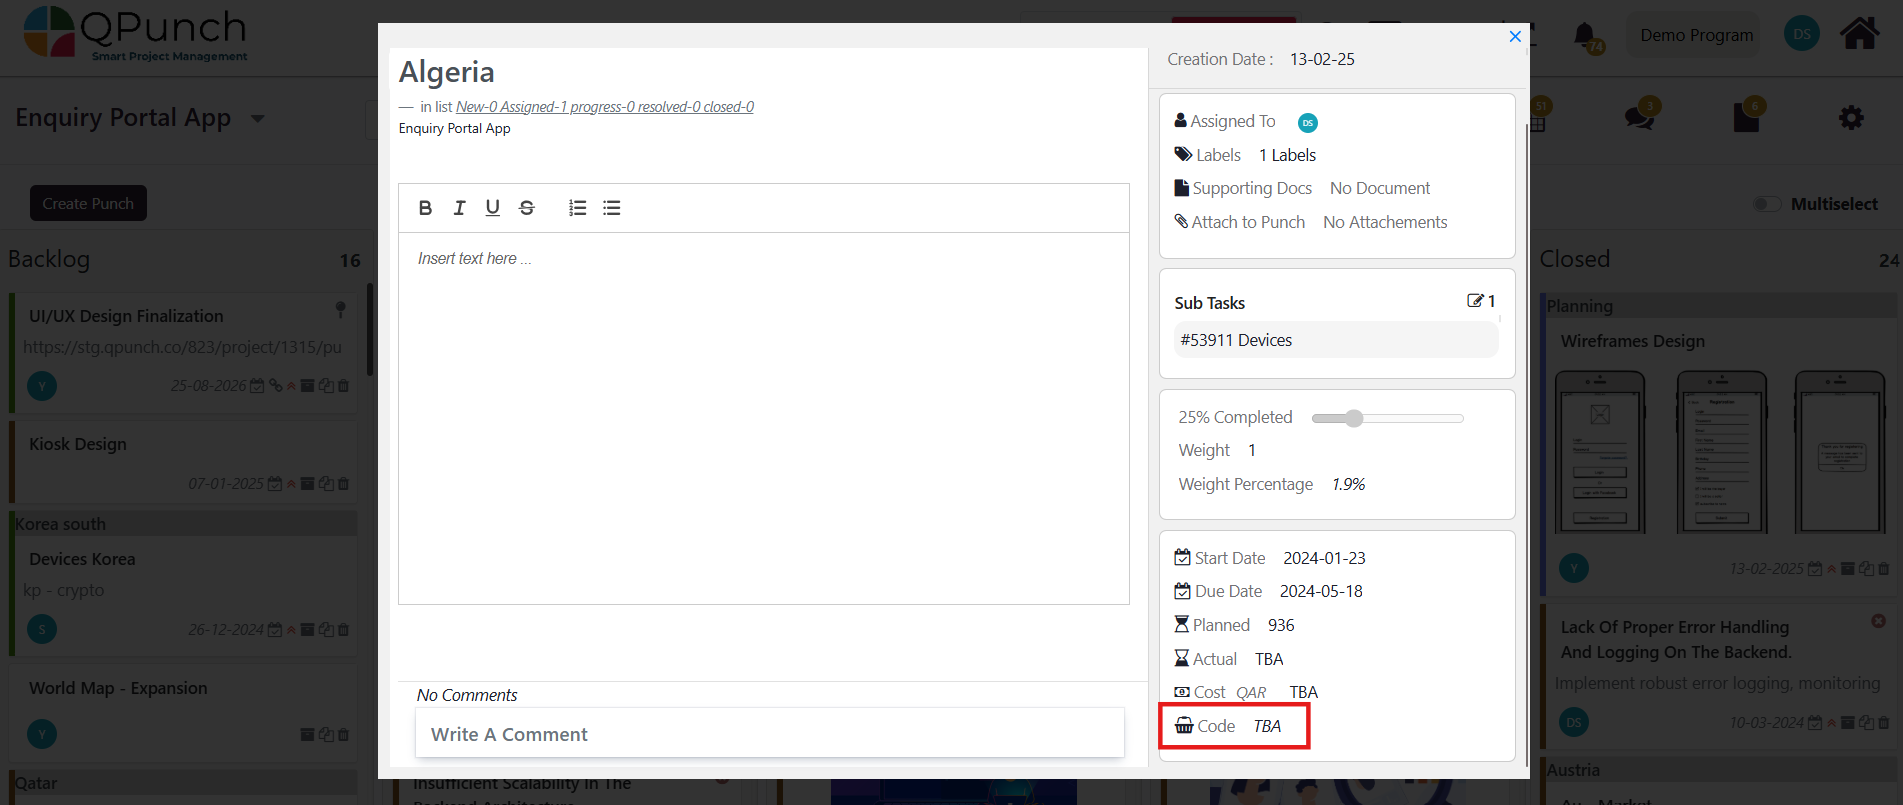
2. Scroll to the Code field of the task.
3. Select the relevanttwo-letter country codefrom the drop-down field that appears (e.g., “IN” for India, “US” for the USA).
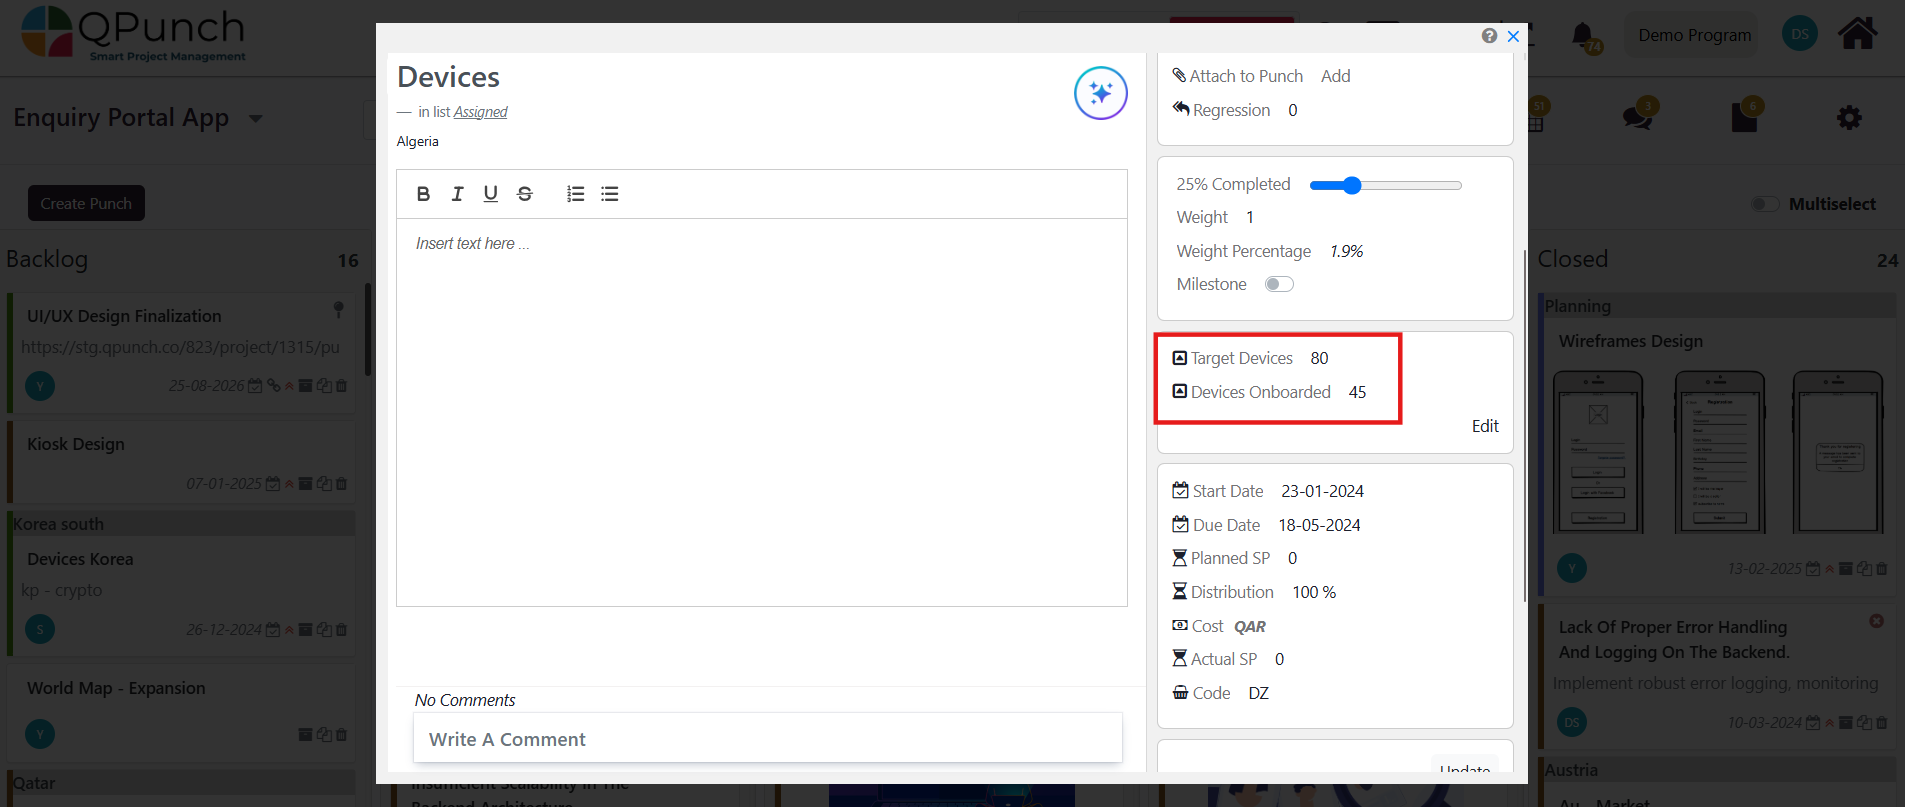
4. Once you enter the code in the group task, it will automatically sync to all associated subtasks. Navigate back to the Kanban Board to view the sub-tasks and confirm that the country code has been applied.
5. If there are additional fields, enter the relevant data in the Additional Fields section of the task.
Step 3: Configuring Additional Fields for Global Rollout Table
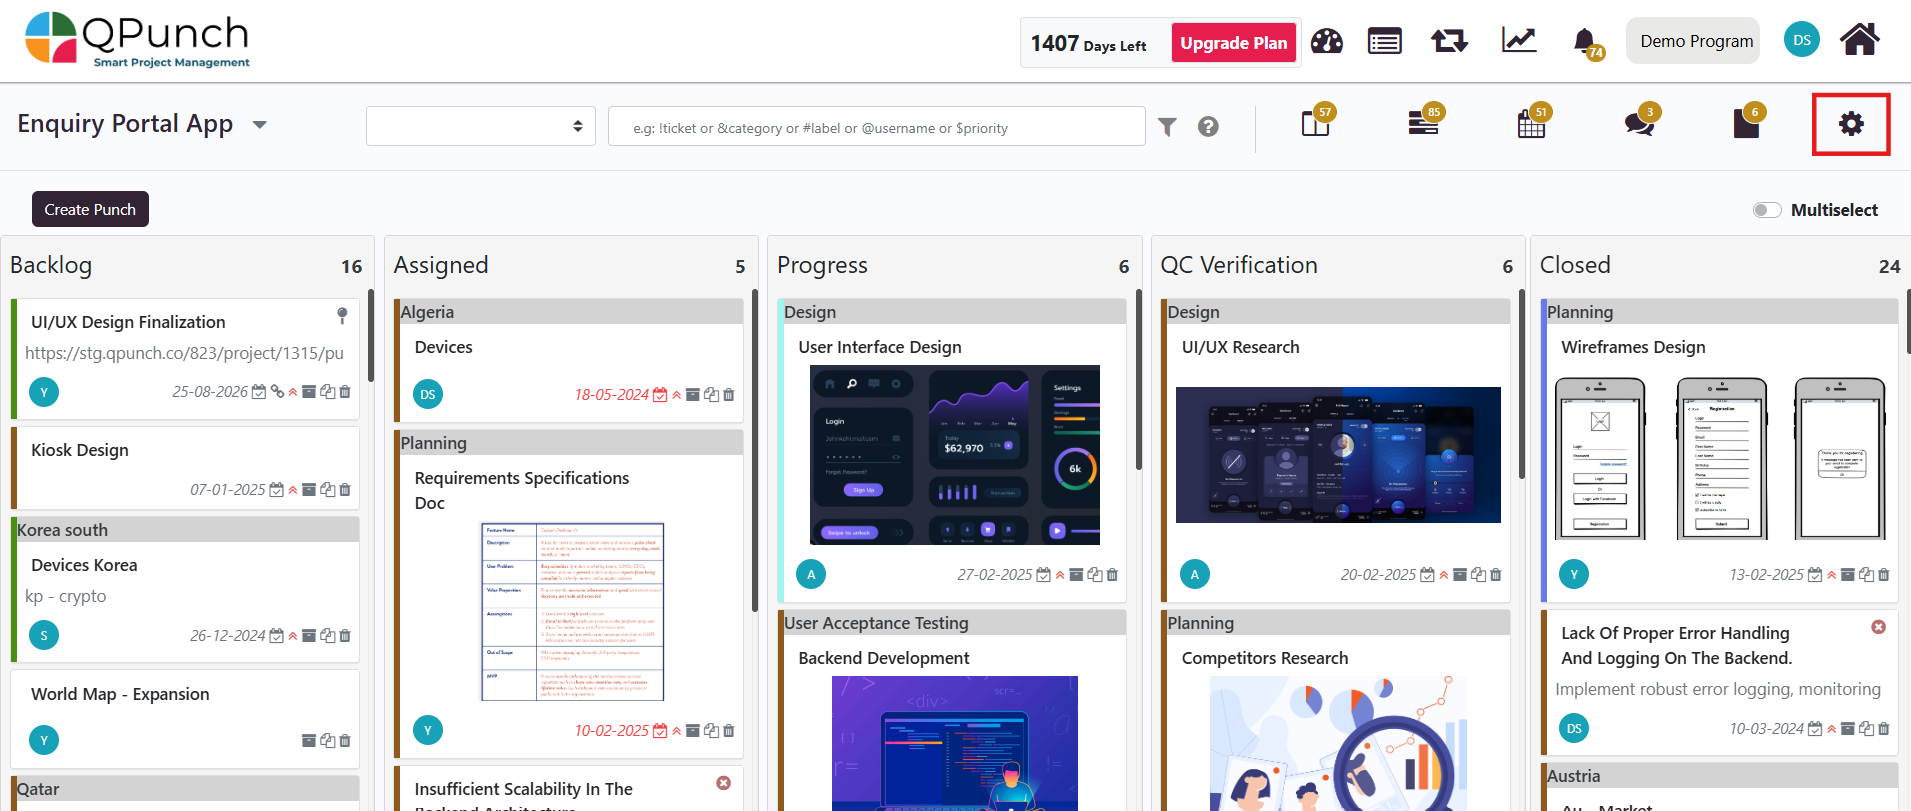
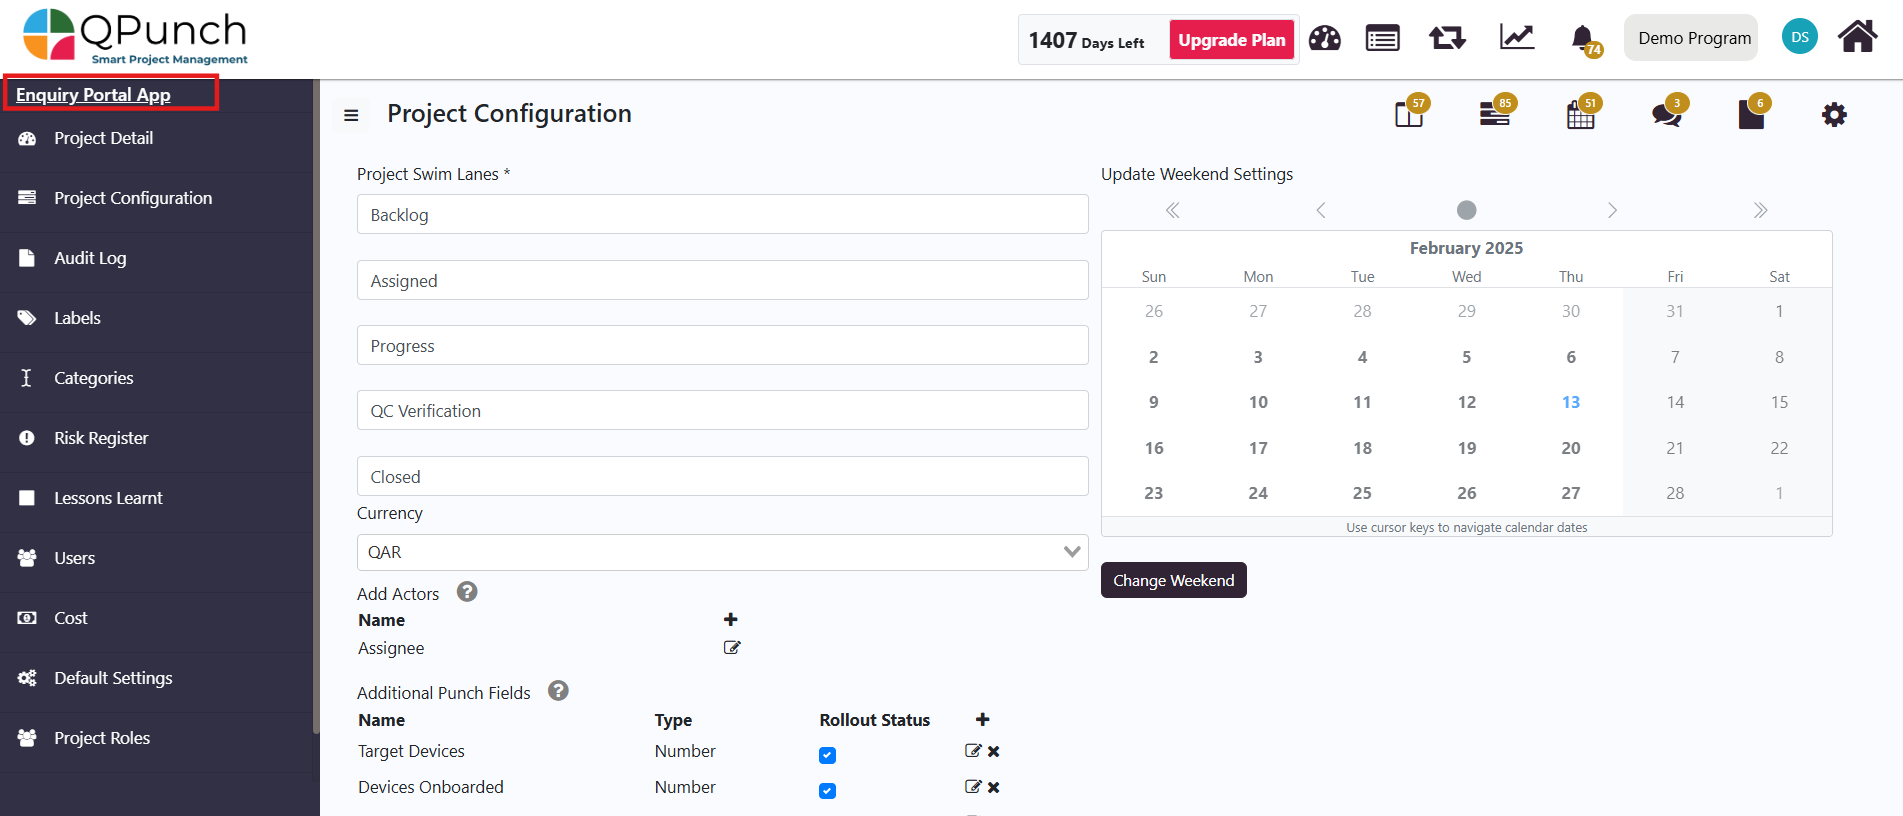
To view the additional fields, navigate to Project Settings.
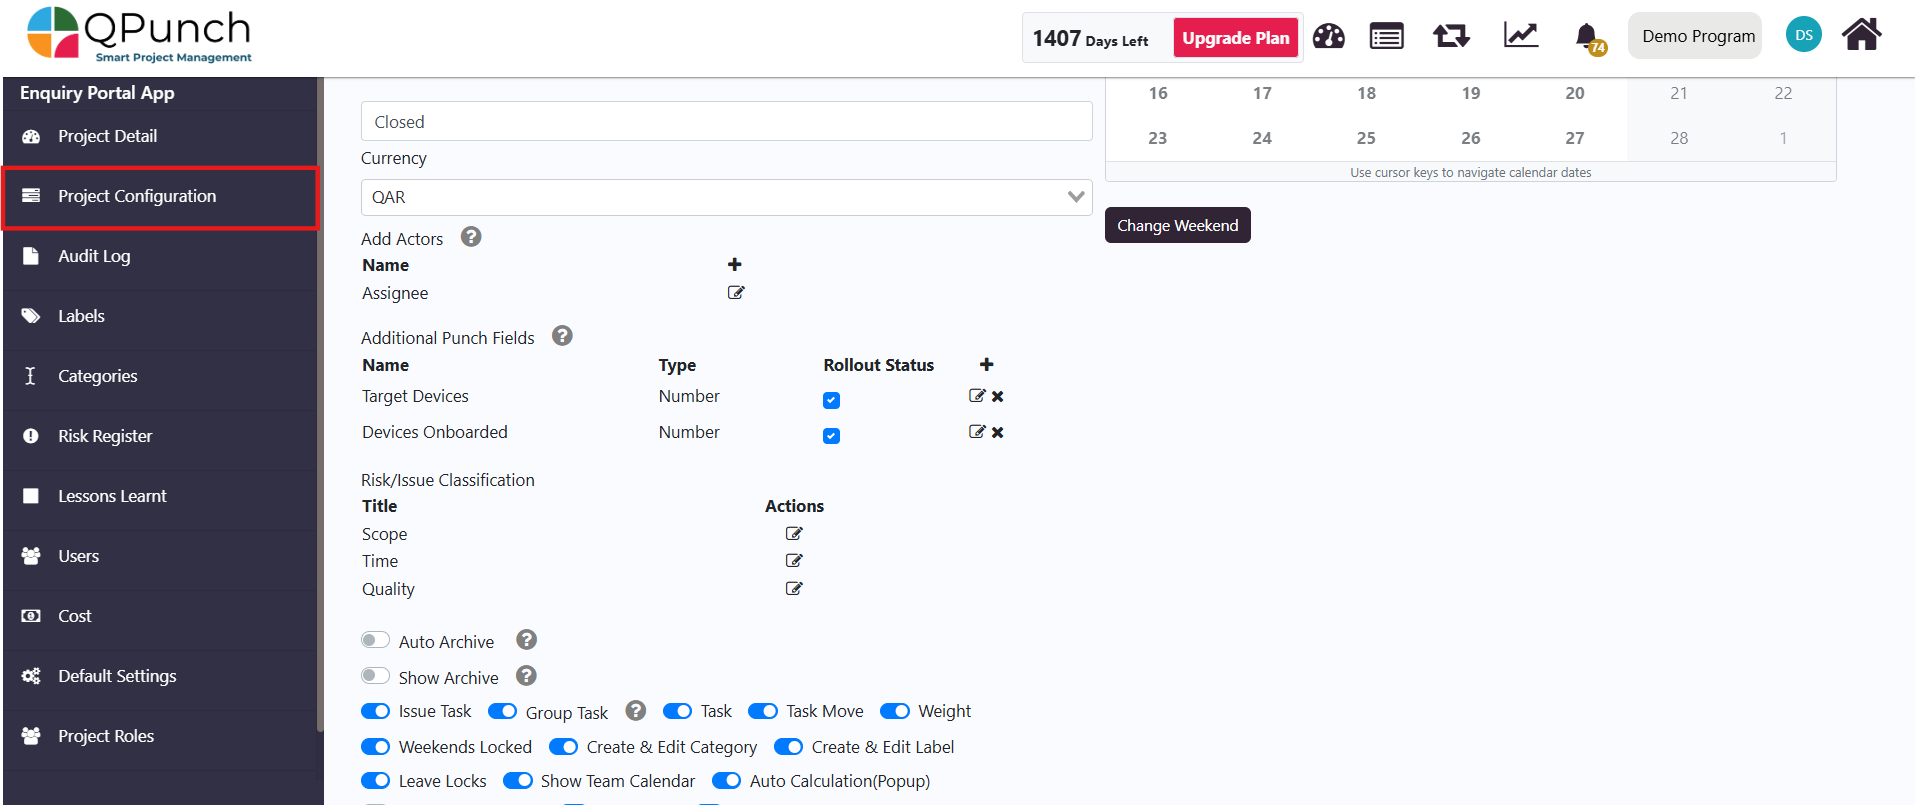
2. SelectProject Configurationfrom the side menu.
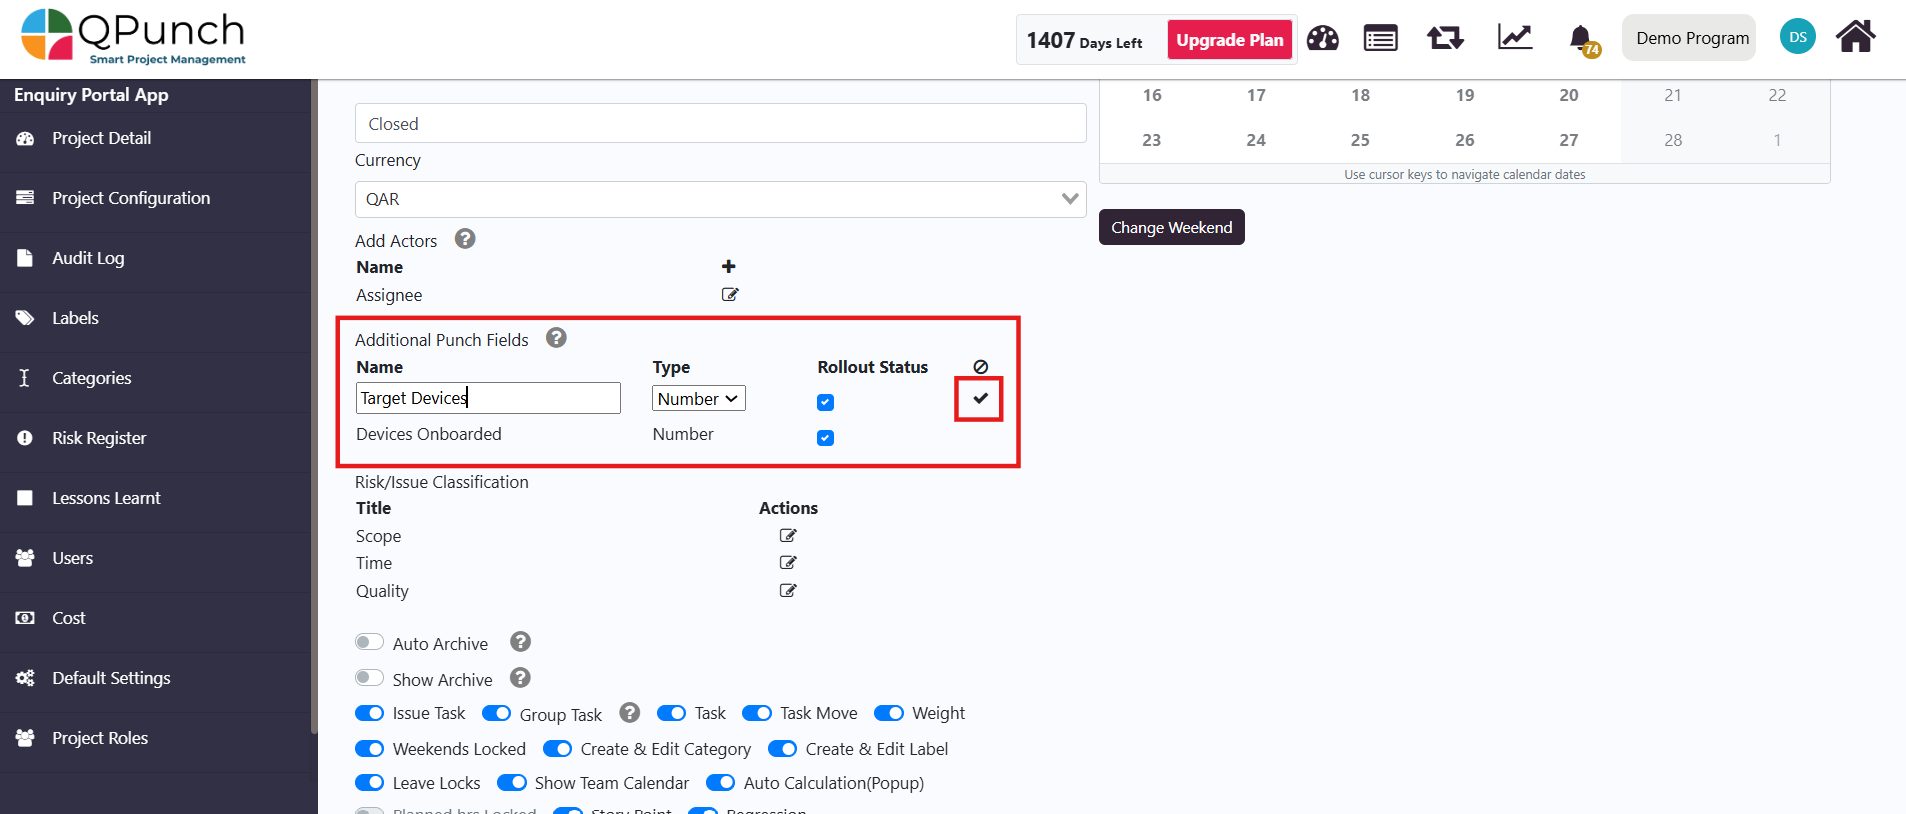
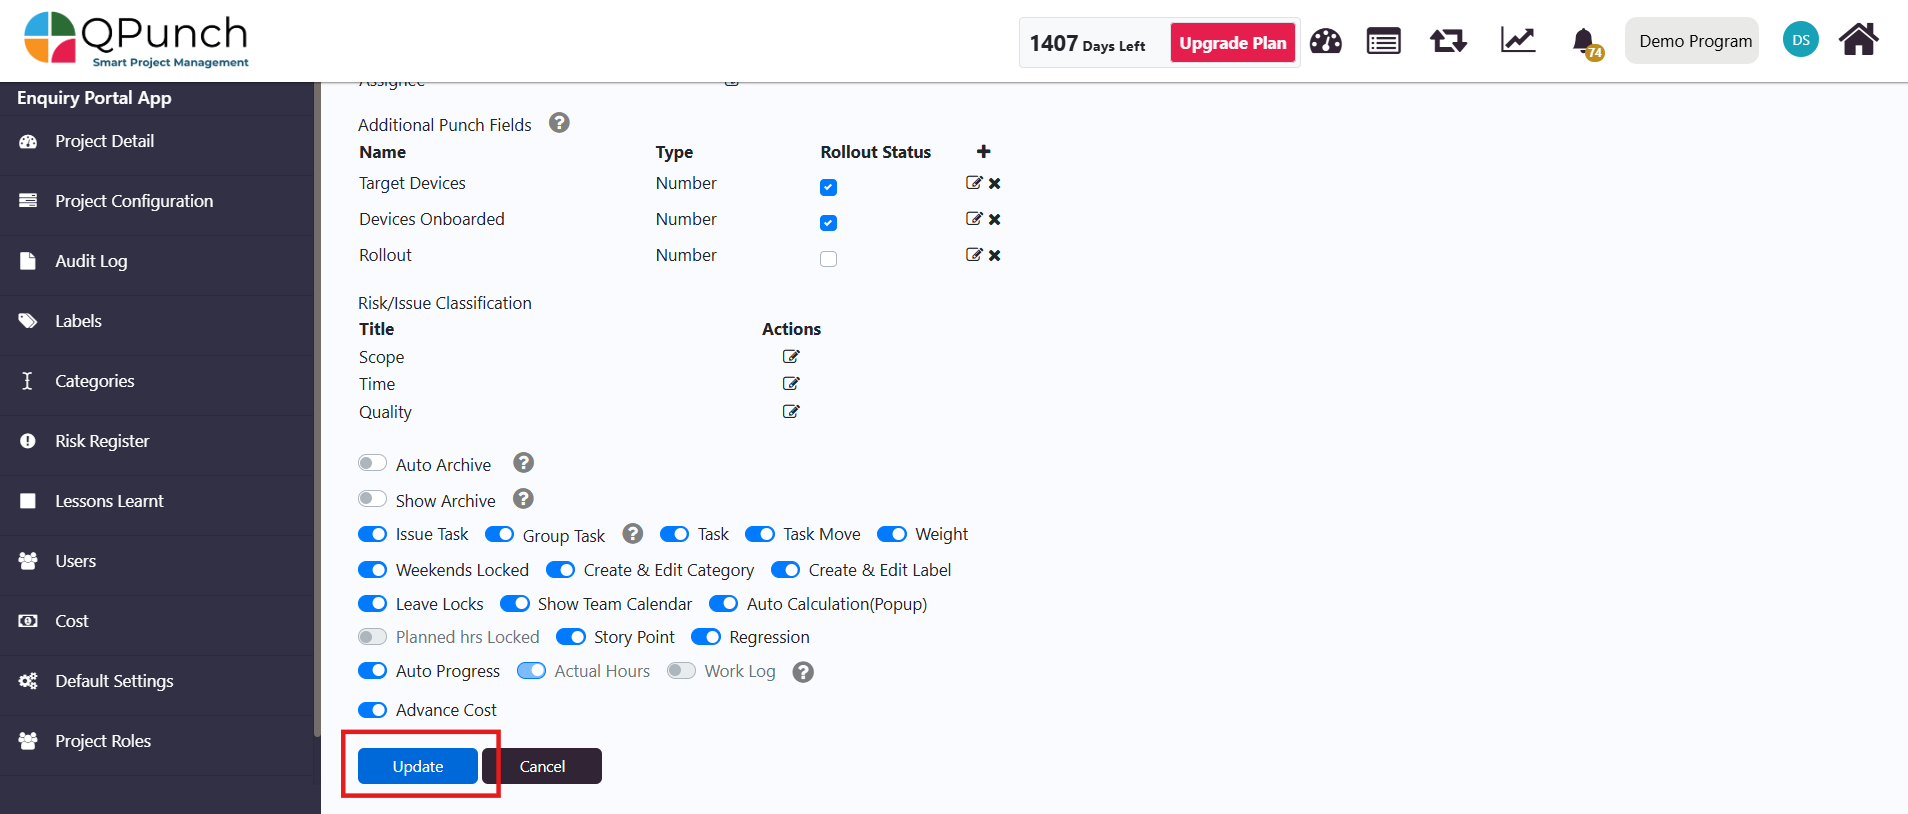
3. To modify an existing field, click the edit icon beside the additional field, and make your changes.
Note: The additional fields must be of Number type to be included in the Global Rollout table.
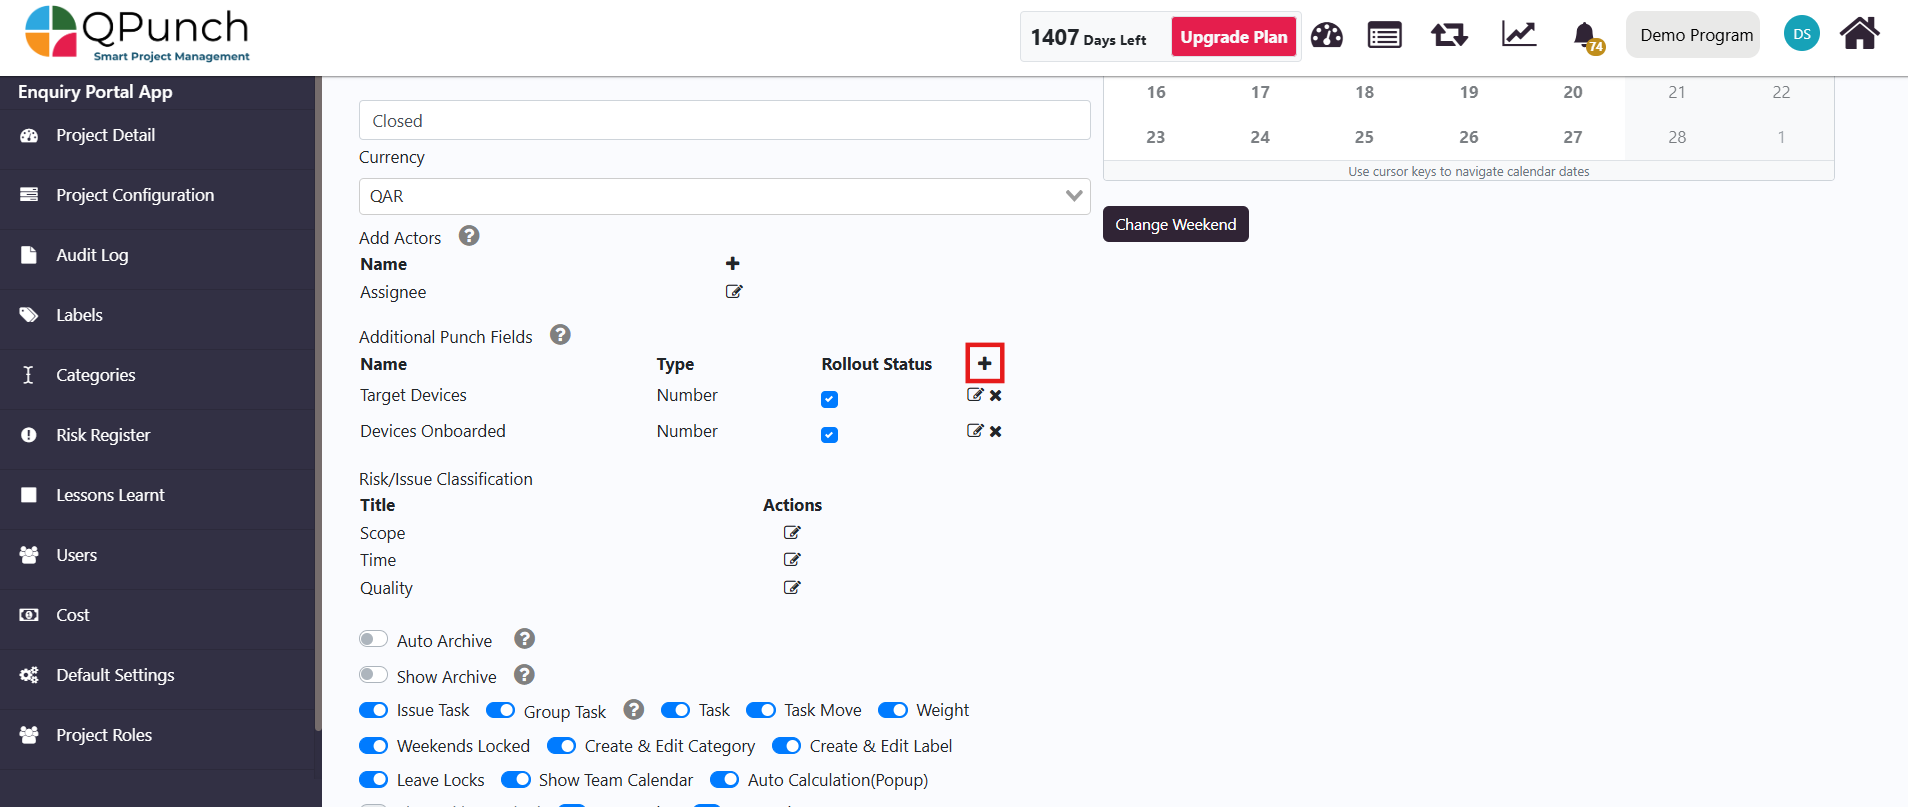
4. You can also click the delete (x) button to remove the field.
5. To add a new field:
Click the (+) button beside “Rollout Status”.
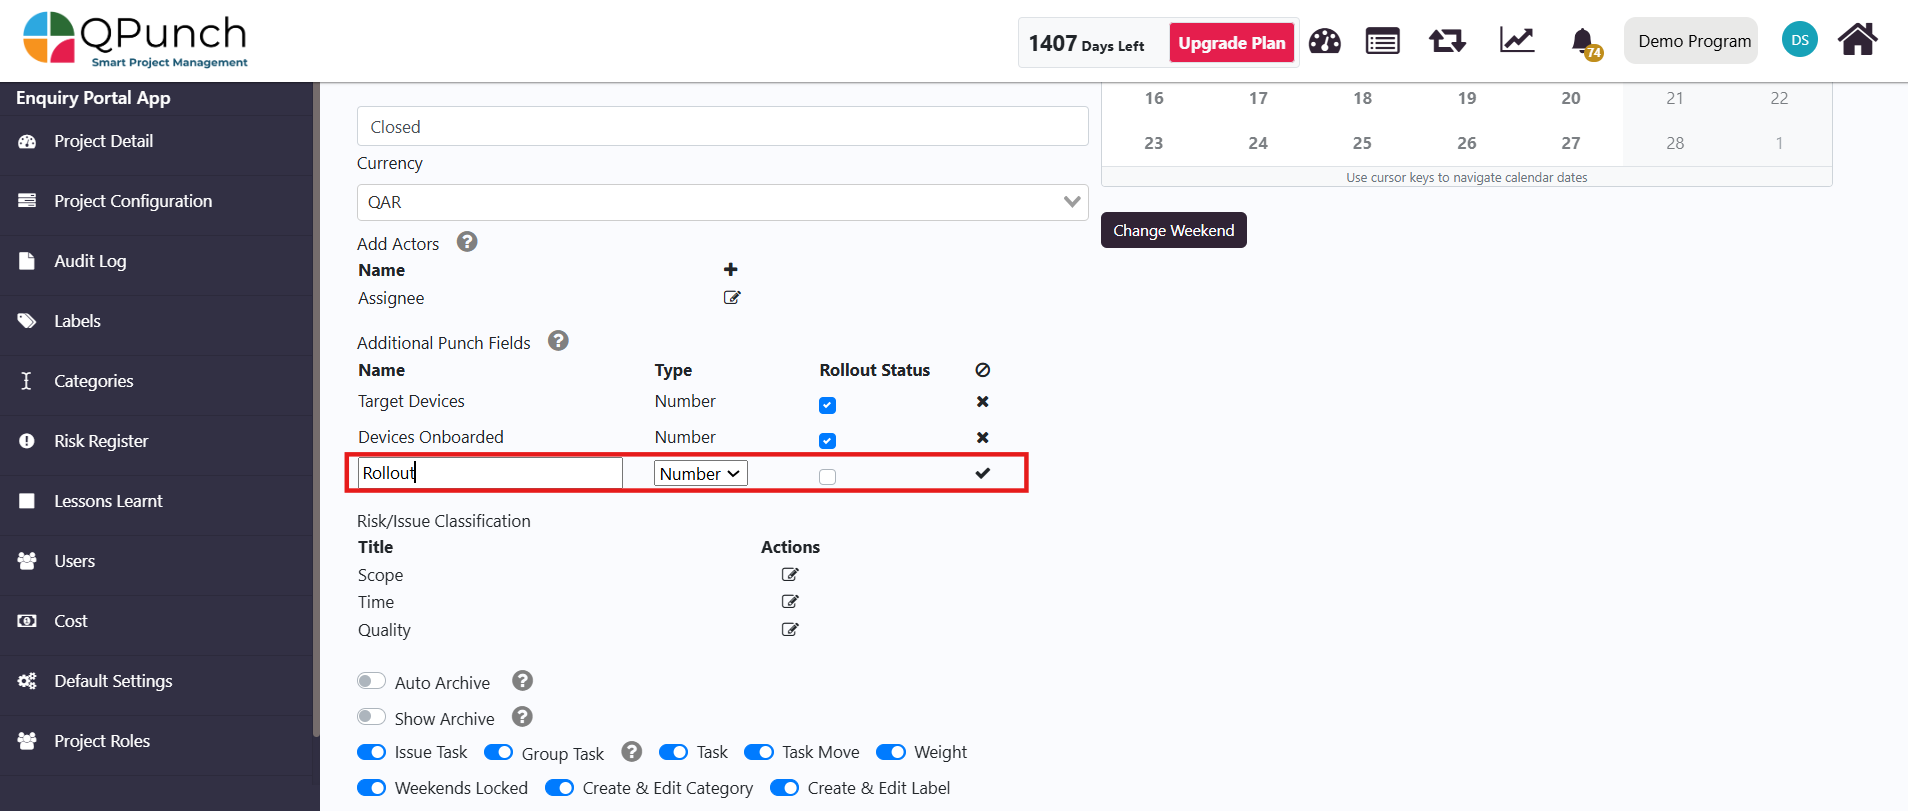
Enter the field name and set the type to number.
Save the field by clicking the tick button.
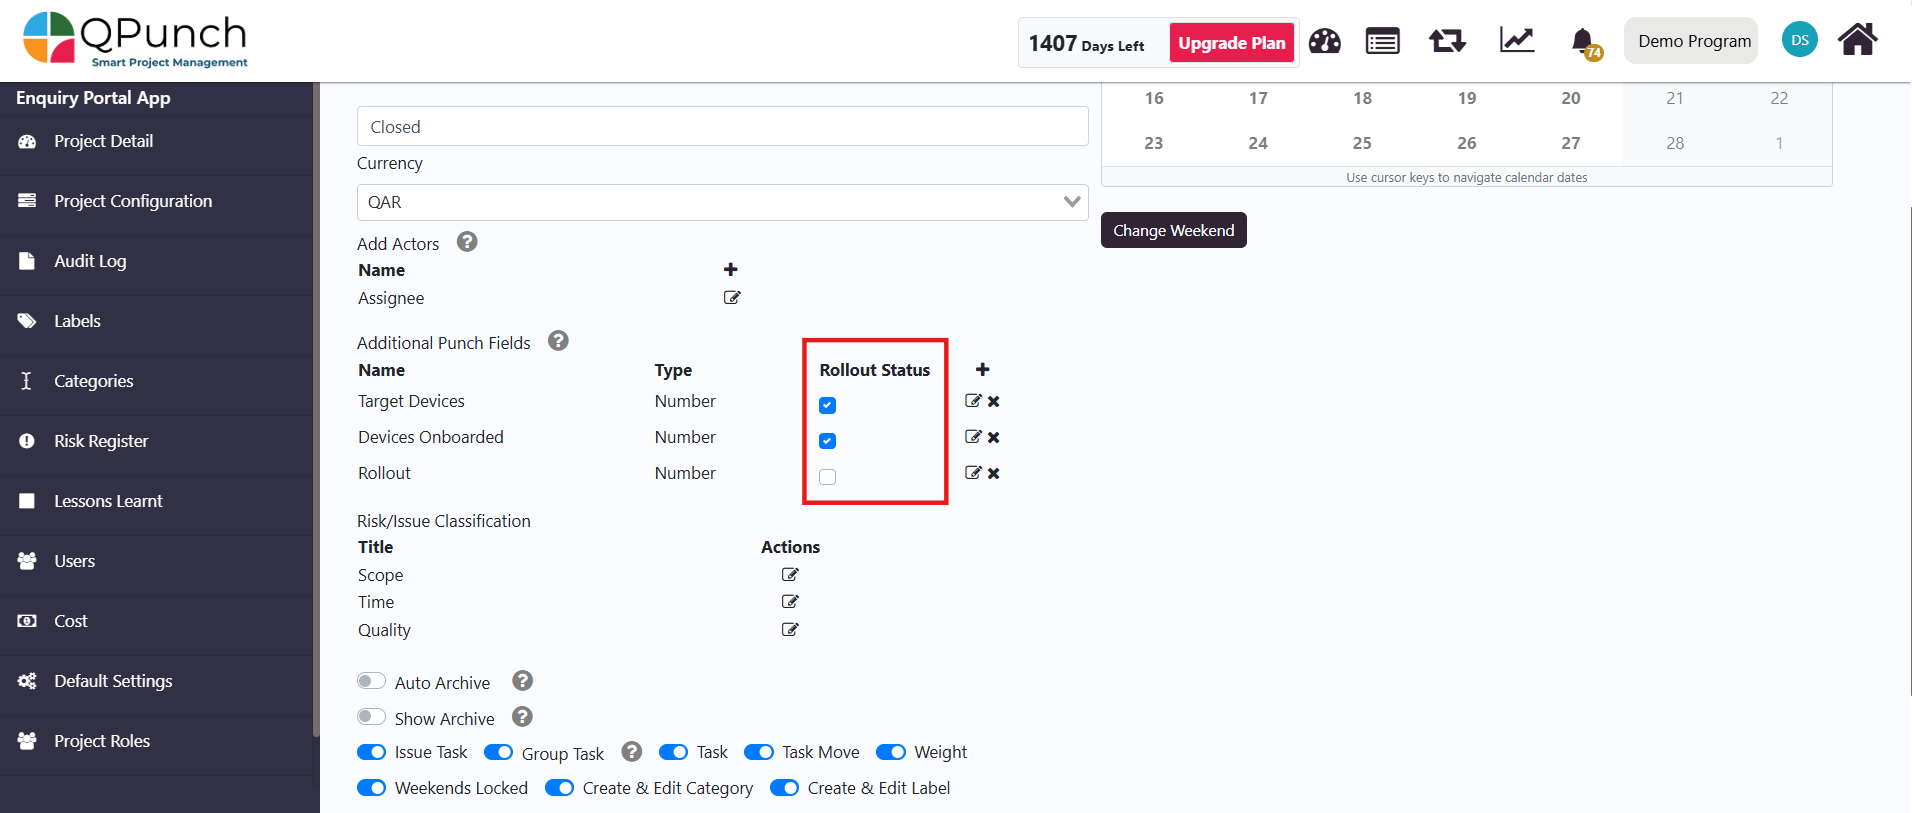
6. To include the fields in the Global Rollout Table, check them in the Checklist.
Note: Only two additional punch fields can be selected to be reflected in the table.
7. Once all settings are configured, click the Update button to save your changes.
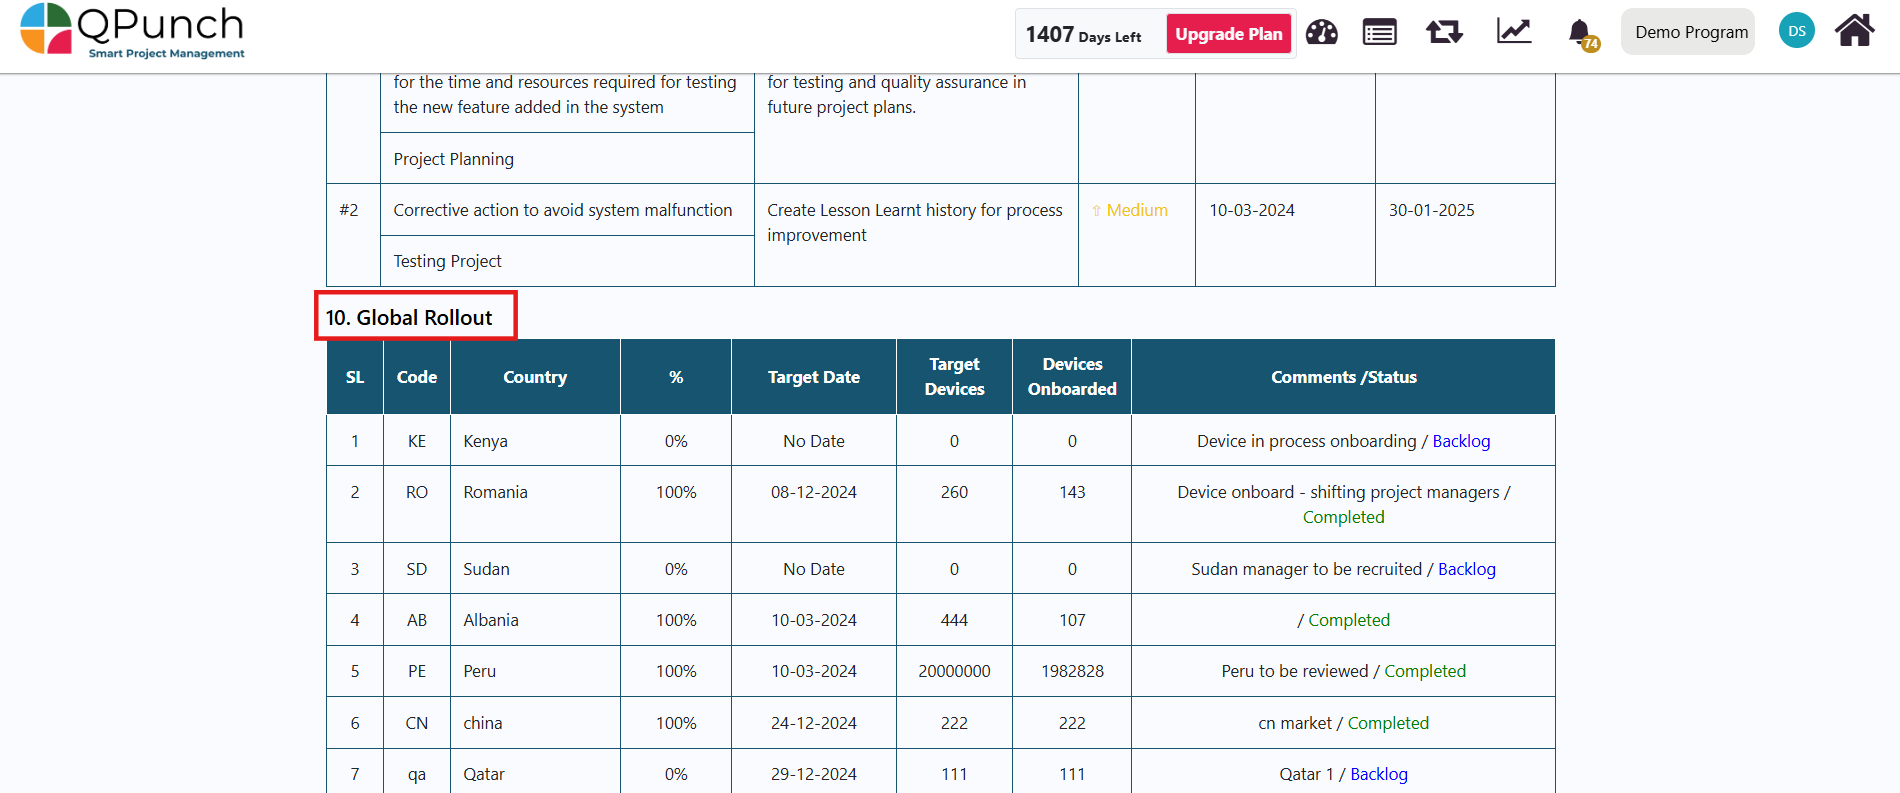
Step 4: Viewing the Global Rollout Table and World Map
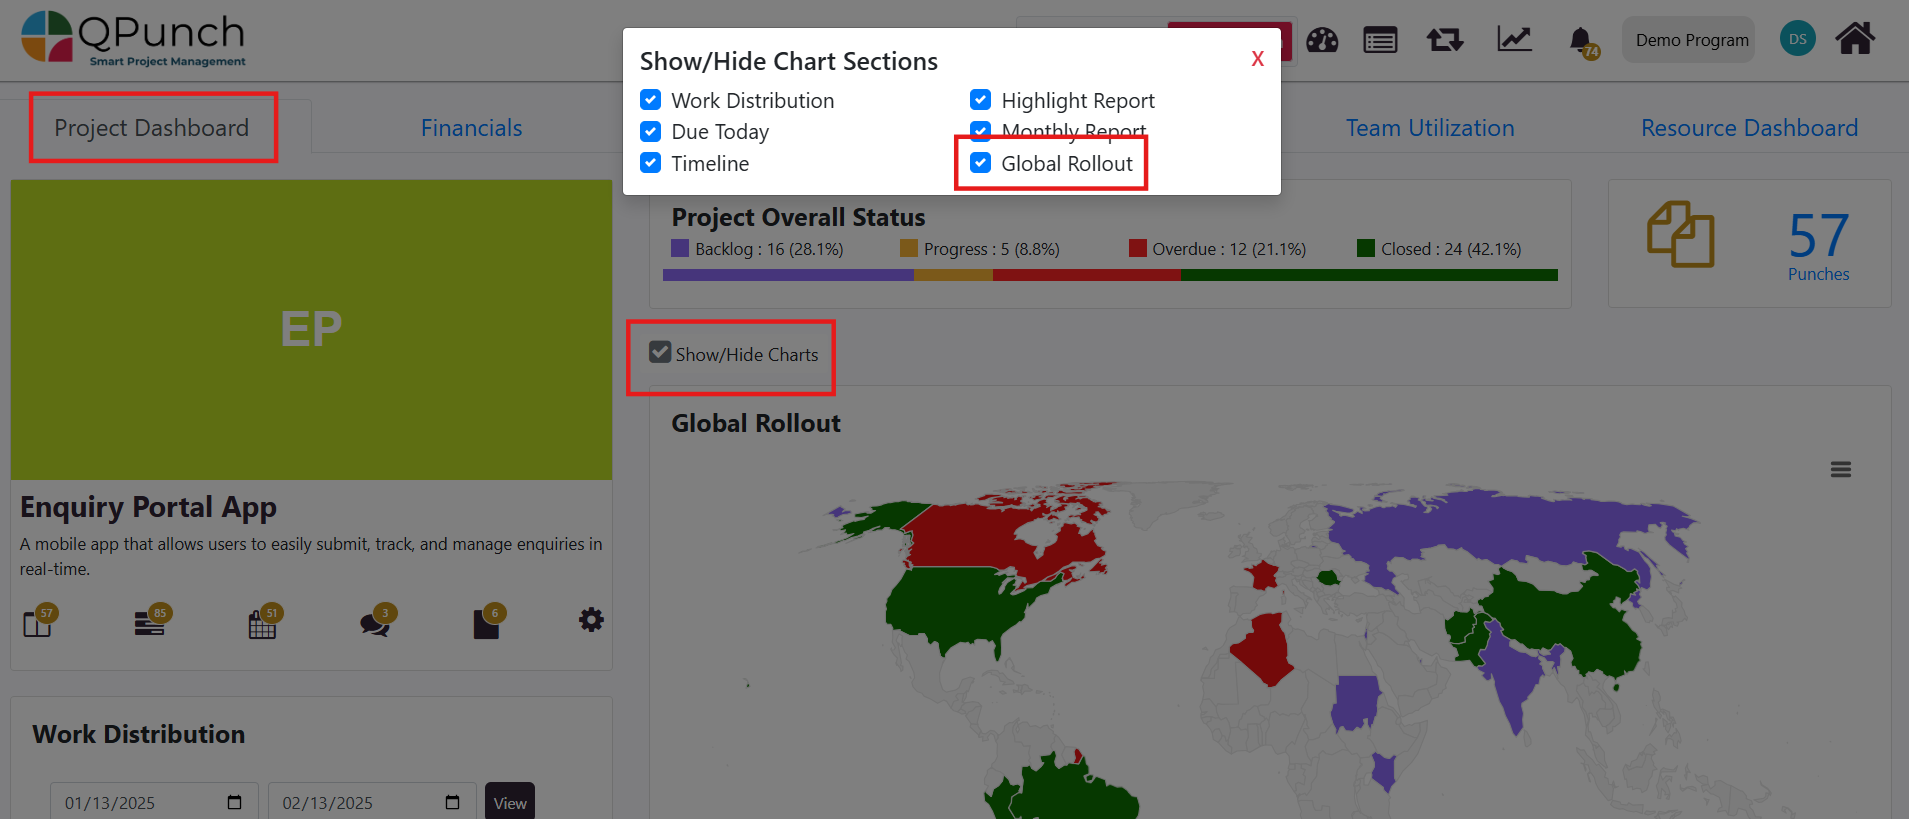
To view the World Map, click on the Project Title.
2. In the Project dashboard, you can now use the Show/Hide Chart option to select which charts you want to show in the Project dashboard.Ensure the Global Rollout option is enabled to display the World Map.
3. On the World Map:
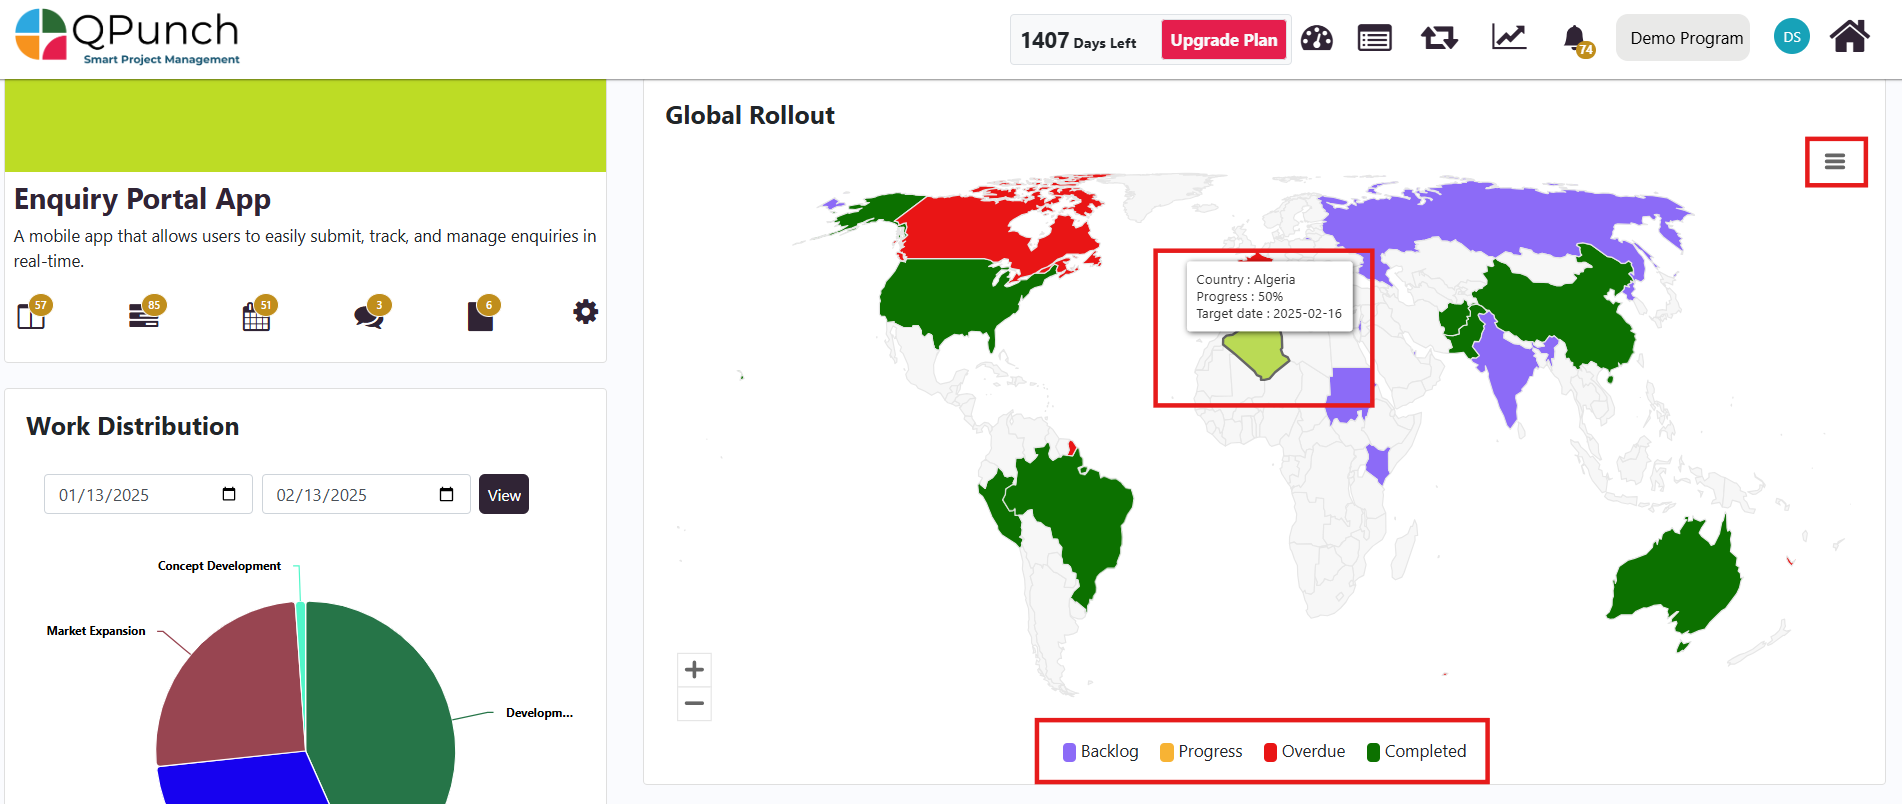
Hover over a country to view a summary of its progress details.
A legend explains what each color represents in terms of progress.
Click the three horizontal-line menu to access Full-Screen Mode.
4. Click on a country to view more details, which will open the Global Rollout Table within the Progress Report. The data entered in the Kanban Board will be reflected in the Global Rollout Table, including the checked columns.
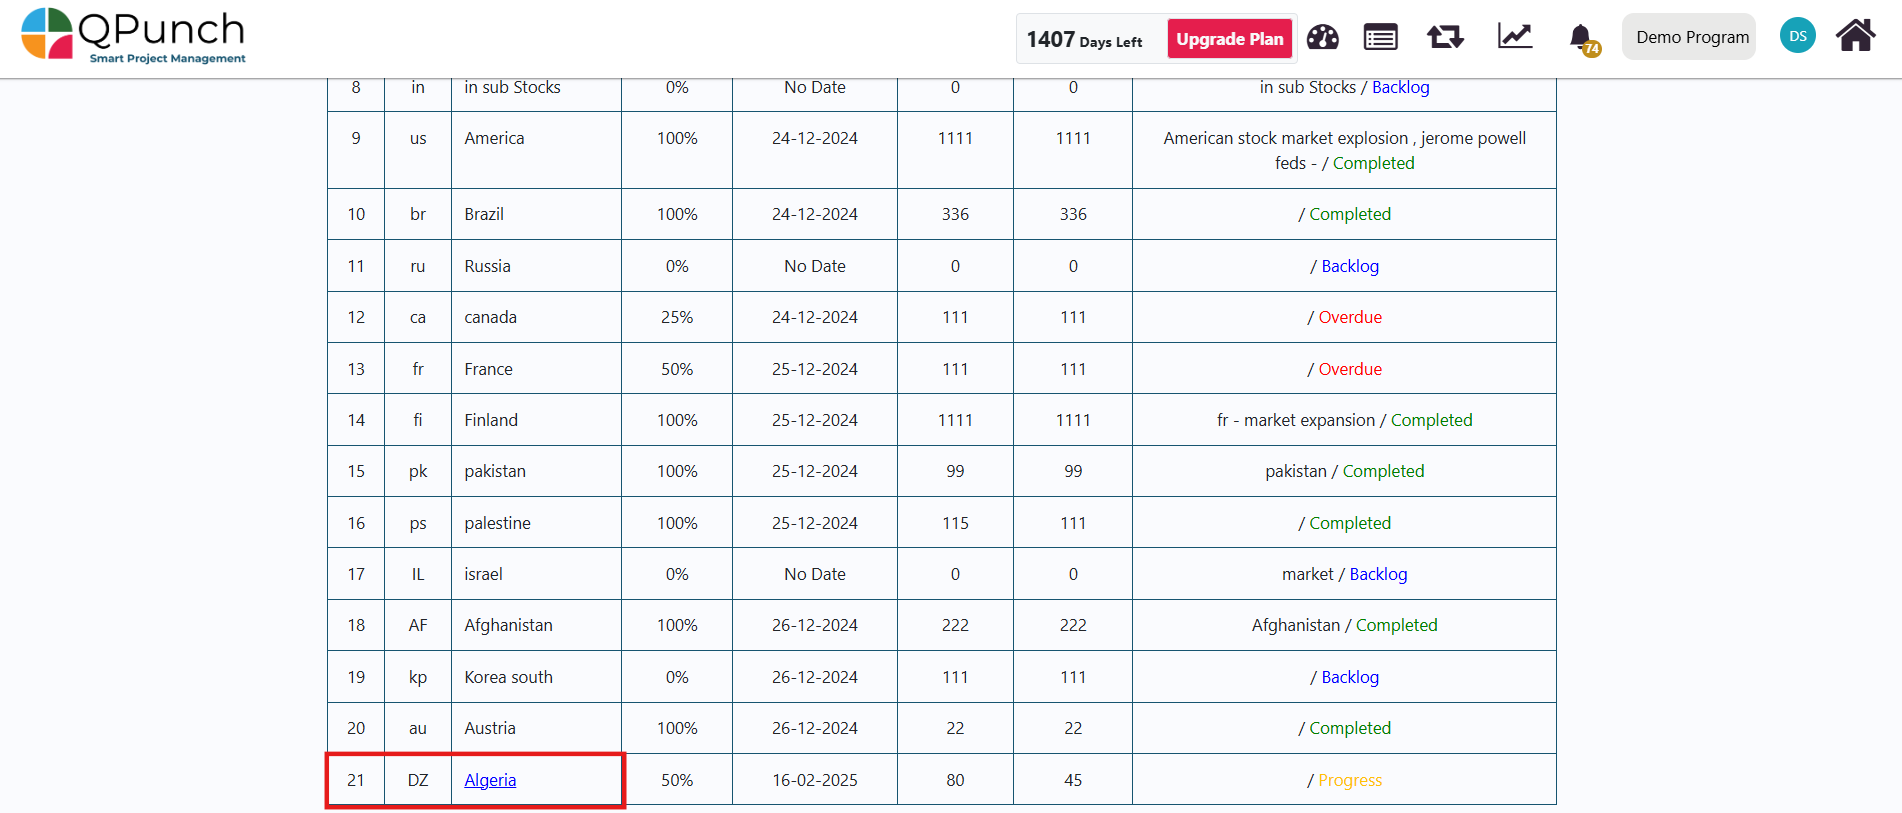
Step 5: Updating Global Rollout Data
Clicking a country in the Global Rollout Table will open the corresponding Group Task on the Kanban Board.
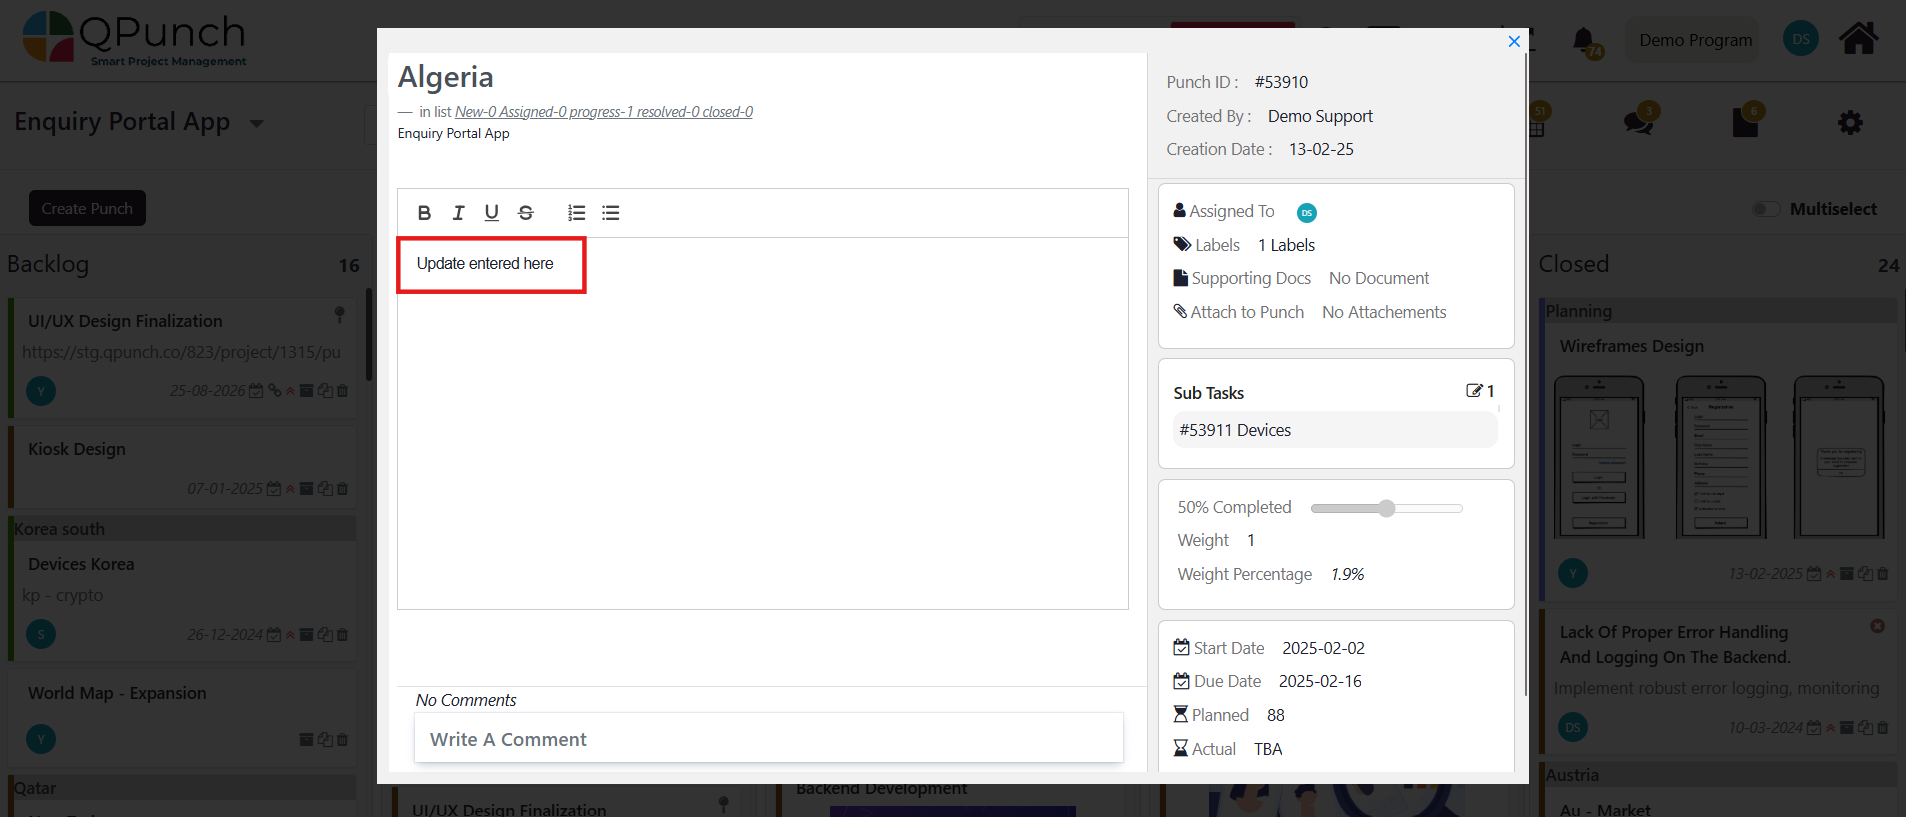
2. In the Kanban Board, edit the description box of a Group Task to reflect new updates.
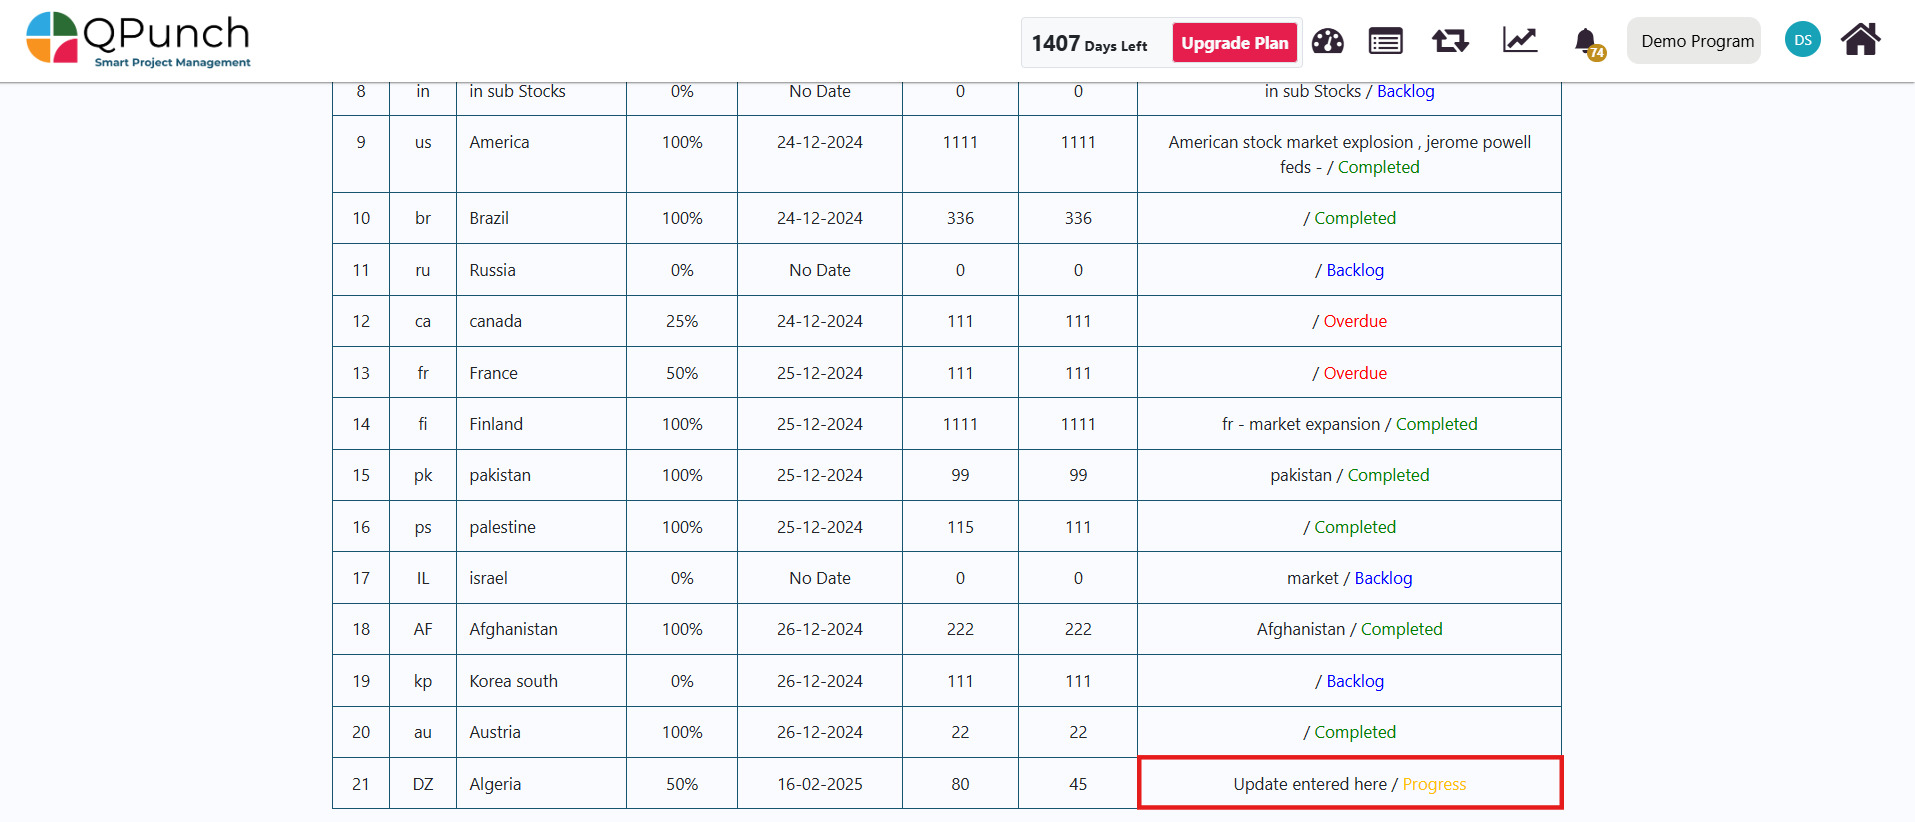
3. To view the Updates, navigate back to the Progress report and scroll to theGlobal Rollout Table.The new updateswill be reflected in the Comments/Status column.
Conclusion
By following these steps, you can efficiently manage any global rollout using QPunch. Whether you’re tracking devices, software deployments, service expansions, or any other project across multiple countries, the integration of the Global Rollout Table and World Map provides a comprehensive way to monitor and manage progress. With customizable fields and a visual map to track your project’s advancement, QPunch helps keep your global initiatives on track.