QPunch lets you provide various authorizations to users that enables them to perform specific actions on the project. This documentation helps you understand how to set various user permissions in QPunch Smart Project Management Tool.
To set the User Permissions,
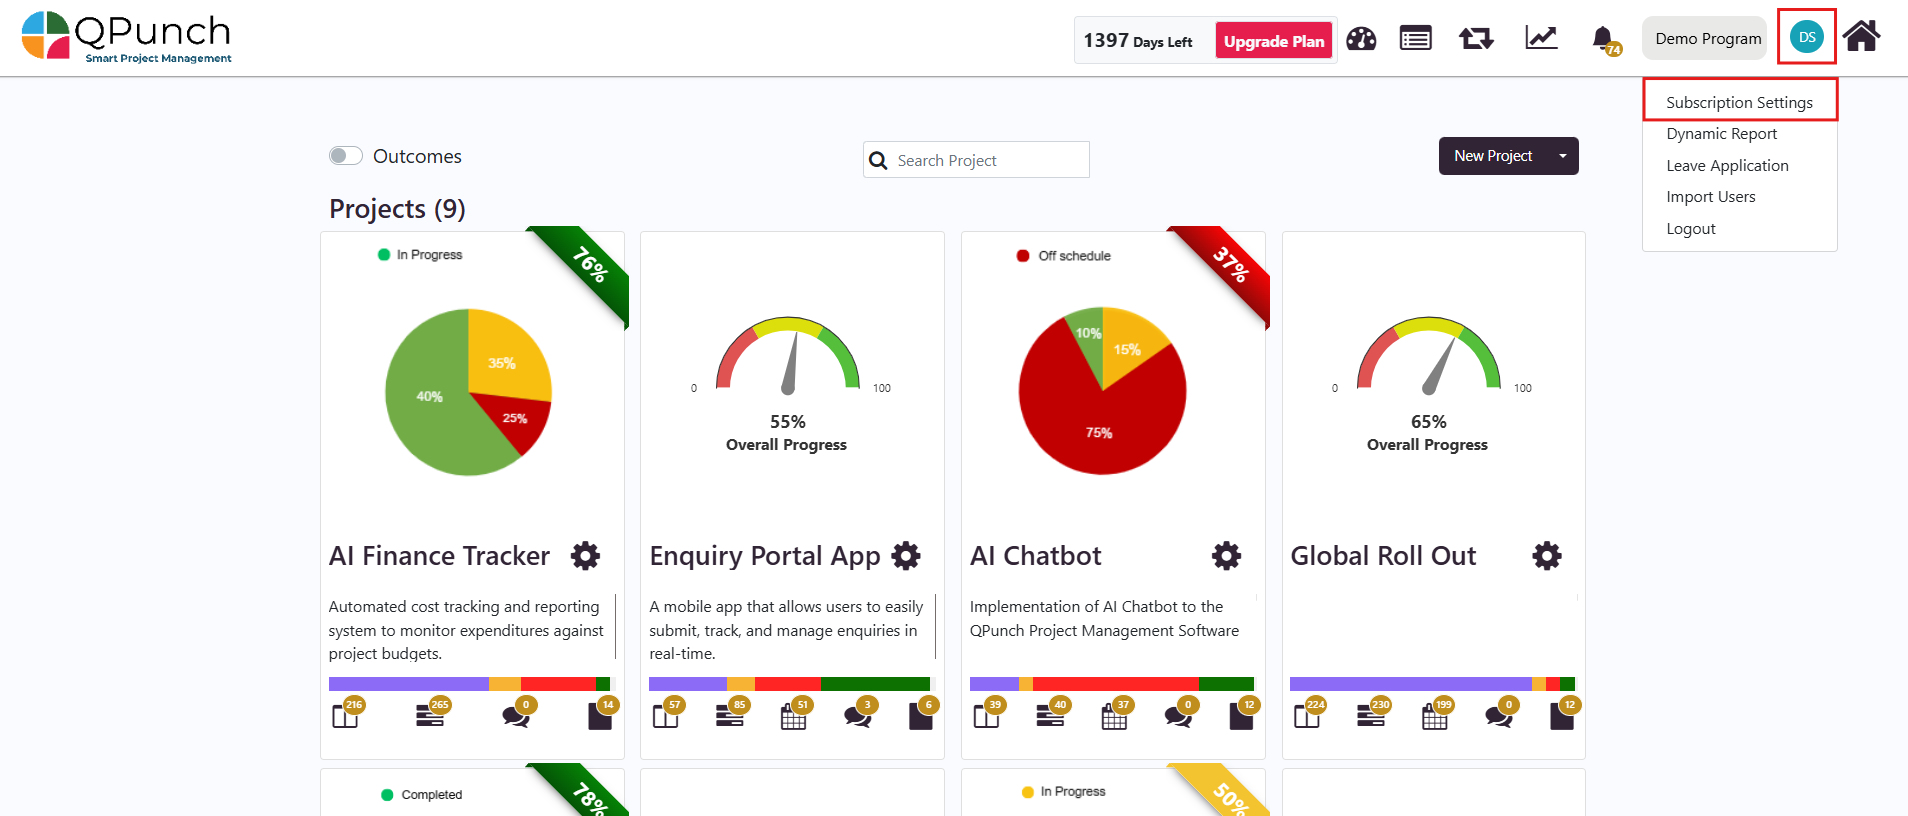
Click on the username icon on the top right corner of the QPunch home page
Choose Subscription Settings from the menu
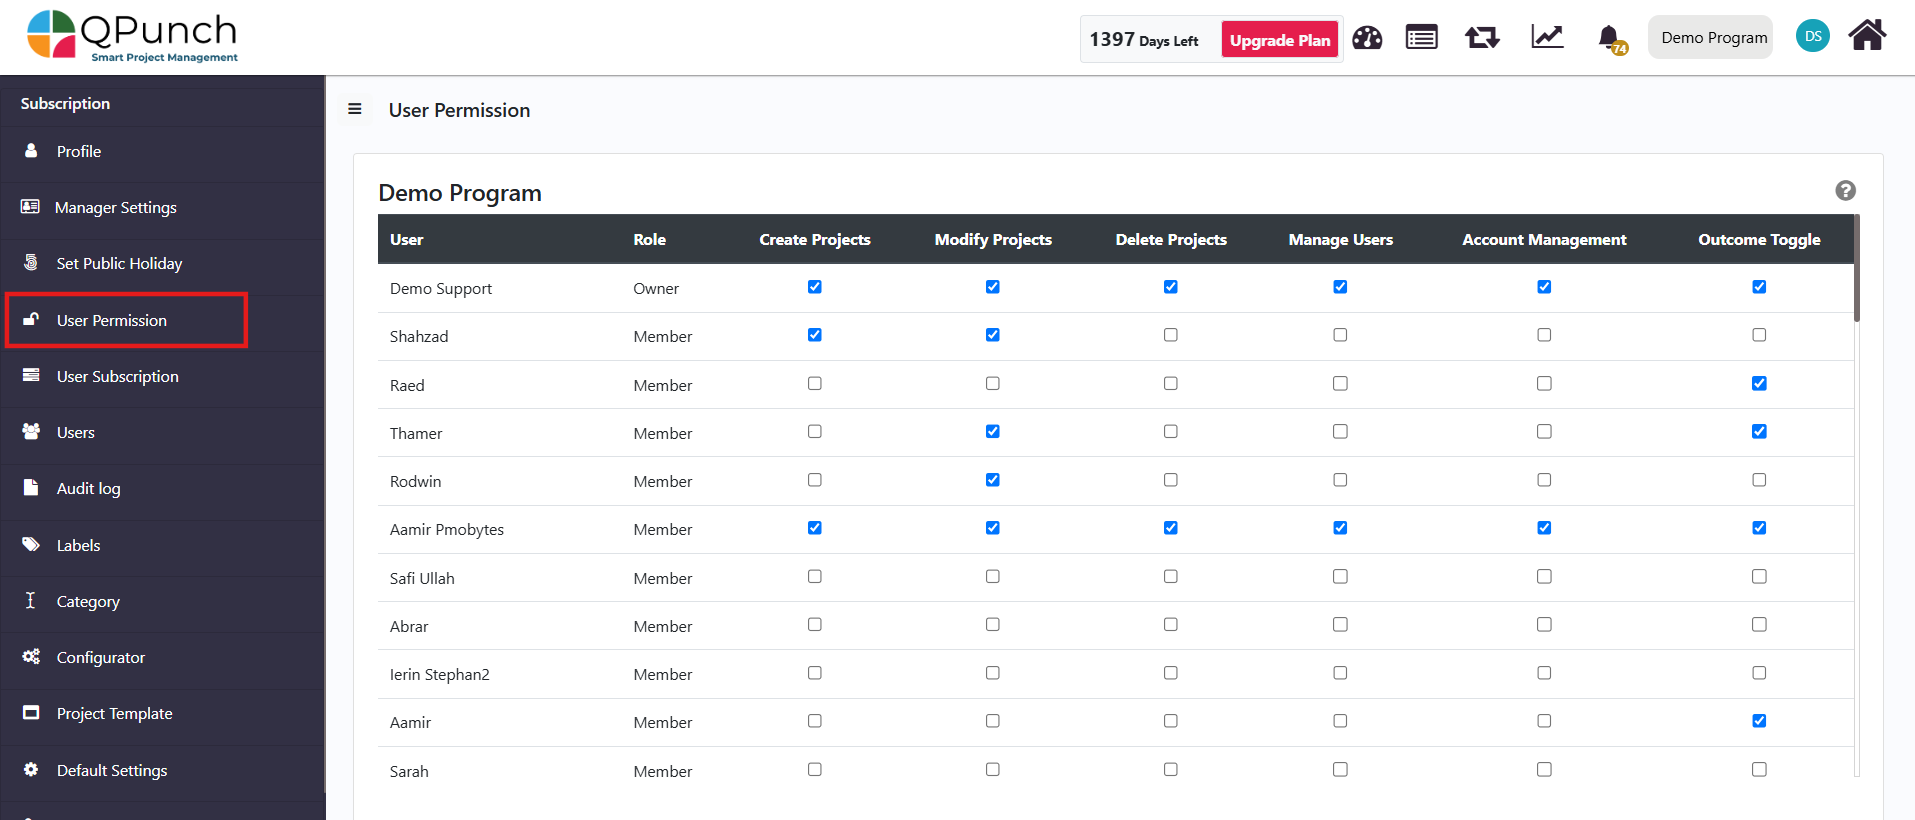
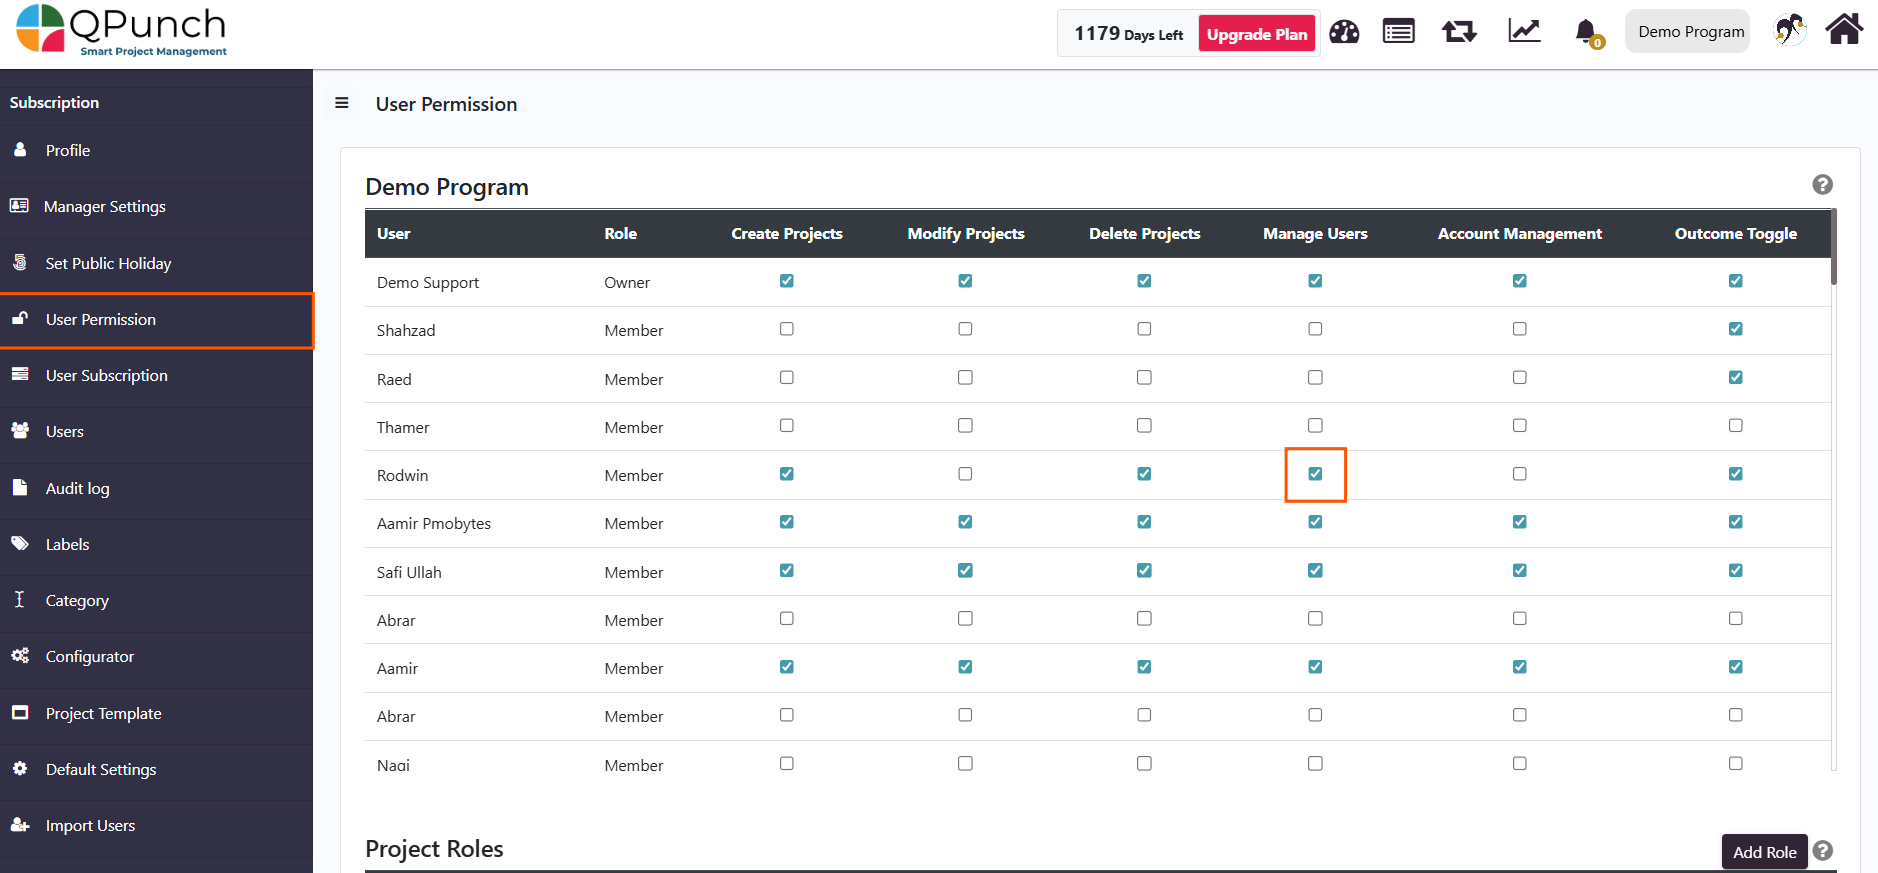
Navigate to User Permissions on the left side pane. Here you will find the name of the User, their corresponding project role and the various permissions that can be granted
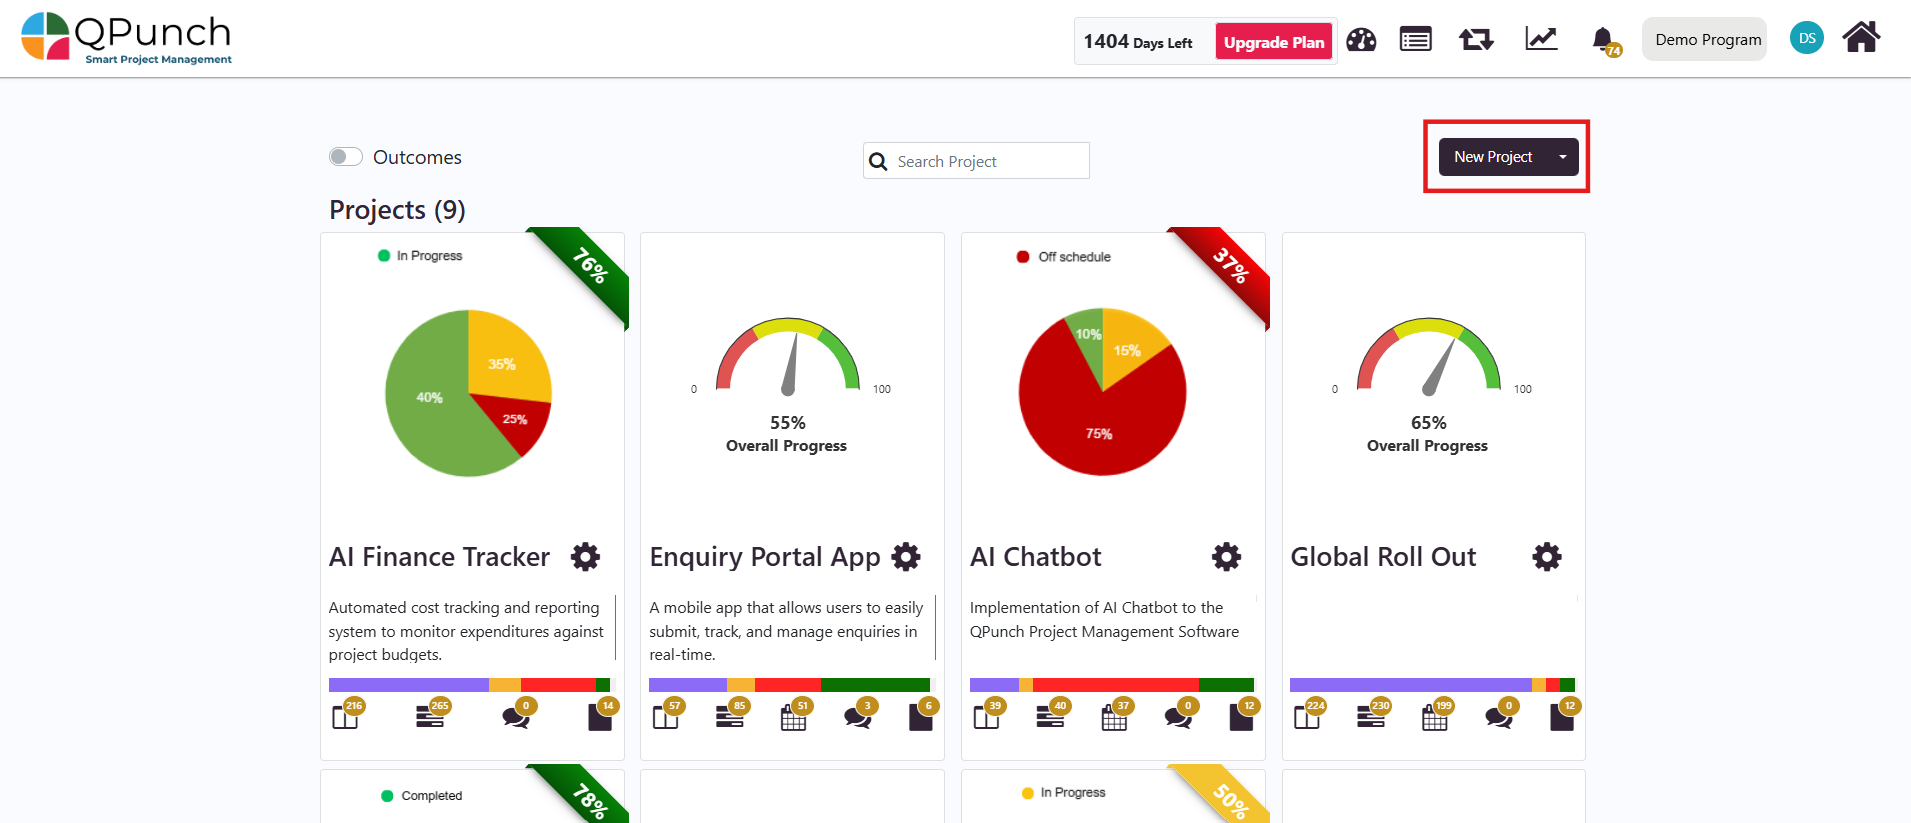
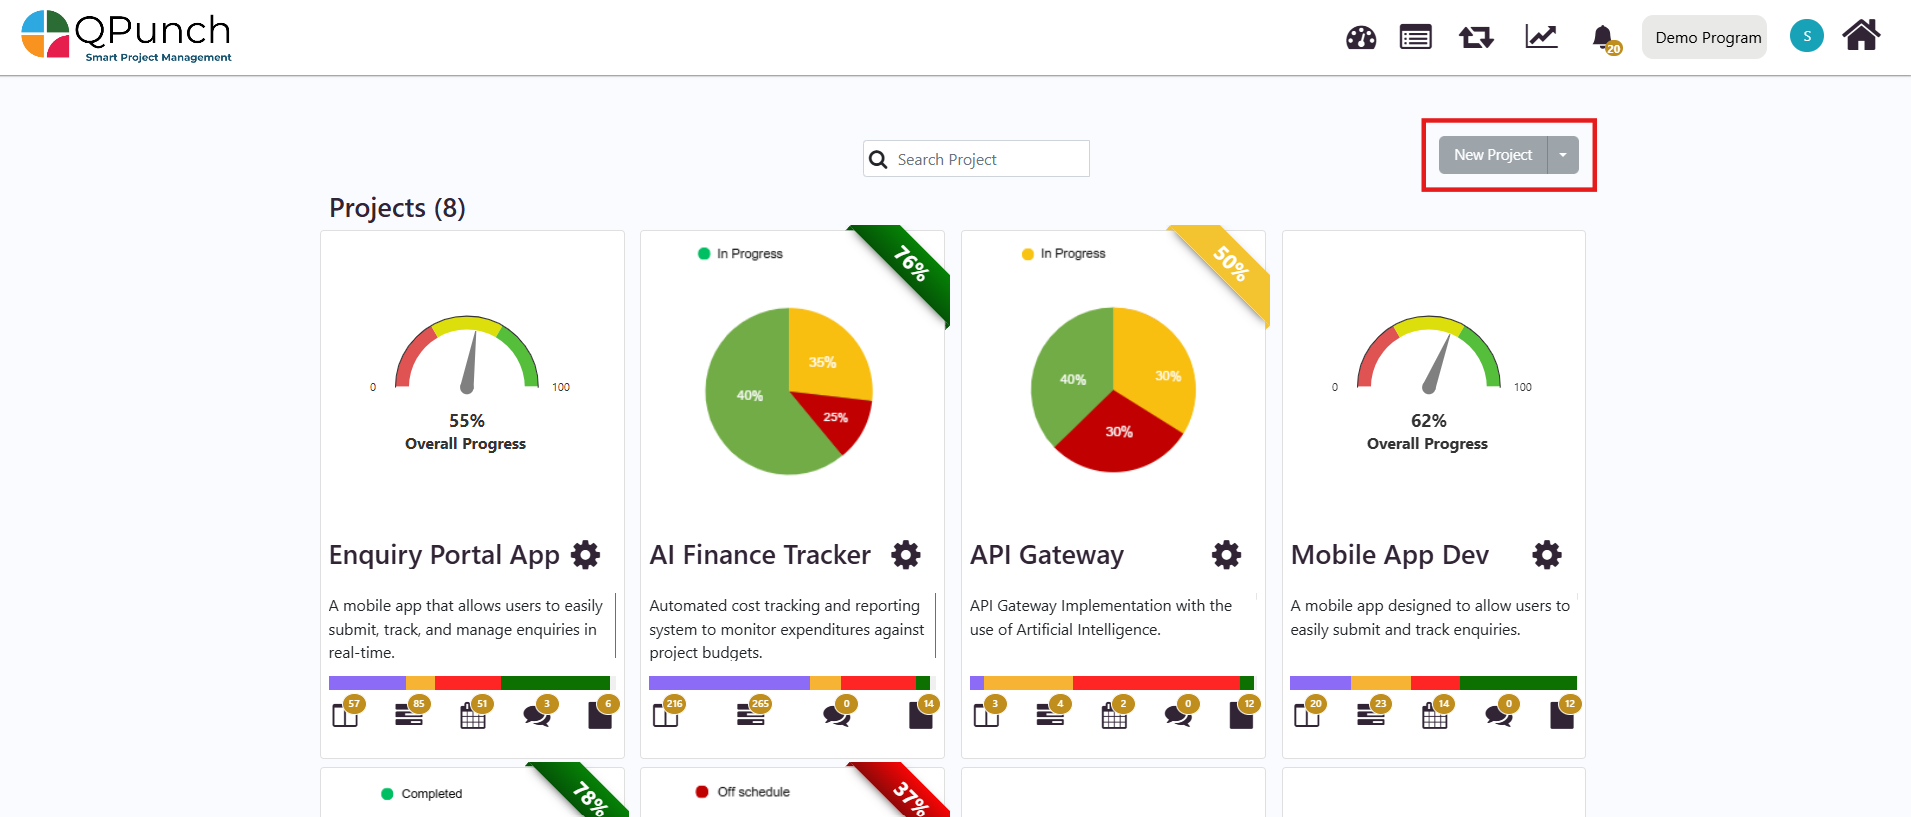
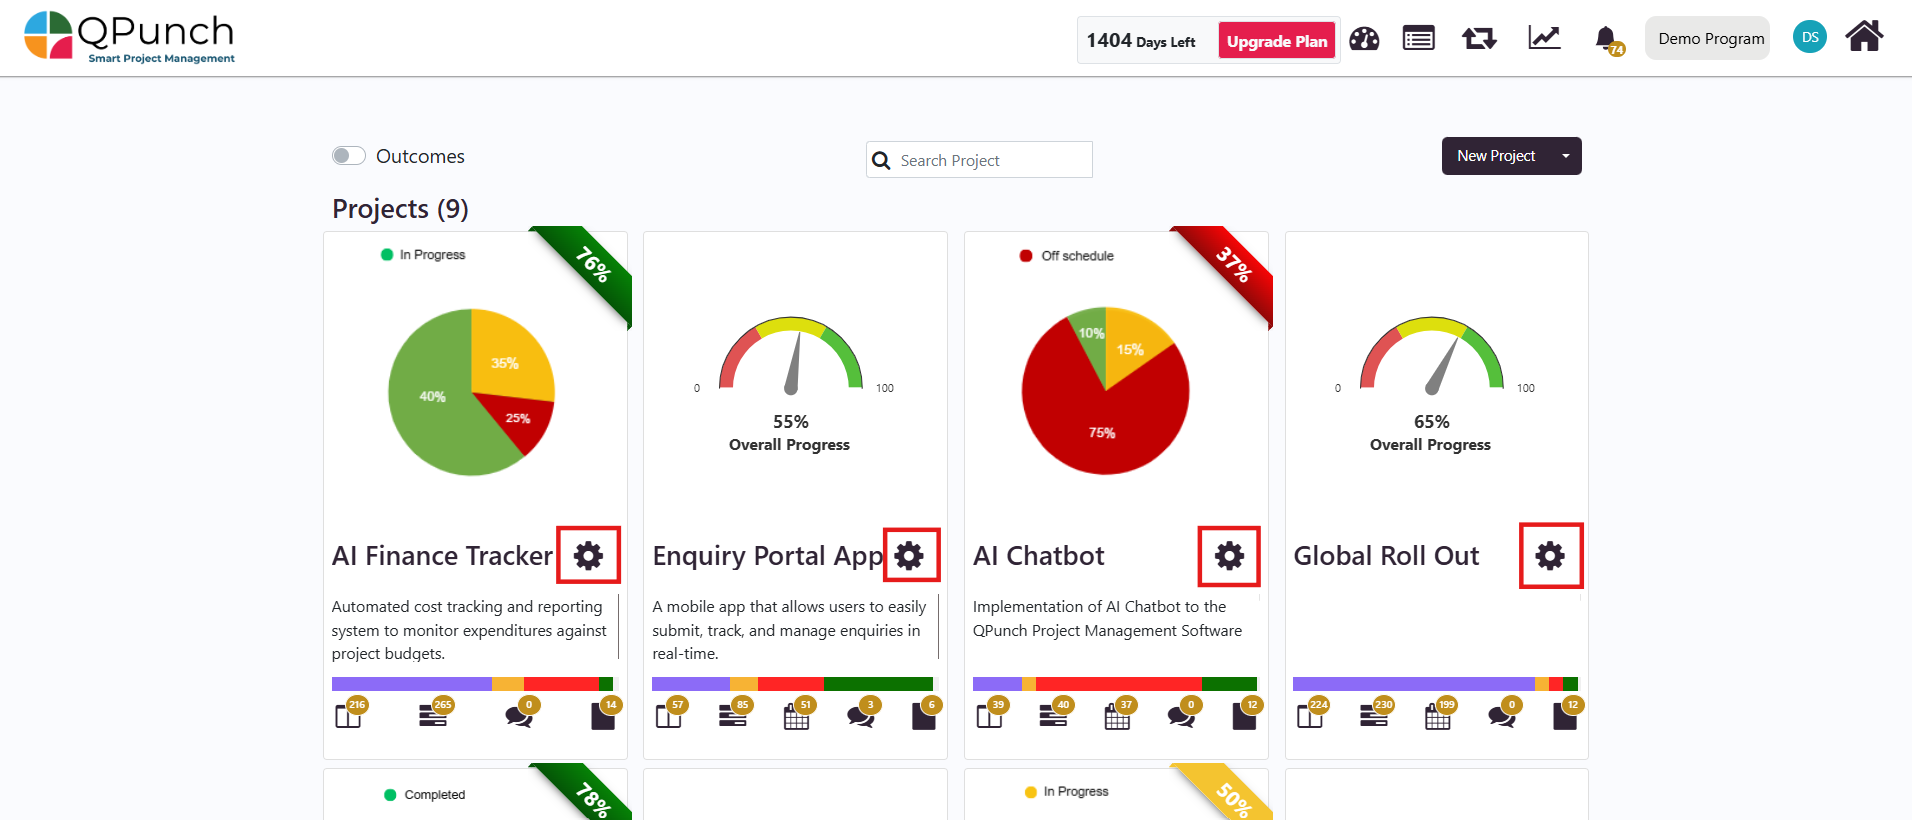
·Create Projects: provides the user permission to create a new project in their subscription. This button will be visible on the QPunch home page.
·If the user does not possess this permission, the same button will be greyed out
·Modify Projects: This permission allows users to modify the project settings. The icon is visible against the project in the QPunch home page
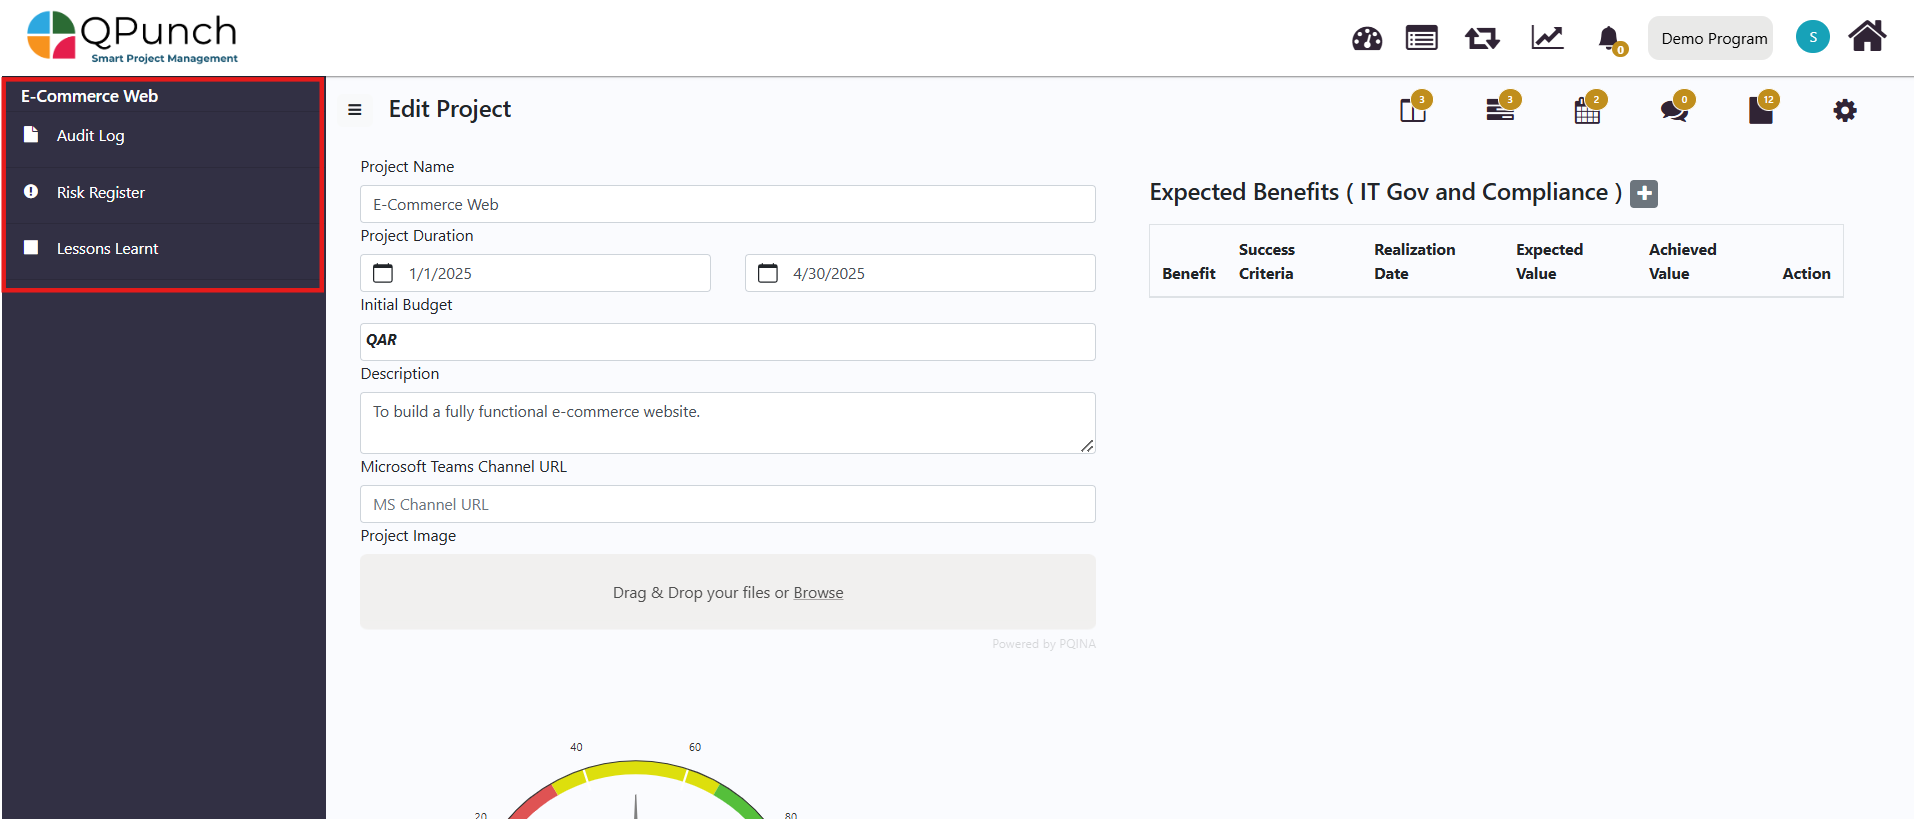
If the user does not have this permission, they will still see the project settings icon, but upon clicking it, they will only be able to view the Audit Log, Risk Register, and Lessons Learnt. They will not be able to modify any settings beyond these areas.
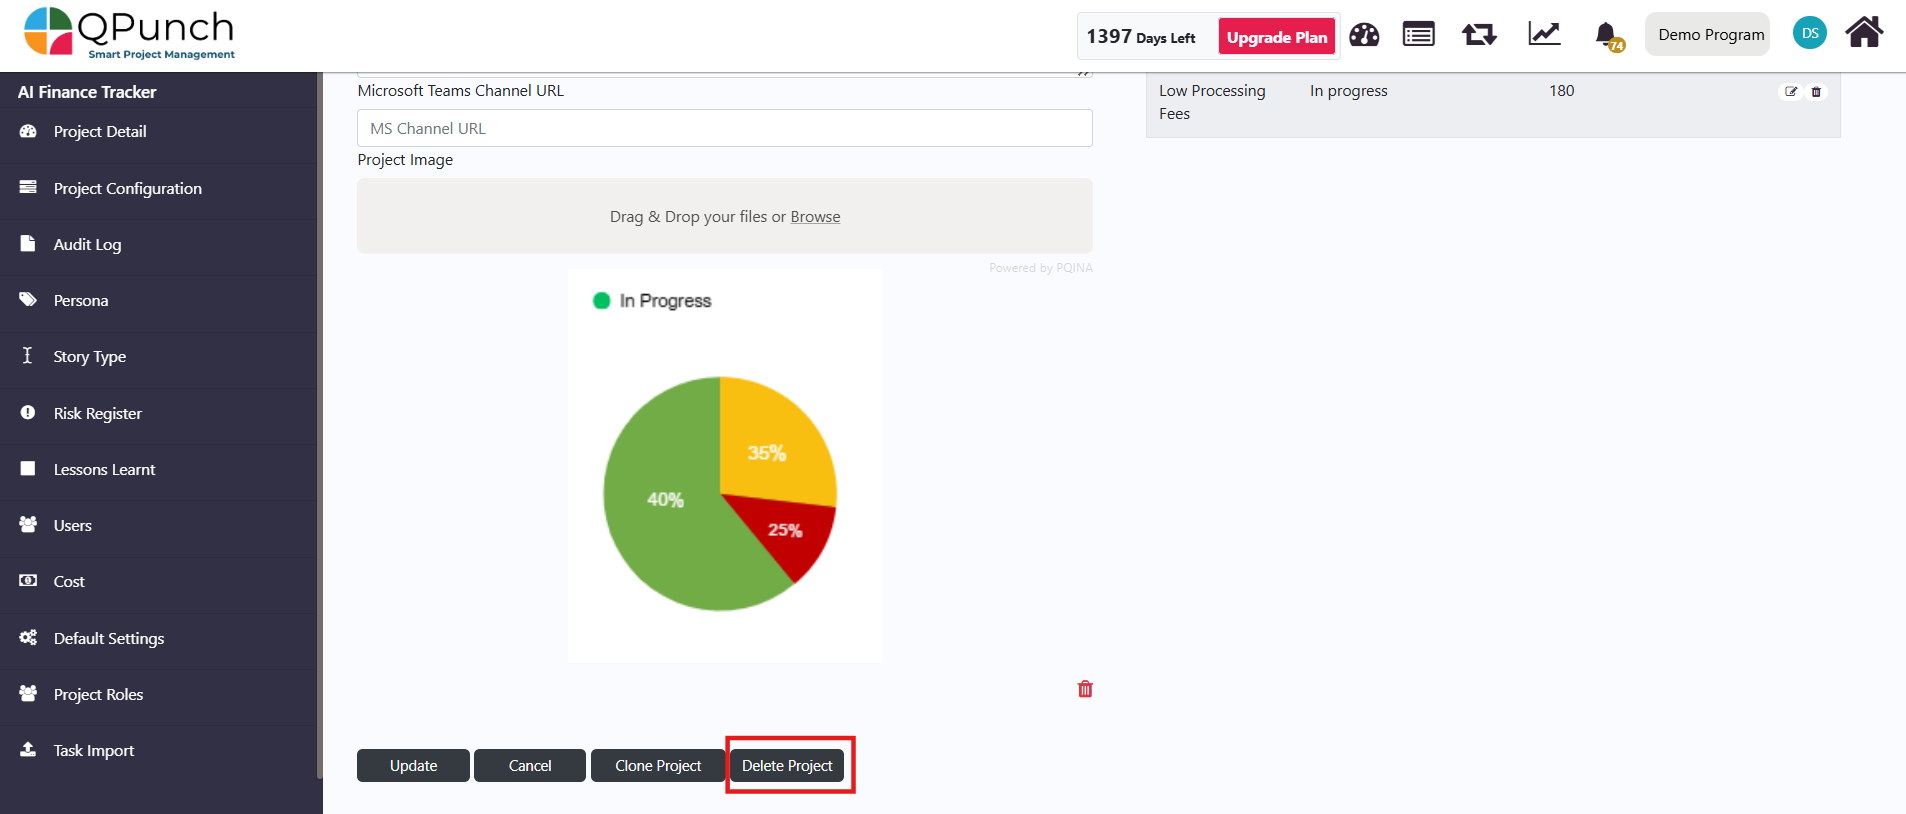
·Delete Projects: The permission lets user to delete a project from the subscription. The delete button will be visible inside the project settings.
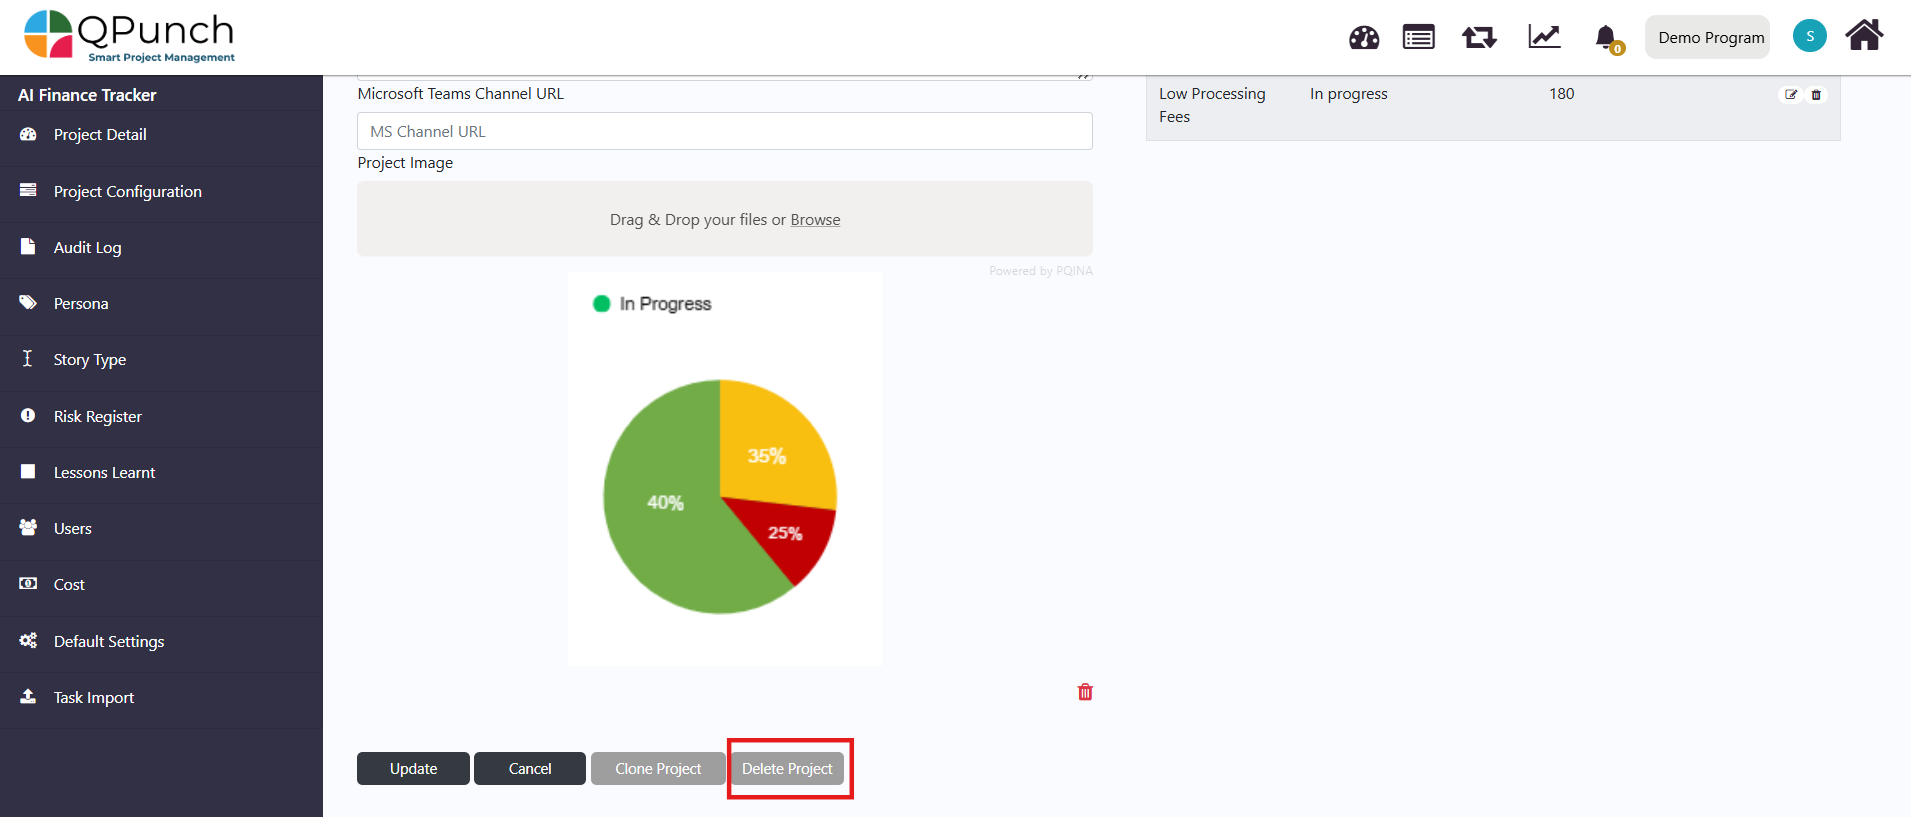
·If the user does not possess this permission, the same button will be greyed out.
From the User Permission tab, the user can edit and grant permission to other users, such as to create, modify, and delete projects, manage users and accounts, and access outcome reports.
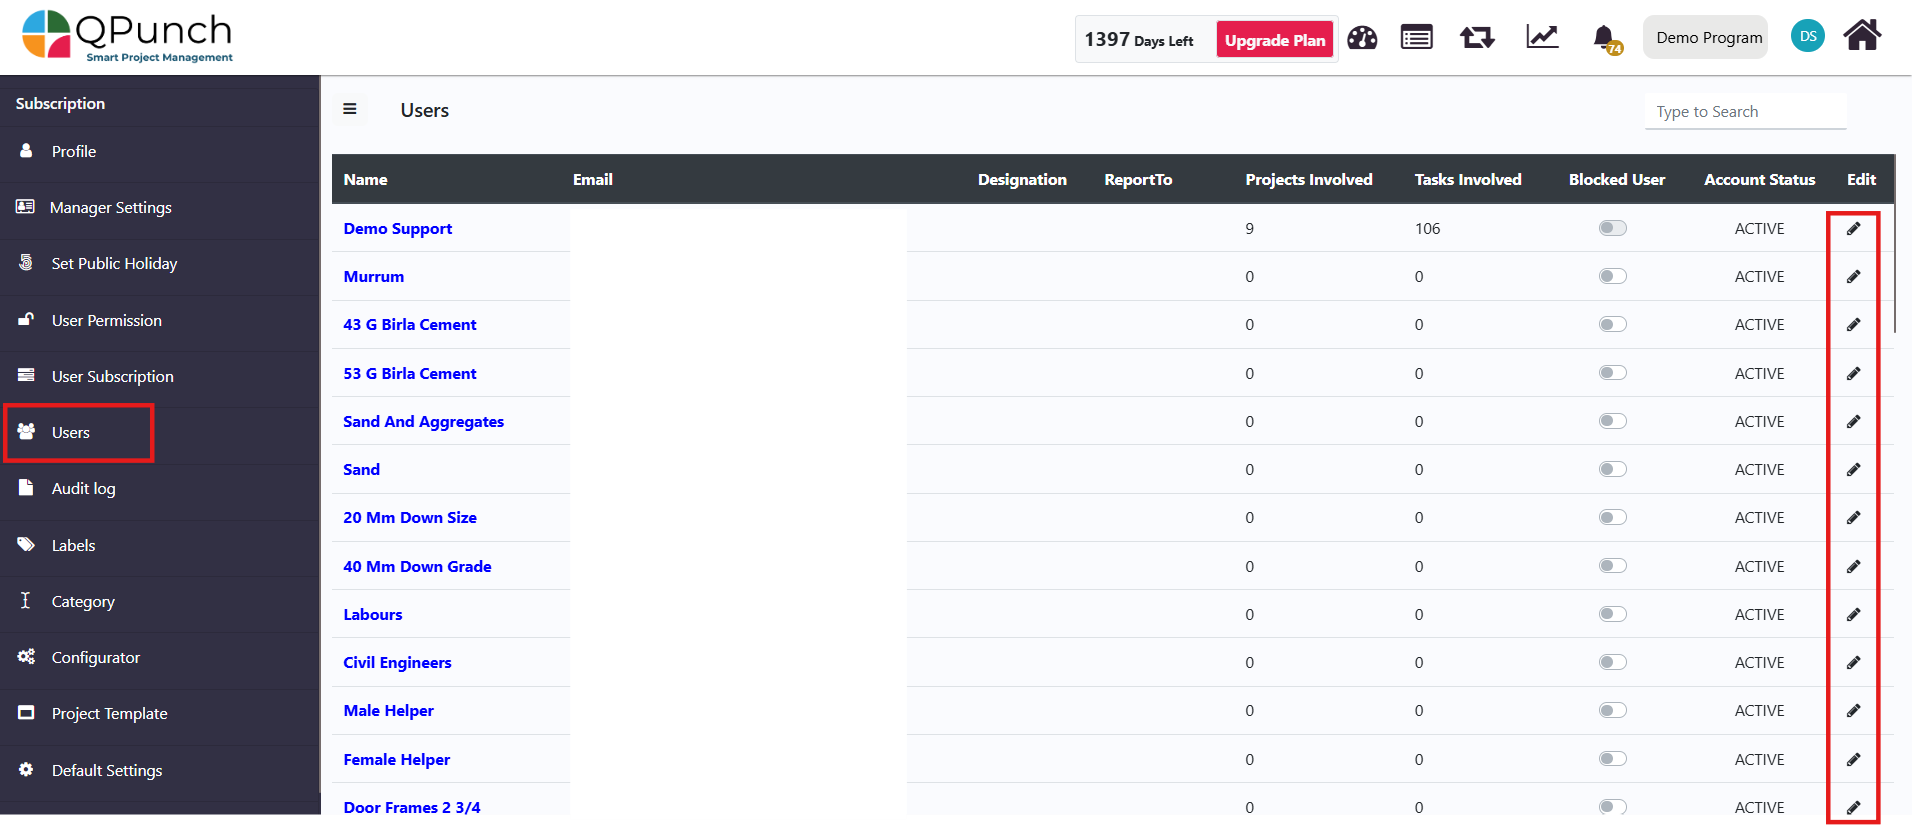
Manage Users Profile: This permission is only available to the subscription owner and allows them to edit the details of other users in the project. To do this, navigate to the Users tab in the left-hand panel of the subscription settings.
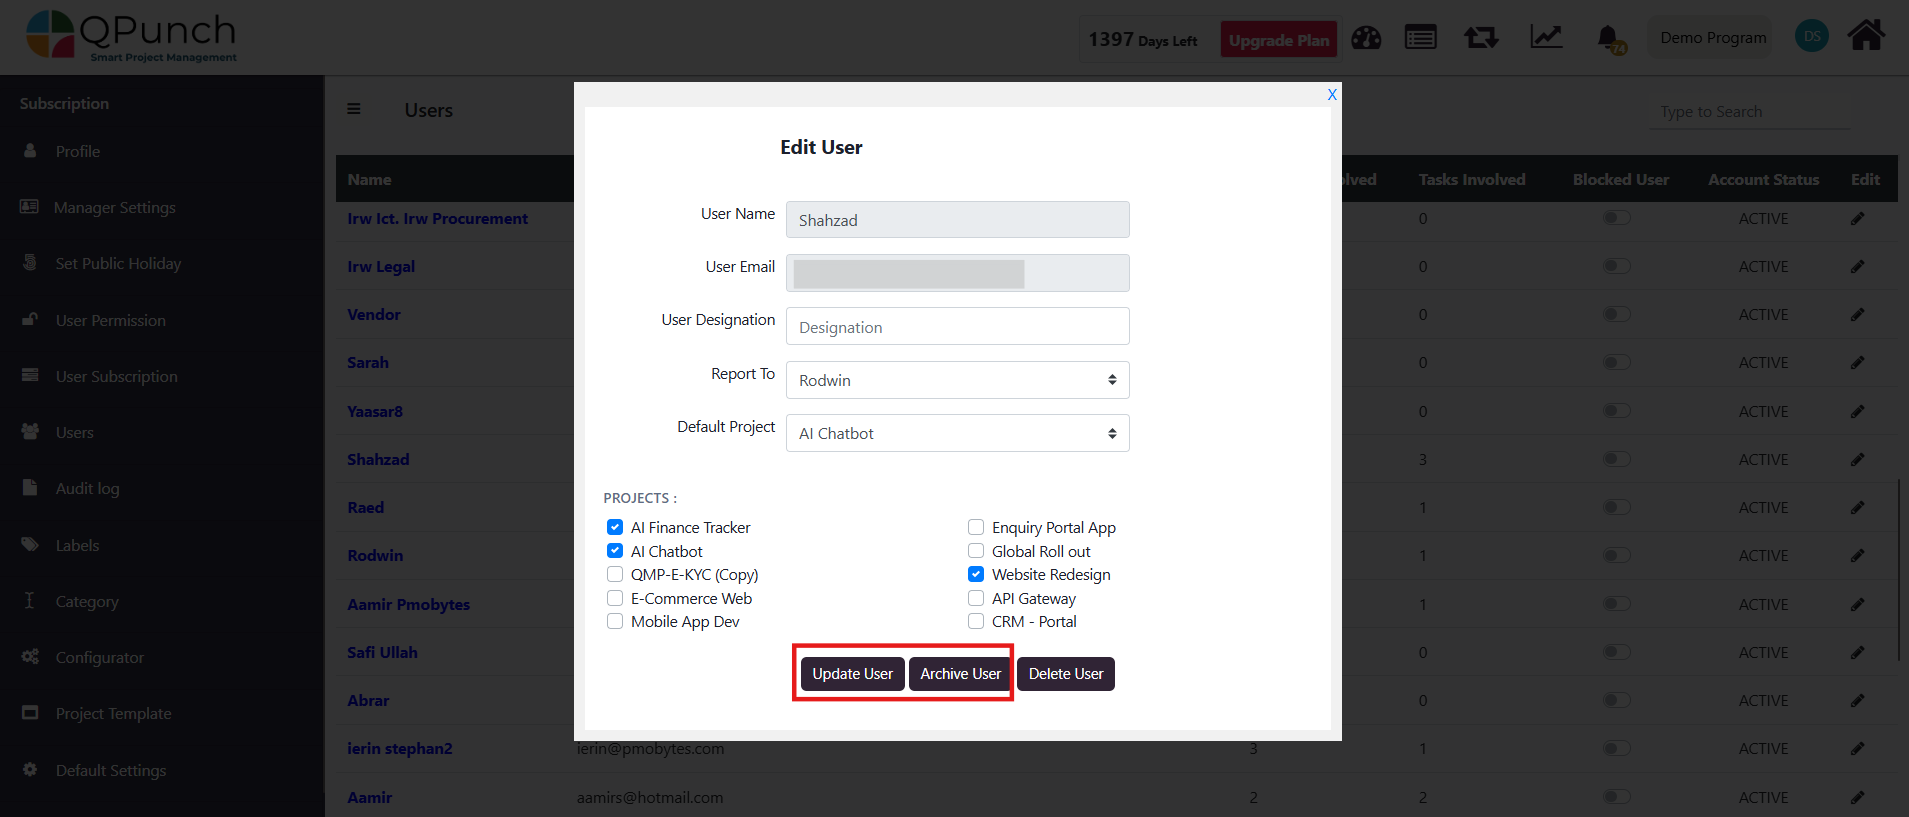
You can edit the user’s details by selecting the Edit icon, such as:
Adding or changing their designation, reporting structure, and default project.
Amending the projects the user is involved in by checking the relevant boxes next to the project list.
Click Update User to save changes.
You can also Archive User by clicking the respective option.
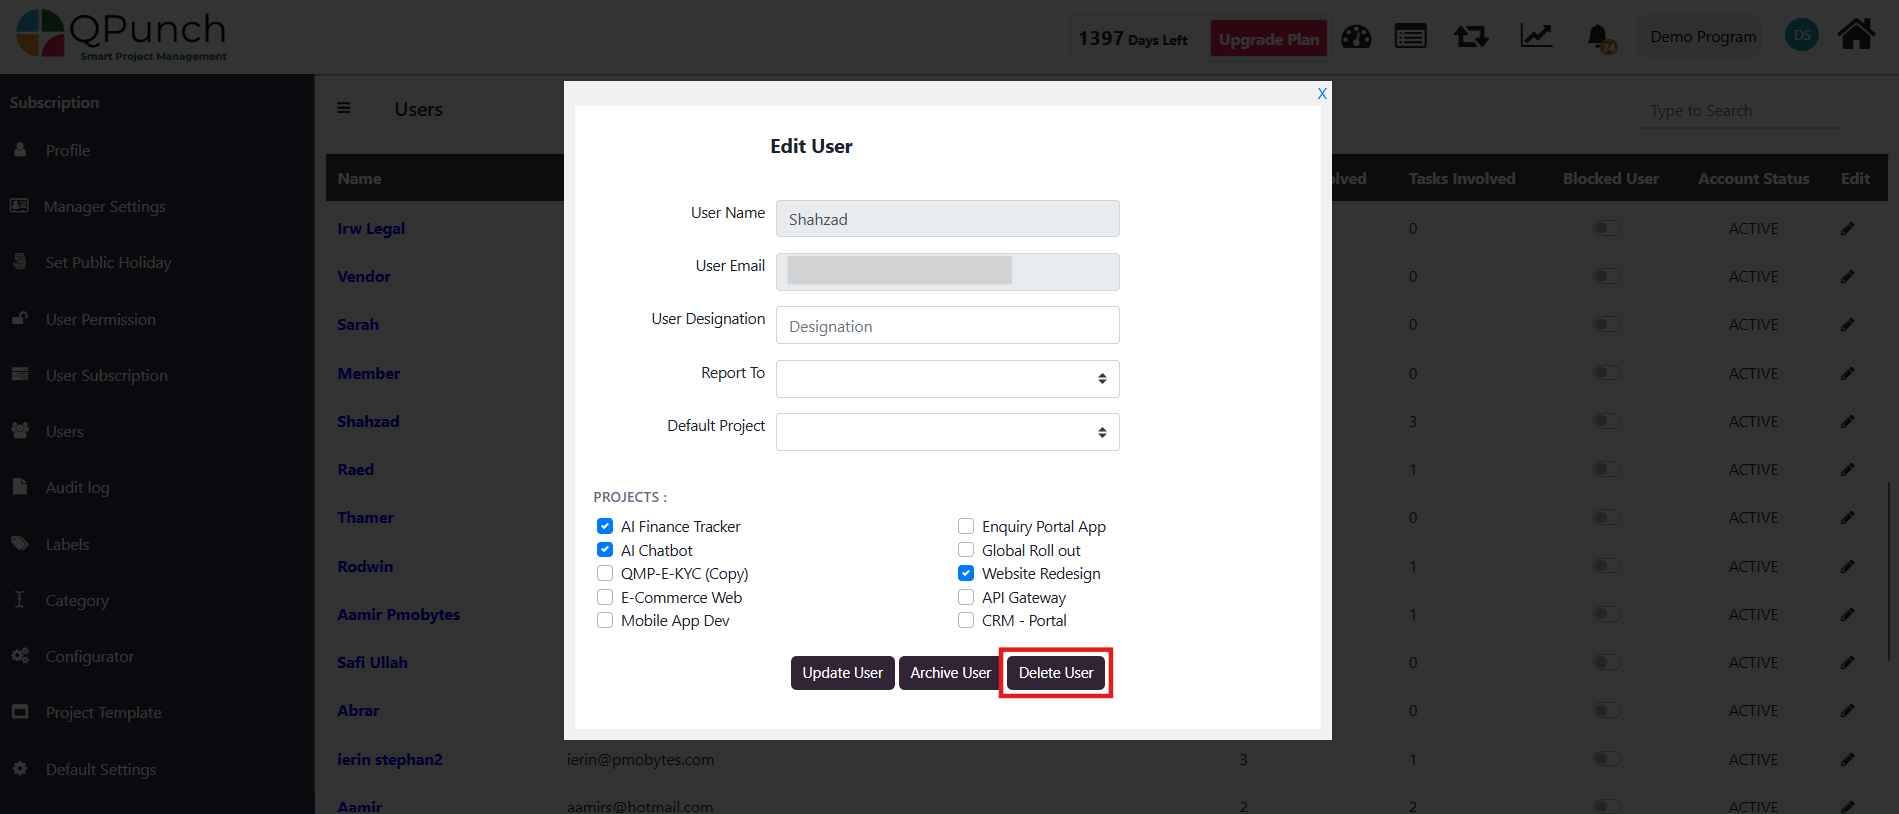
To Delete a User:
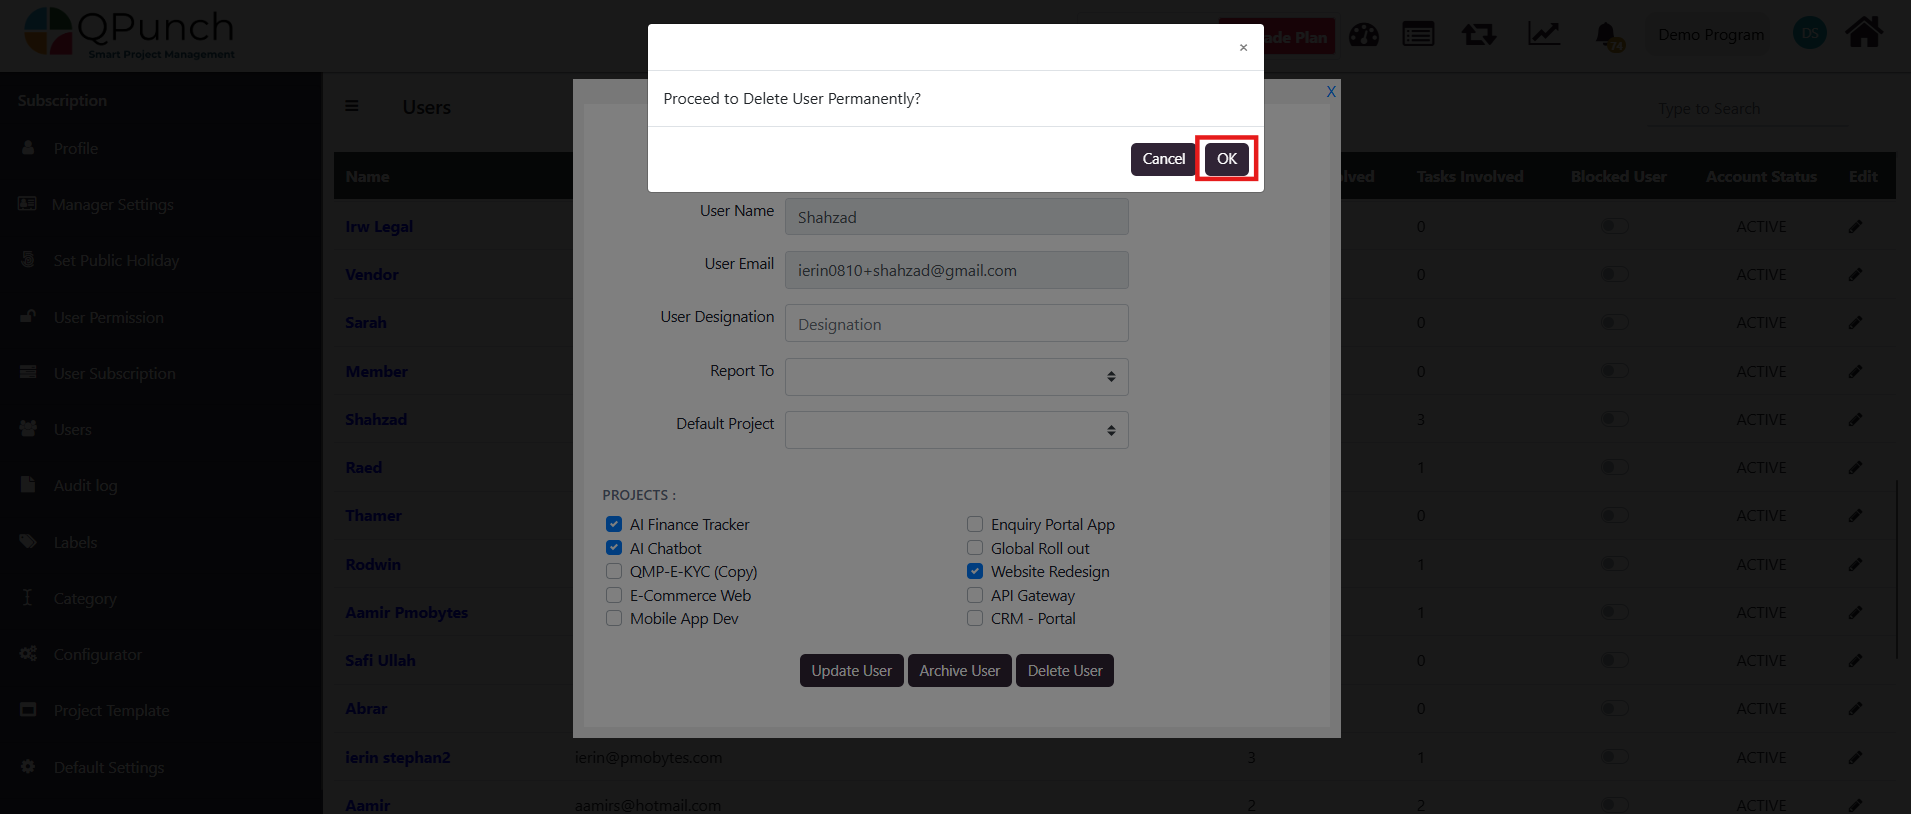
Click the Delete User button.
A pop-up confirmation will appear to proceed. Click OK.
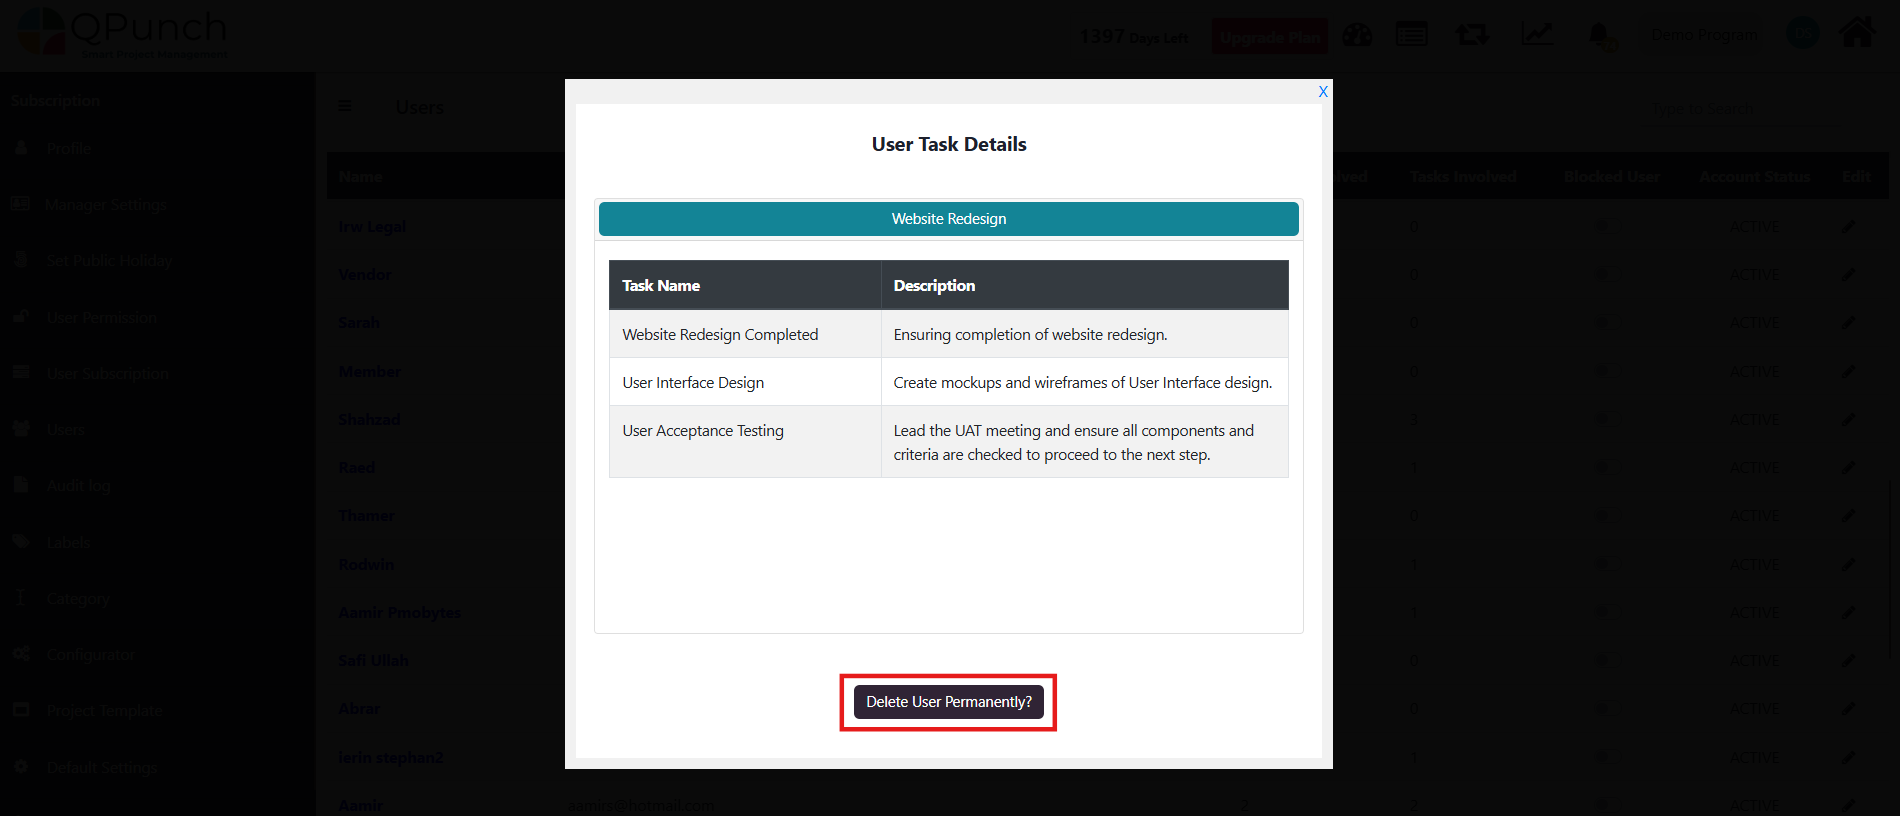
Review the user’s task details, which will appear as clickable blue buttons showing Project Names. Clicking on these will show a table listing the tasks assigned to the selected user with their names and descriptions.
If you still wish to proceed, click Delete User Permanently? below the task details.
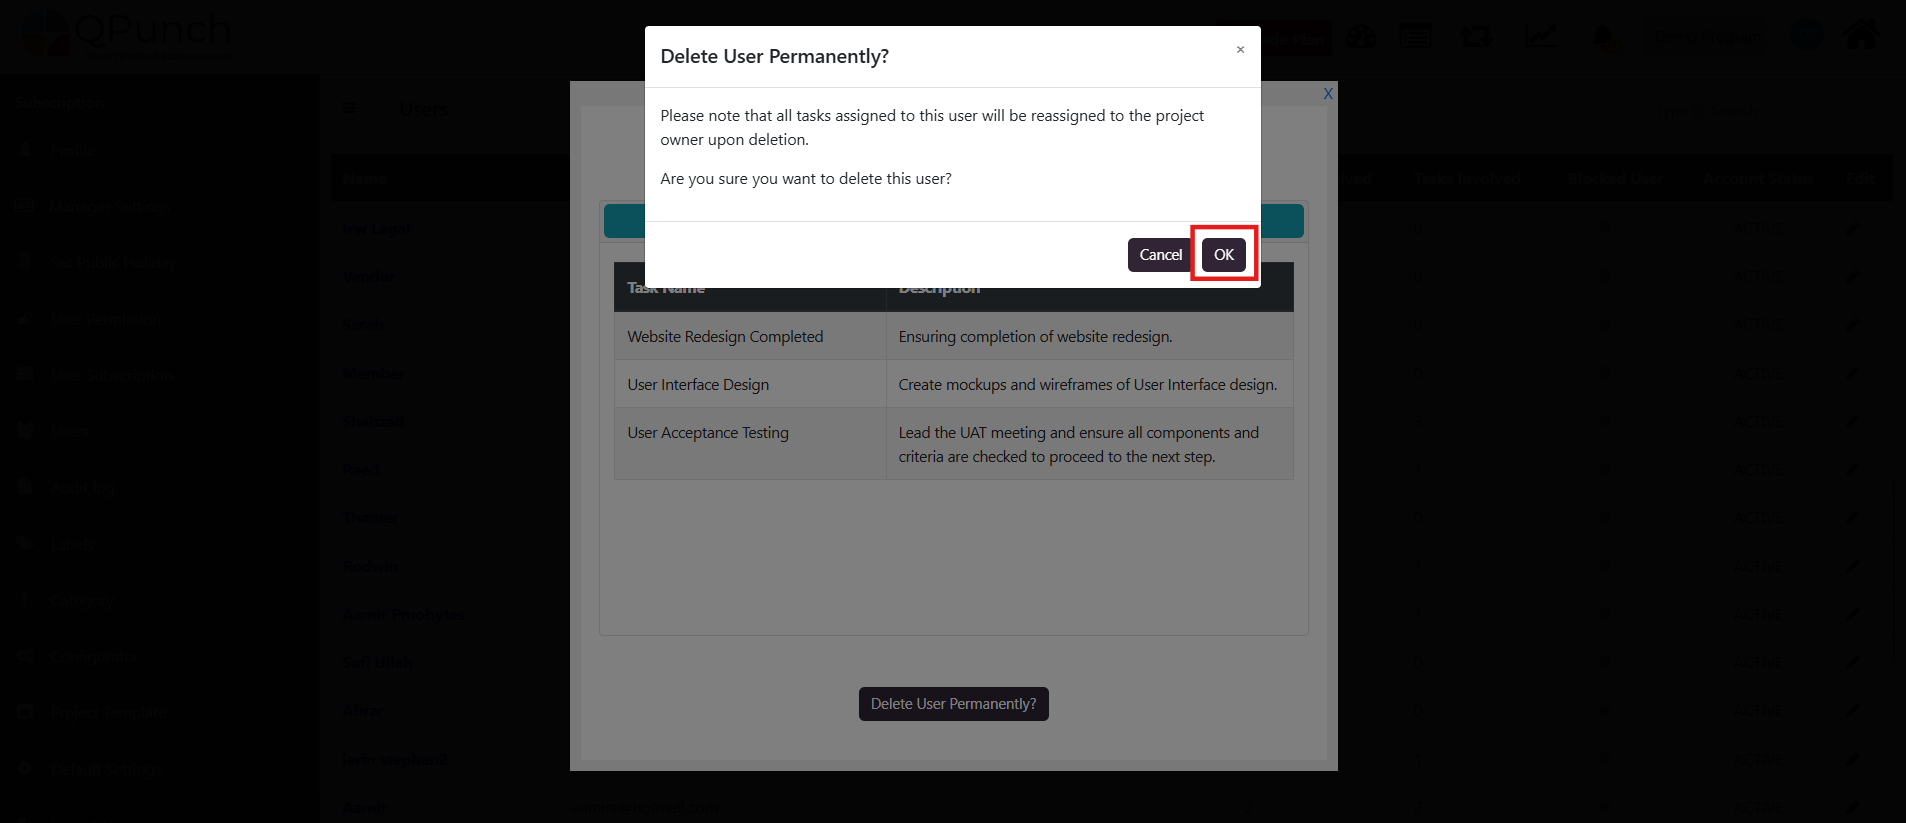
A final pop-up will confirm the deletion and reassignment of tasks to the project owner.
Click OK to delete the user. The user will be deleted, and all tasks assigned to them will be reassigned to the project owner.
·For other users, the tab will not be visible in the Subscription Settings.
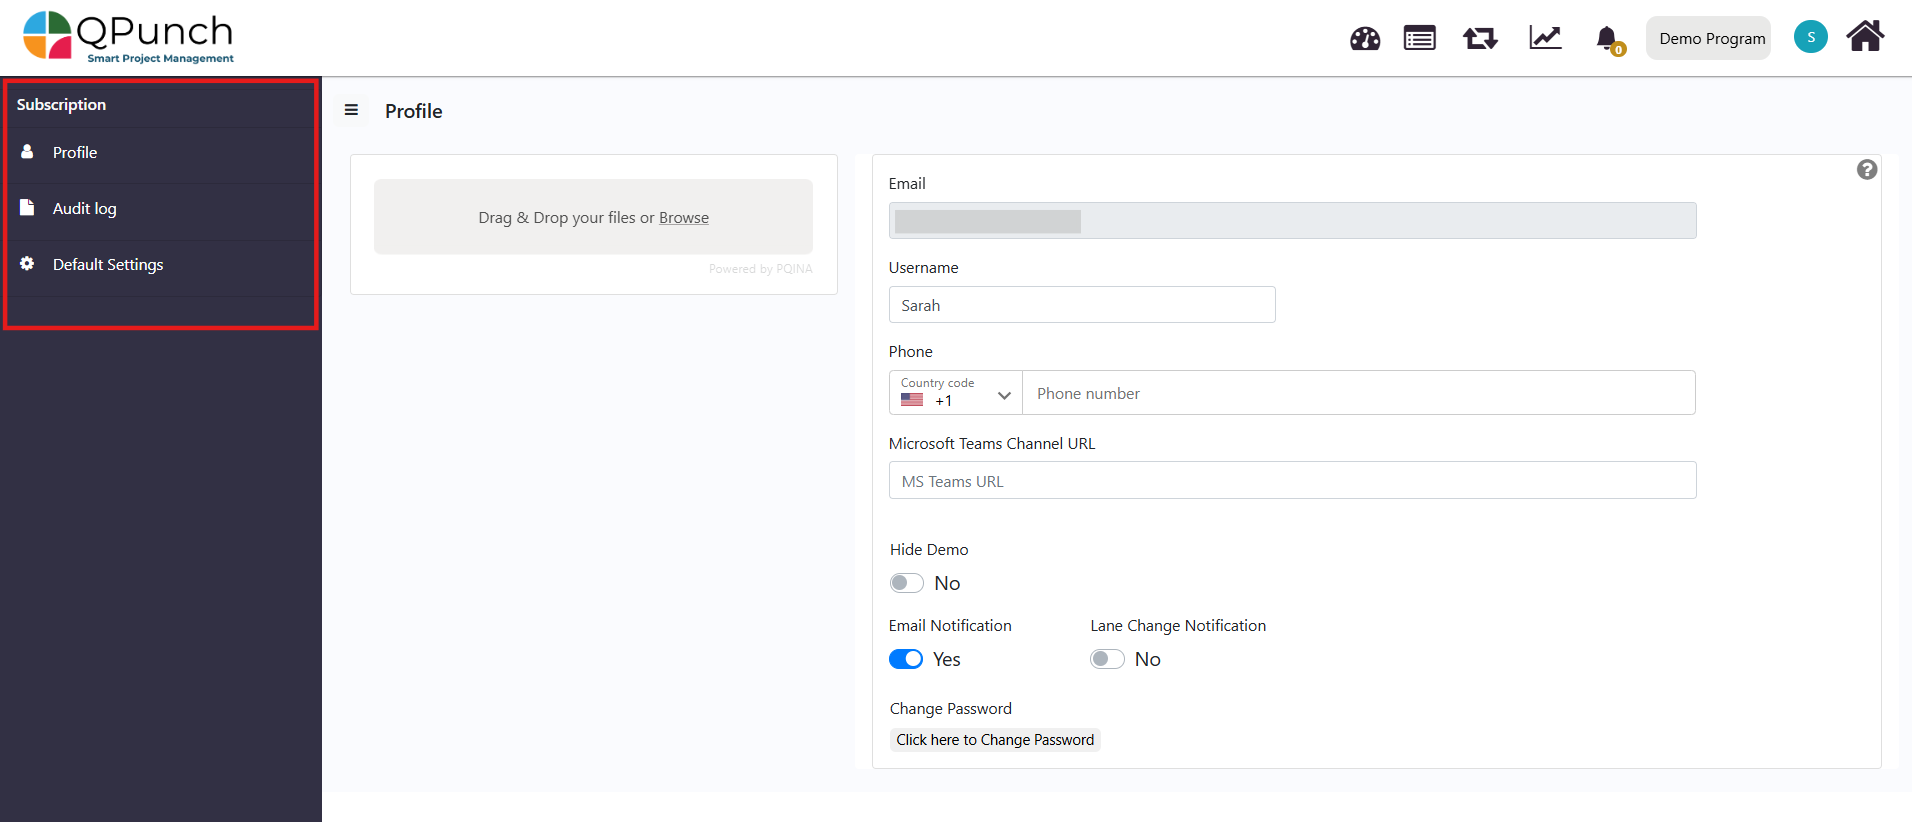
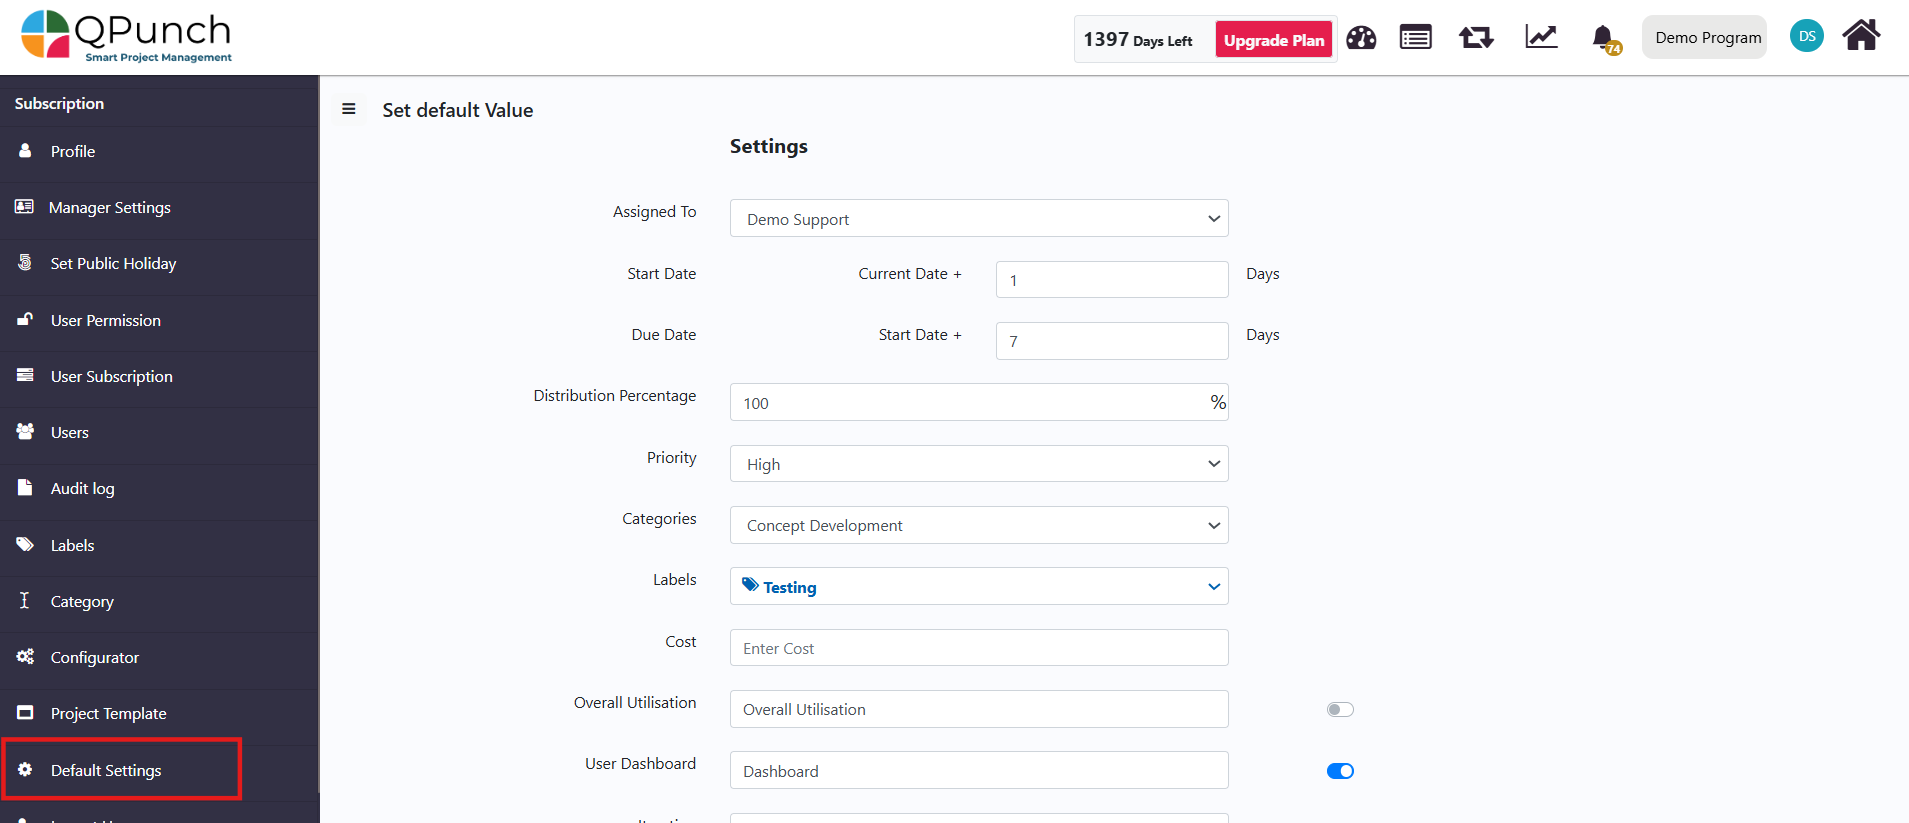
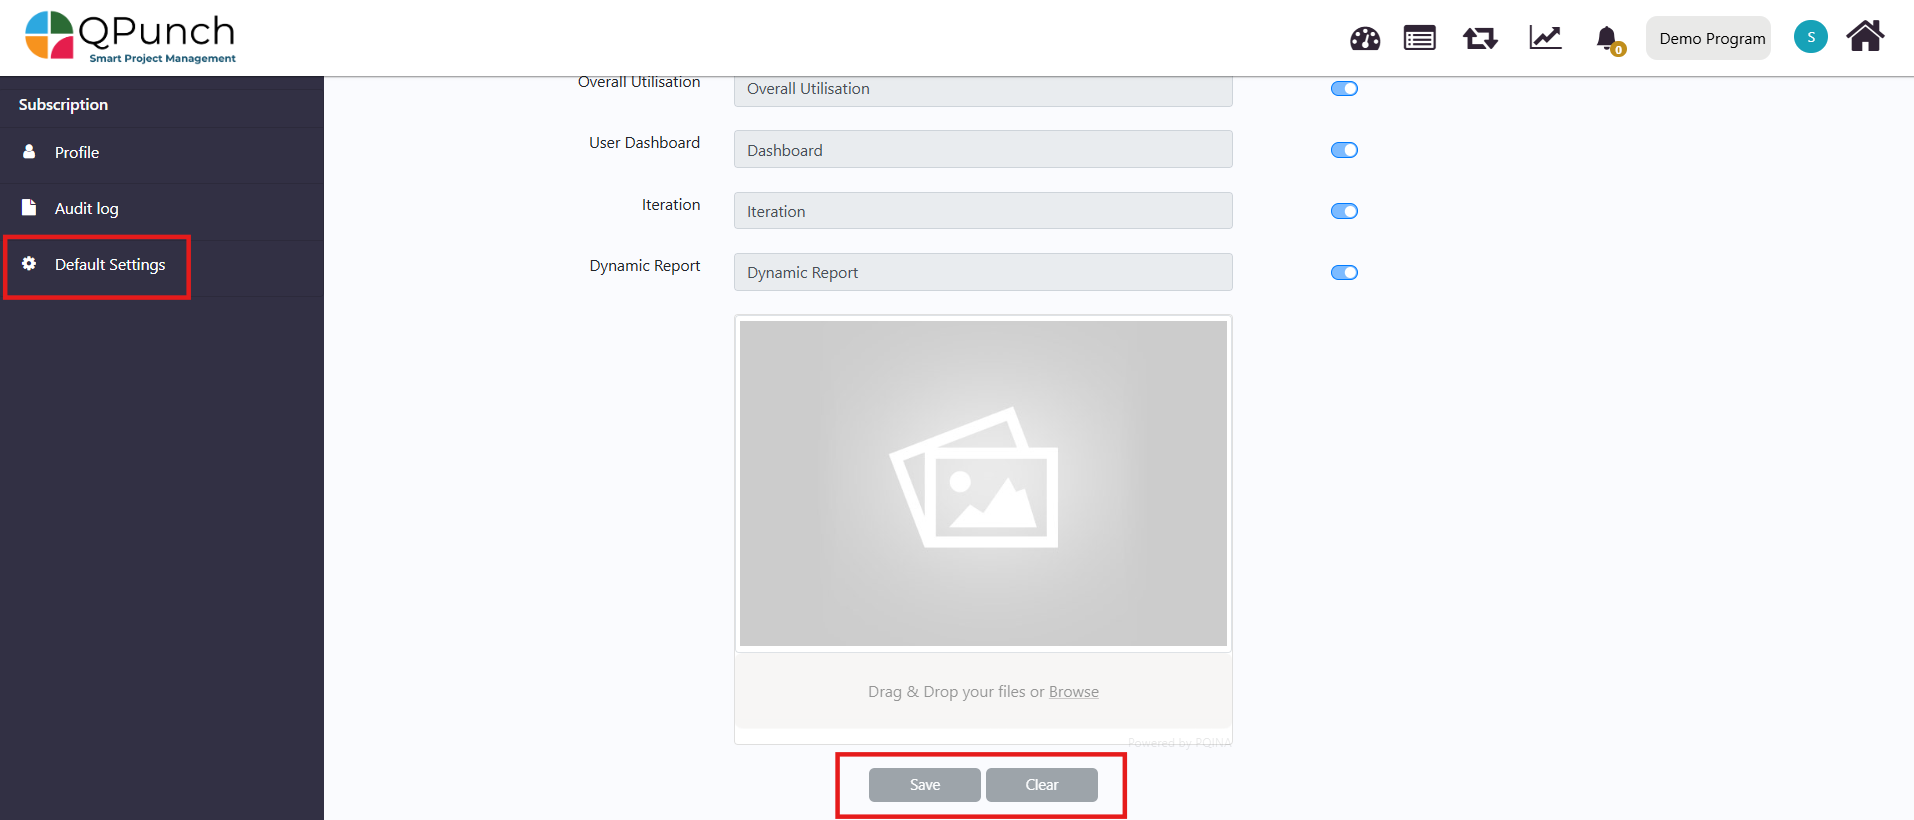
·Account Management: This permission allows user to set default values to any task created in the projects of that subscription. To set that, navigate to Default Settings in the left side pane
·If the user do not have this permission, this page will be greyed out
Conclusion
With QPunch’s flexible user permission settings, you can efficiently manage and control the actions users can perform within your projects. By assigning the appropriate permissions, you ensure that each user has access to the necessary features based on their role, while maintaining the integrity and security of your projects. Whether managing users, creating tasks, or modifying project settings, these permissions allow for seamless collaboration and project management.